crochet easy granny square free pattern
2. Introduction
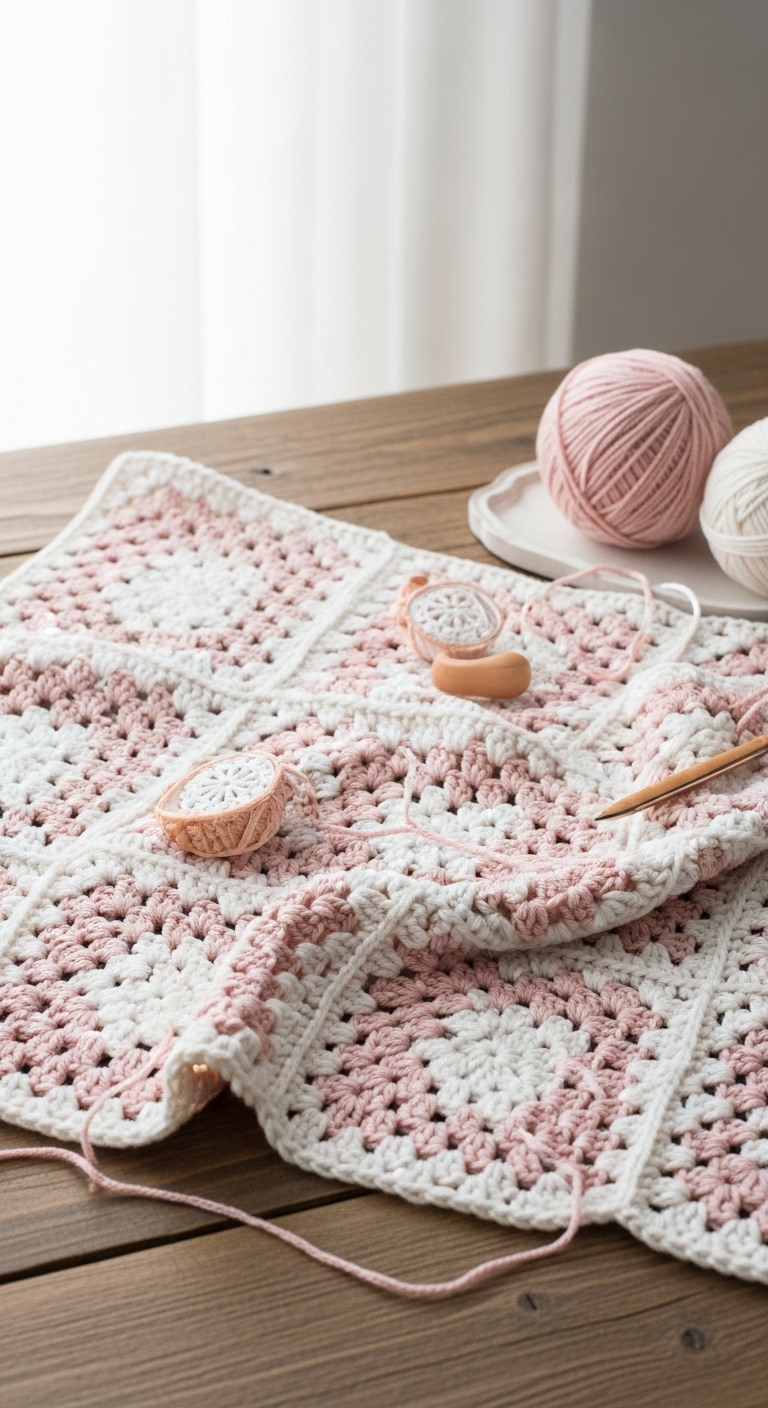
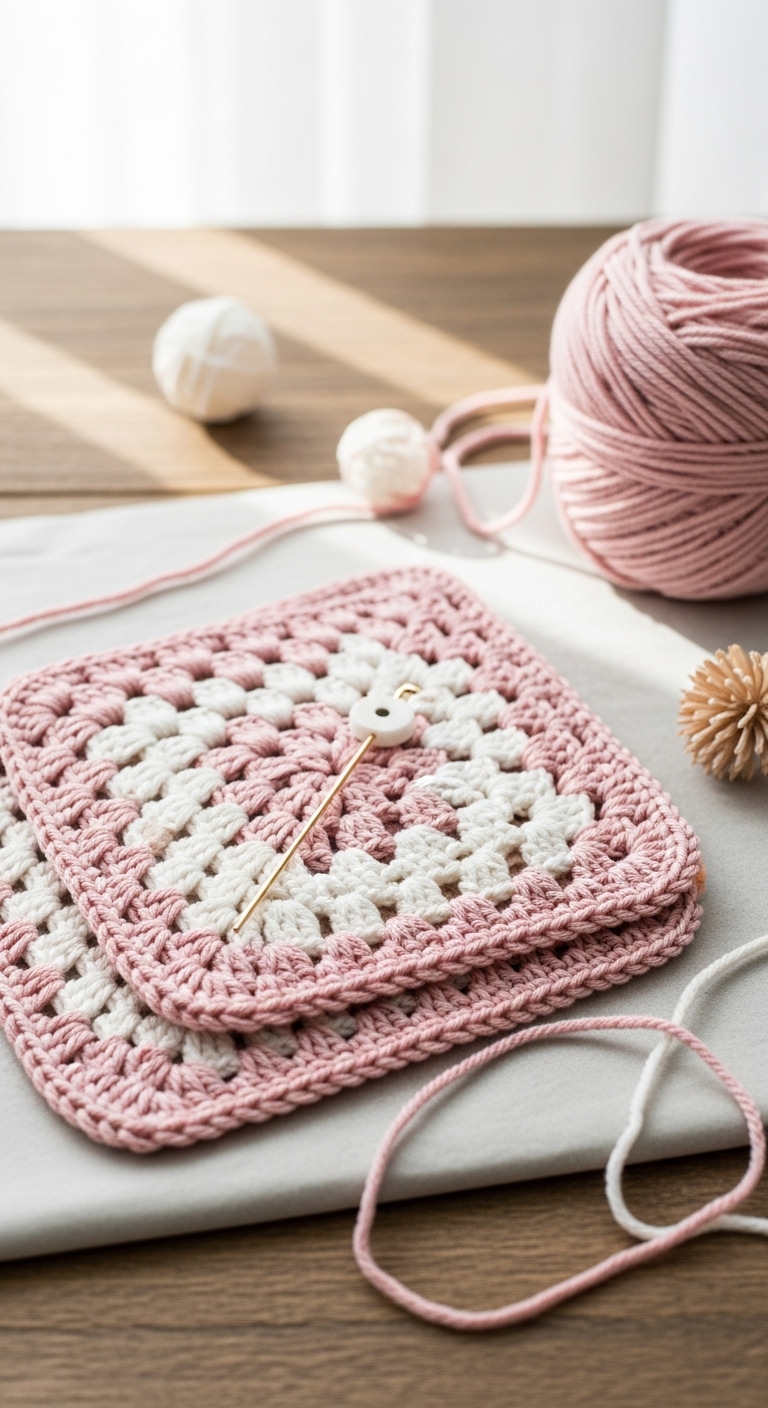
Welcome to the world of crochet with our easy granny square free pattern! This delightful project is perfect for beginners and experienced crafters alike. Each square measures approximately 6 inches by 6 inches, making it an ideal building block for a cozy blanket, a stylish bag, or even a chic wall hanging. You can mix and match multiple squares to create a one-of-a-kind design!
For this project, we’ll be using soft, medium-weight yarn in three complementary adult-friendly colors: a serene teal, a classic cream, and a warm mustard yellow. These colors not only look sophisticated but also give your granny squares a modern twist. The best part about this pattern is that it is quick to complete—making it a fun project to whip up in an afternoon. Whether for yourself or as a charming handmade gift, these squares are sure to bring joy and warmth to anyone who receives them!
This pattern is classified as beginner-friendly, so don’t worry if you’re new to crochet. You’ll find the steps easy to follow, and soon enough, you’ll be creating beautiful granny squares with confidence. They are perfect for seasonal gifts or home decor, and you can even customize them for different occasions!
3. Materials Needed
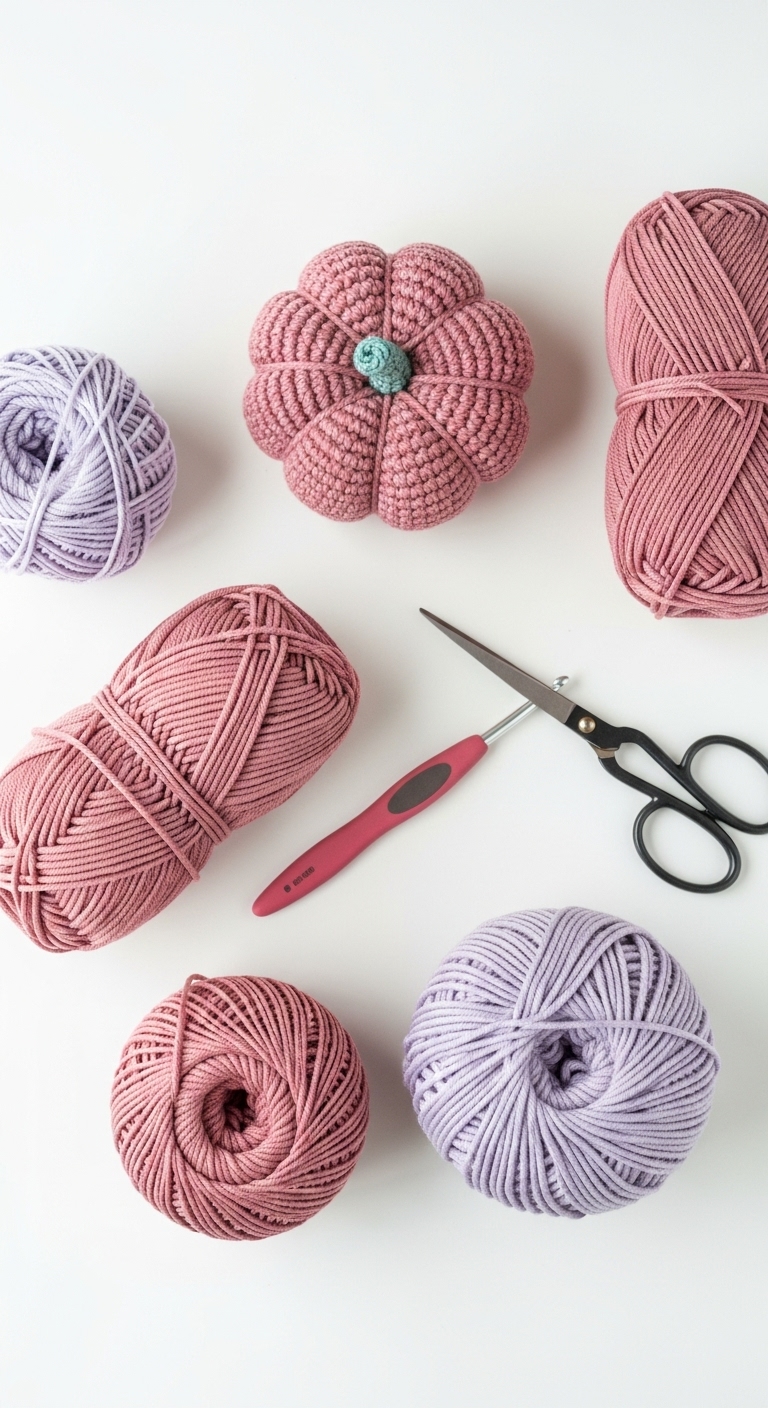
– Yarn: Medium-weight (Worsted) yarn in teal (100 yards), cream (100 yards), and mustard yellow (100 yards)
– Hook: 4.0mm crochet hook
– Marker: Stitch marker
– Needle: Tapestry needle for weaving in ends
– Optional extras: None required, but you may wish to use a contrasting color for a unique touch
4. Designer Notes / Tips
– Stitch technique: The granny square utilizes simple double crochet stitches, making it accessible for all skill levels. If you find the stitches too tight, try using a hook one size larger for a looser gauge.
– Assembly: Since granny squares are typically joined together, it’s beneficial to keep your squares uniform in size. Use a stitch marker to mark the beginning of your rounds to help maintain tension.
– Yarn substitutions: If you want a more textured look, consider using a cotton yarn or a blend that includes acrylic; this will give your squares a slightly different feel.
– Gauge tips: While a specific gauge isn’t critical for granny squares, aim for an even tension to ensure your squares match in size when assembled.
– Safety considerations: This project is safe for children as it doesn’t have any small parts, but always supervise younger crafters.
5. Pattern Instructions
For Granny Squares:
This pattern is for making one granny square, but you can repeat it as many times as needed to create your desired project!
Foundation Round:
Continue with the following rounds:
– When to stuff pieces: For granny squares, you will not need to stuff them, as they remain flat.
– Color changes: You can change colors between rounds by joining the new color at the end of the round and continuing as instructed.
– Stitch markers placement: Place a stitch marker at the beginning of each round to keep track of your starting point.
6. Closing & Social Engagement
Congratulations on creating your very own granny square! I’d love to see your version! Leave a comment below with your thoughts. What color combination will you try for your squares? Don’t forget to share your finished granny squares on social media; I can’t wait to see your beautiful creations!