crochet pencil gnome free pattern
2. Introduction
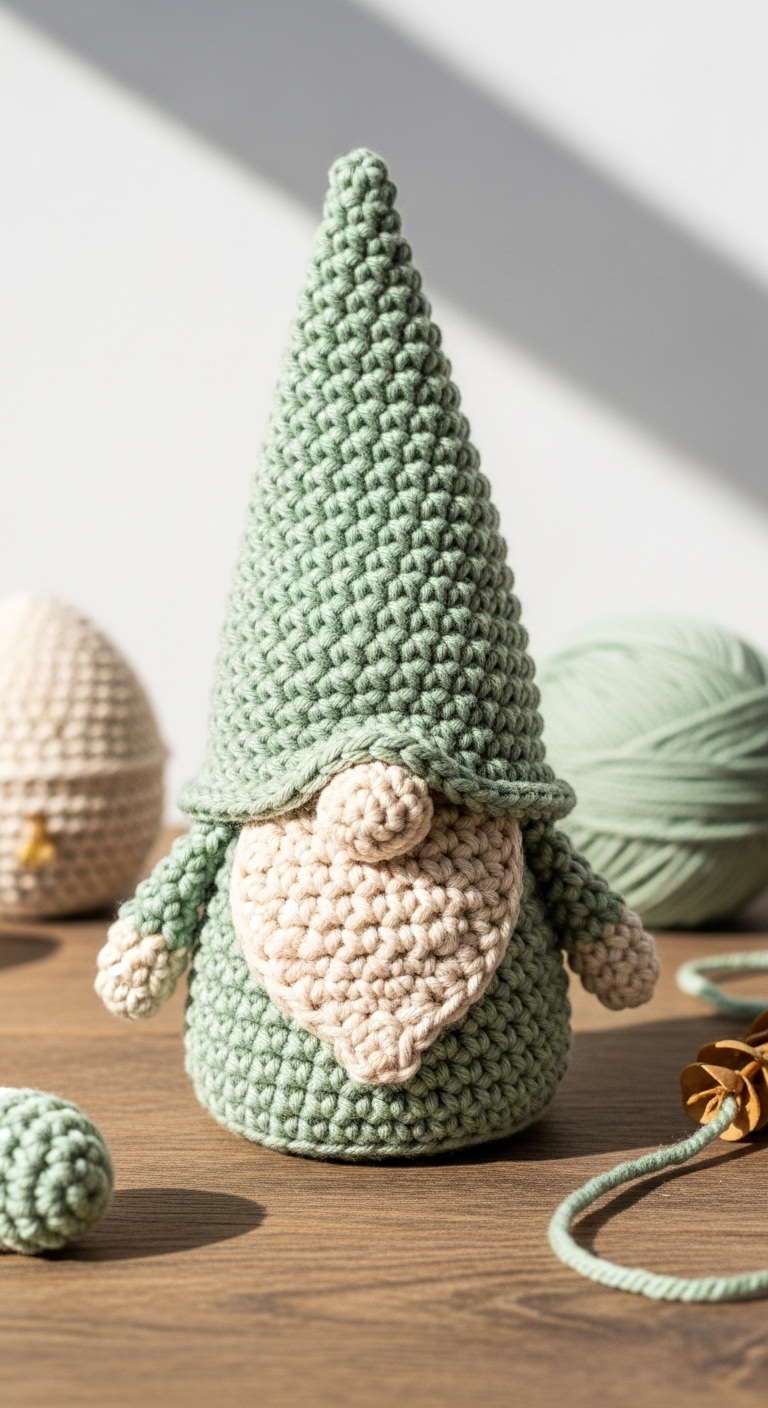
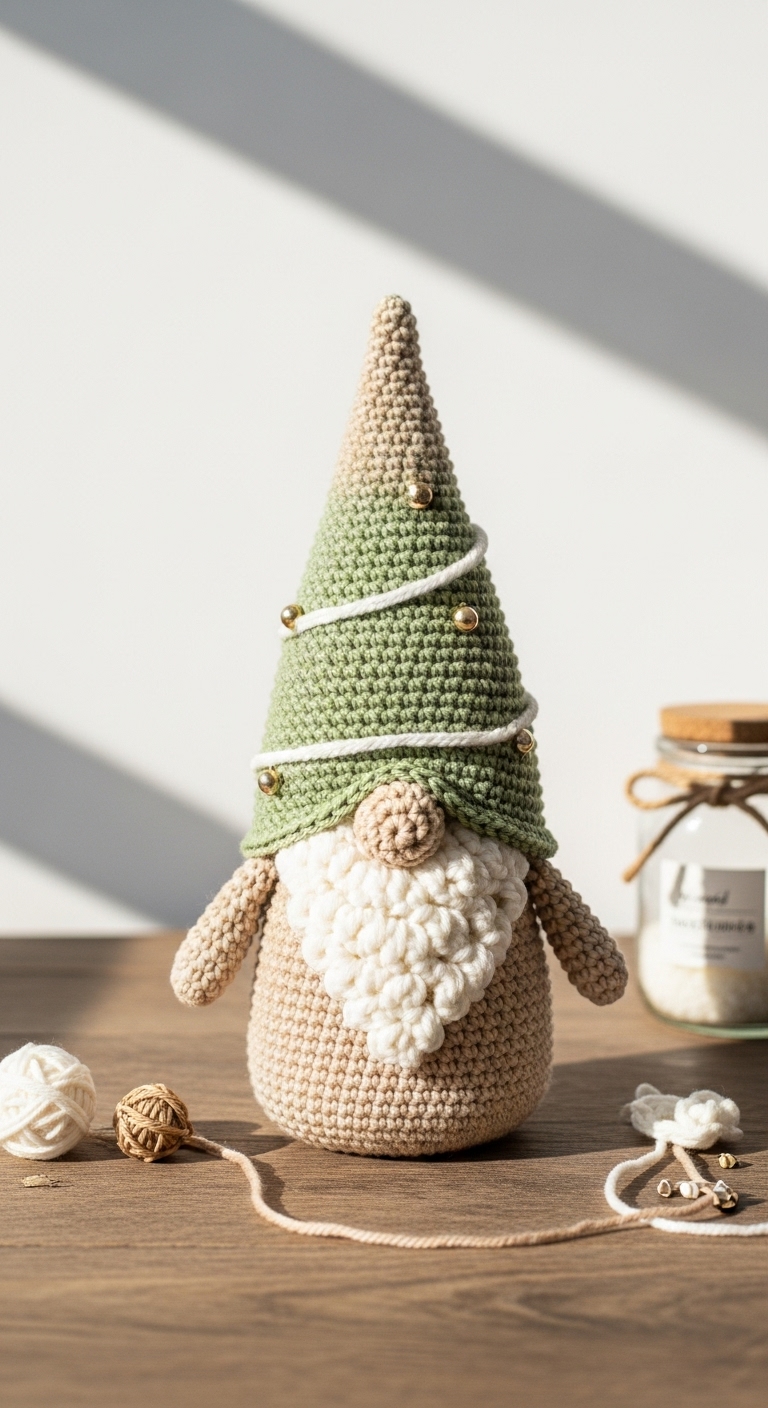
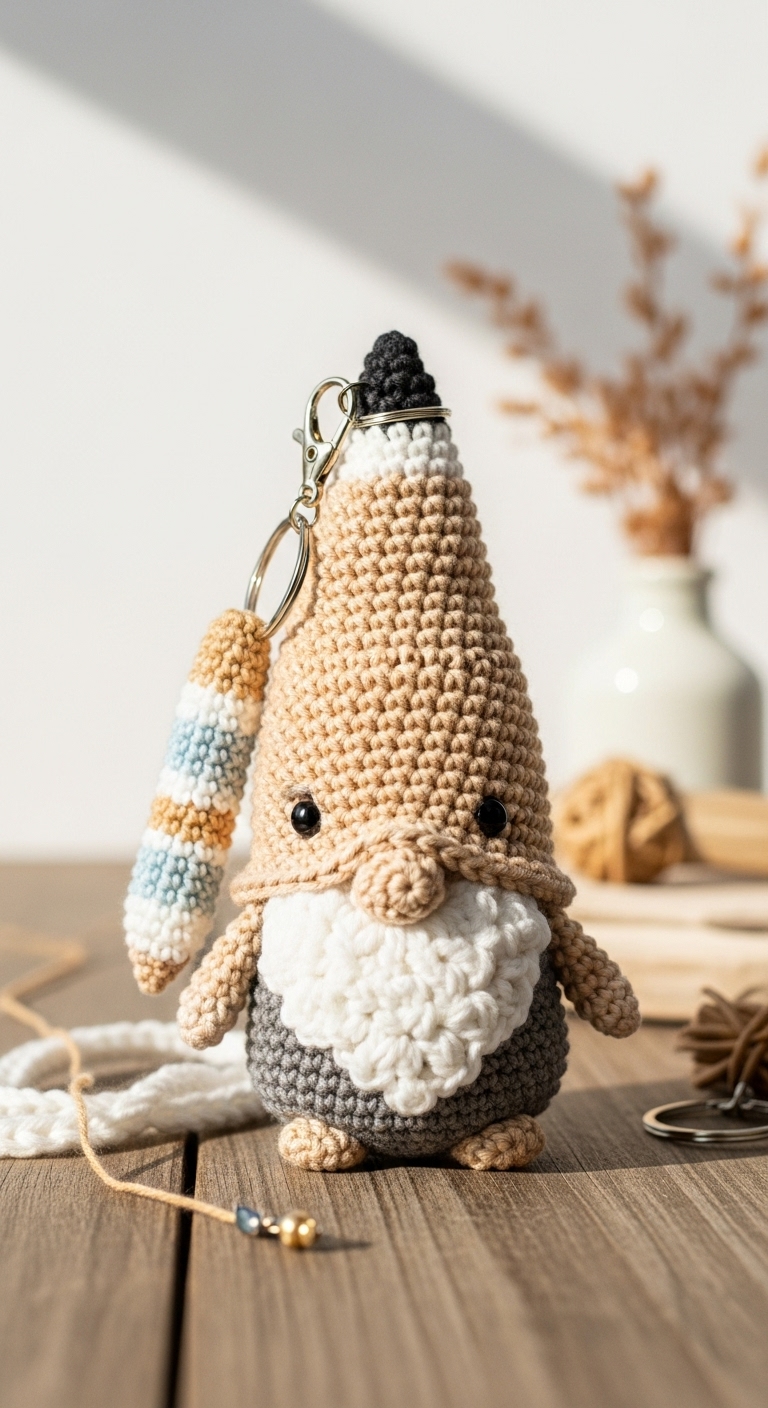
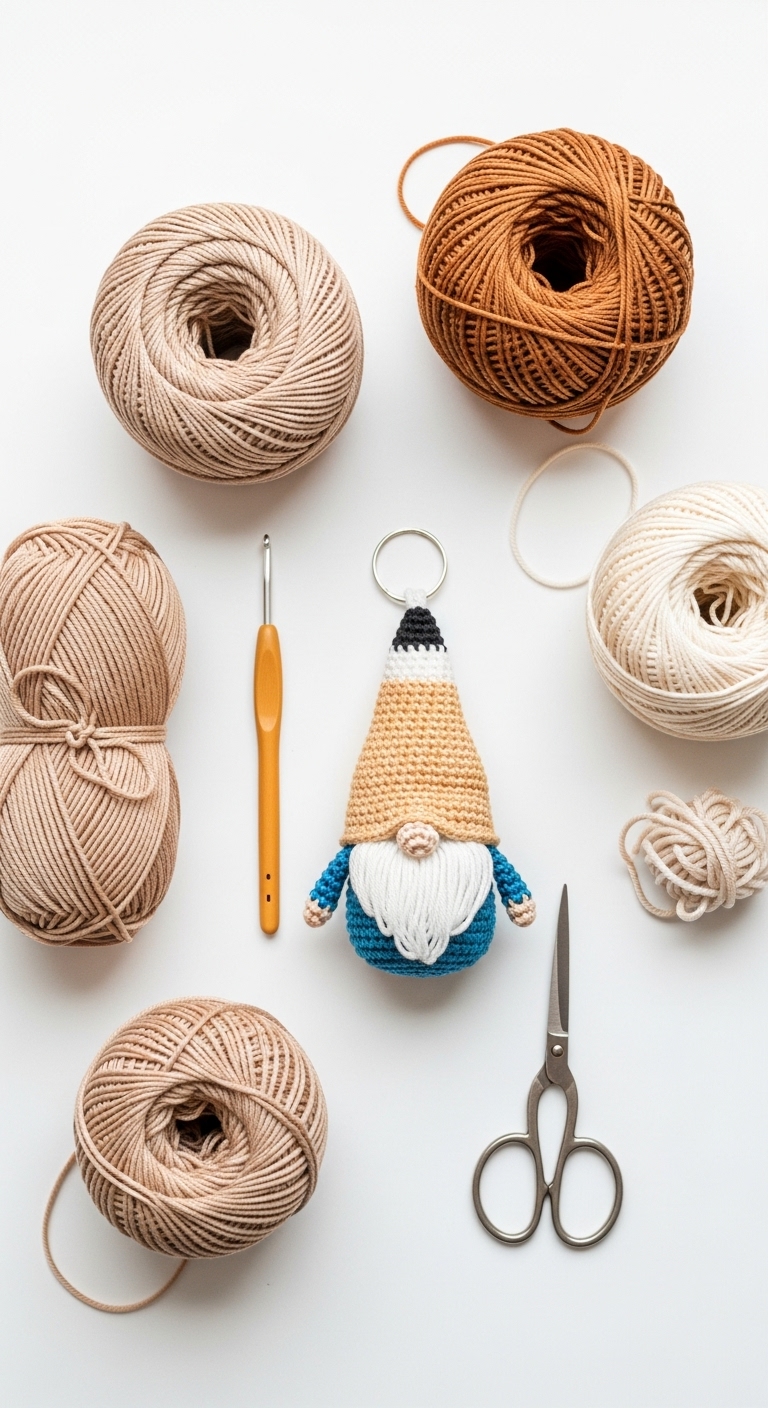
Welcome to the delightful world of crochet! Today, we’re diving into a fun and whimsical project—a crochet pencil gnome! This charming little gnome stands at approximately 7 inches tall and is perfect for brightening up your workspace or adding a touch of cheer to your desk. With its lovable features and unique design, it’s sure to bring a smile to anyone’s face.
For this project, we will be using soft worsted weight yarn in a sophisticated palette of muted blue, warm beige, and a rich burgundy. These colors not only complement each other beautifully but also give your gnome a modern and adult-friendly aesthetic. This project is not only quick to make—perfect for a weekend crafting session—but also a wonderful gift idea for teachers, friends, or anyone who could use a little extra joy in their day. It’s a beginner-friendly project that will help you build your skills while creating something special!
3. Materials Needed
– Yarn: Worsted weight yarn in muted blue (about 50 yards), warm beige (about 30 yards), and burgundy (about 20 yards)
– Hook: 3.5mm or 4.0mm crochet hook
– Eyes: Safety eyes (12mm) OR black embroidery thread for facial features
– Stuffing: Polyester fiberfill stuffing
– Needle: Tapestry needle for sewing
– Marker: Stitch marker
– Optional extras: Pipe cleaners for a bendable nose, small buttons for embellishment
4. Designer Notes / Tips
As you embark on this crochet gnome adventure, here are some helpful tips to ensure your project goes smoothly:
– Stitch technique: The pencil gnome features basic stitches like single crochet (sc) and increases (inc). If you’re new to these, take your time to practice them before starting the gnome.
– Stuffing density: Aim for a light and fluffy stuffing to give your gnome a charming, huggable quality. Avoid packing it too firmly, as you want it to retain its shape and look soft.
– Assembly: When joining pieces, use a whip stitch for a seamless finish. It’s best to position the hat slightly askew for a whimsical look!
– Yarn substitutions: If you don’t have worsted weight yarn, consider using a cotton blend or any soft yarn you like; just be mindful of the gauge.
– Gauge tips: A loose tension will work perfectly for this project, ensuring that your stitches remain flexible.
– Safety considerations: If making this gnome for a child, consider using embroidered features instead of safety eyes to eliminate choking hazards.
5. Pattern Instructions
For Plushies:
Head
Body
Arms
Hat
Assembly
1. Attach the safety eyes to the head, placing them around Round 6.
2. Sew the arms onto the body.
3. Attach the head to the body using the tapestry needle.
4. Position the hat atop the head, slightly tilted, and sew in place.
5. Optionally, you can use pipe cleaners to create a bendable nose, attaching it to the head just above the eyes.
6. Closing & Social Engagement
Congratulations on completing your crochet pencil gnome! I’d love to see your version—please leave a comment below sharing your color choices or any fun variations you’ve made. What color combination will you try for your gnome? Don’t forget to share your finished gnome on social media and tag us so we can admire your creative work!