crochet owl gnome free pattern

2. Introduction
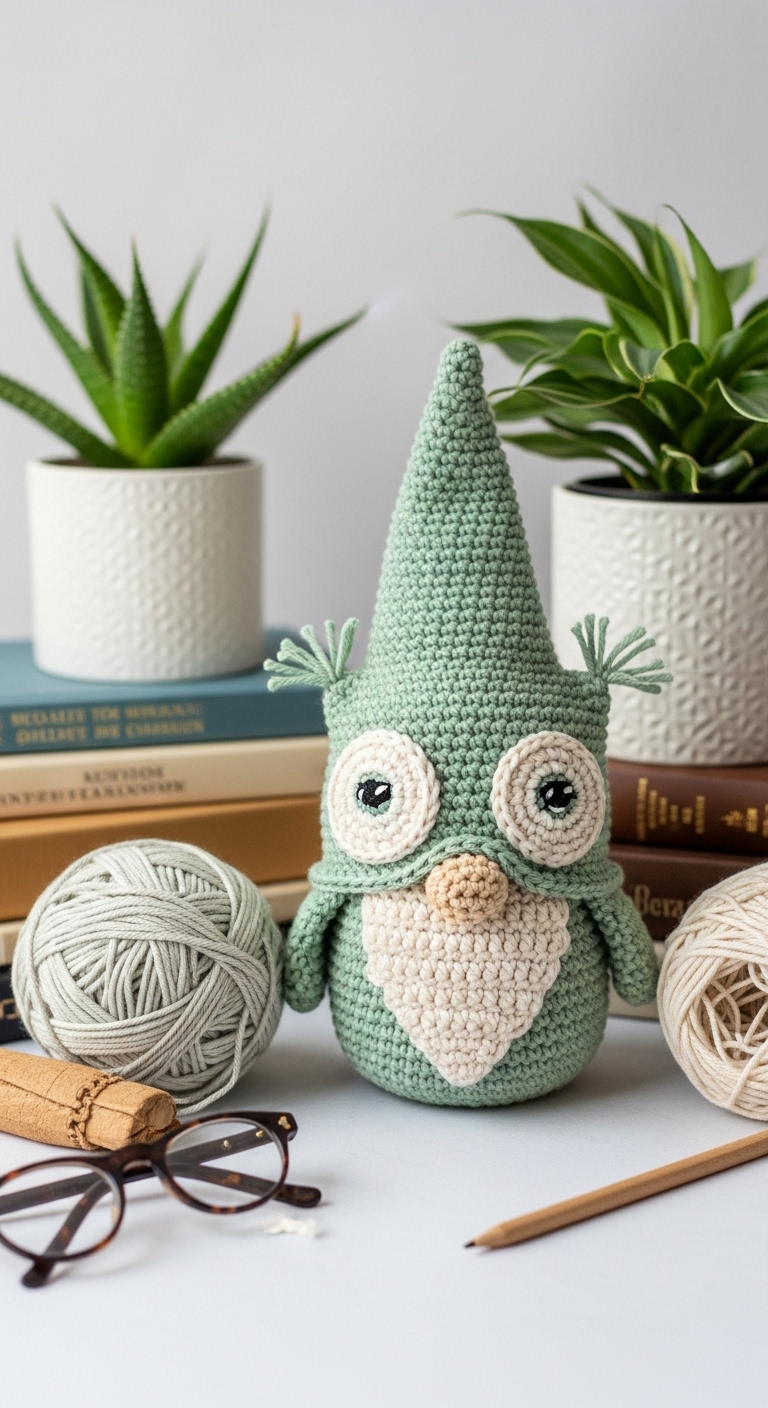
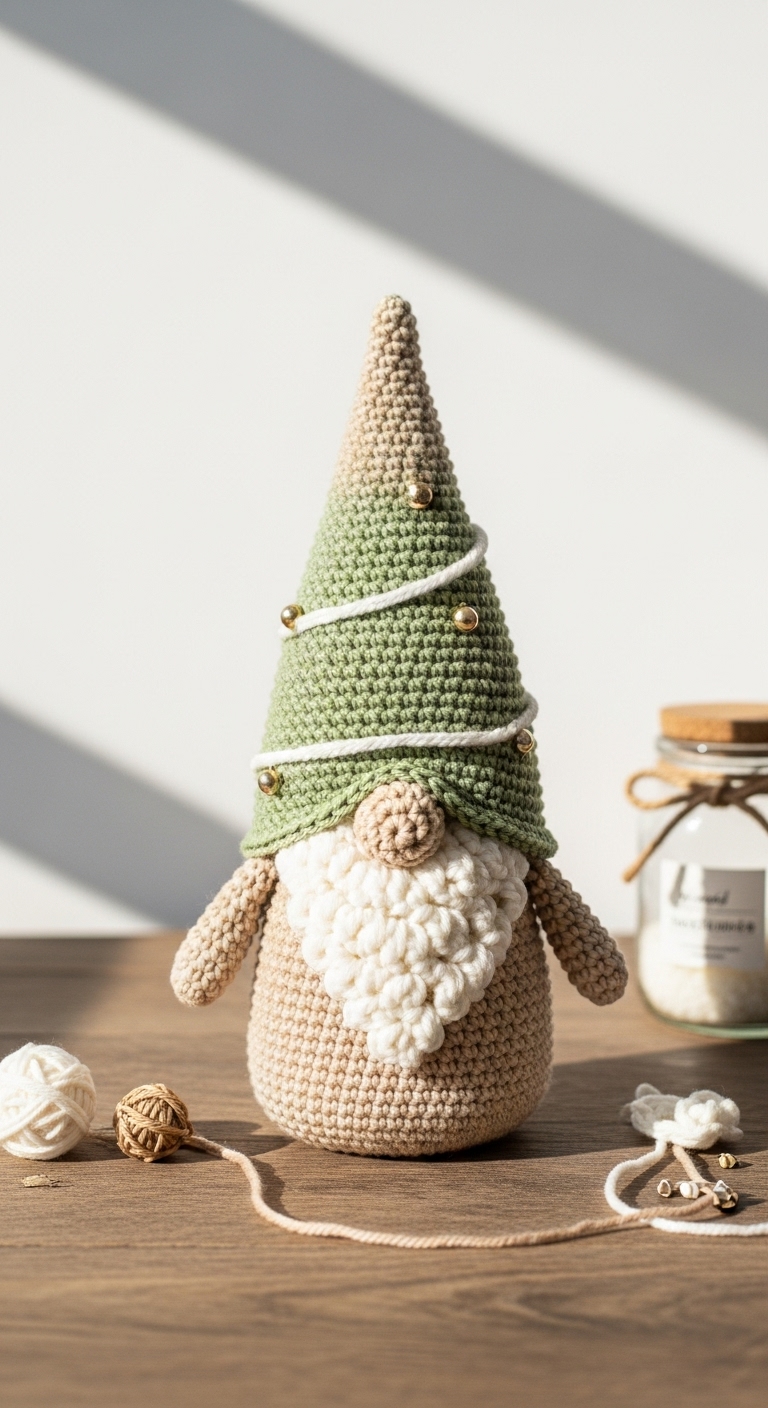
Welcome to your new favorite crochet project: the adorable Crochet Owl Gnome! This delightful little plushie stands about 8 inches tall, making it the perfect size for decorating your home or gifting to friends. Crafted with a cozy combination of soft yarns, you’ll love how these charming gnomes add a whimsical touch to any space.
For this project, we’ll be using a worsted weight yarn in two to three complementary colors. Think warm earth tones like rich browns, vibrant oranges, and muted greens to create a truly sophisticated look. This pattern is not only quick and fun to make, but it also allows for plenty of creative expression. Whether you’re an experienced crocheter or just starting, this pattern is beginner-friendly and offers a wonderful way to learn new skills while making something special. Plus, the gnome’s owl design gives it a seasonal charm, making it a great gift for fall or any occasion!
3. Materials Needed
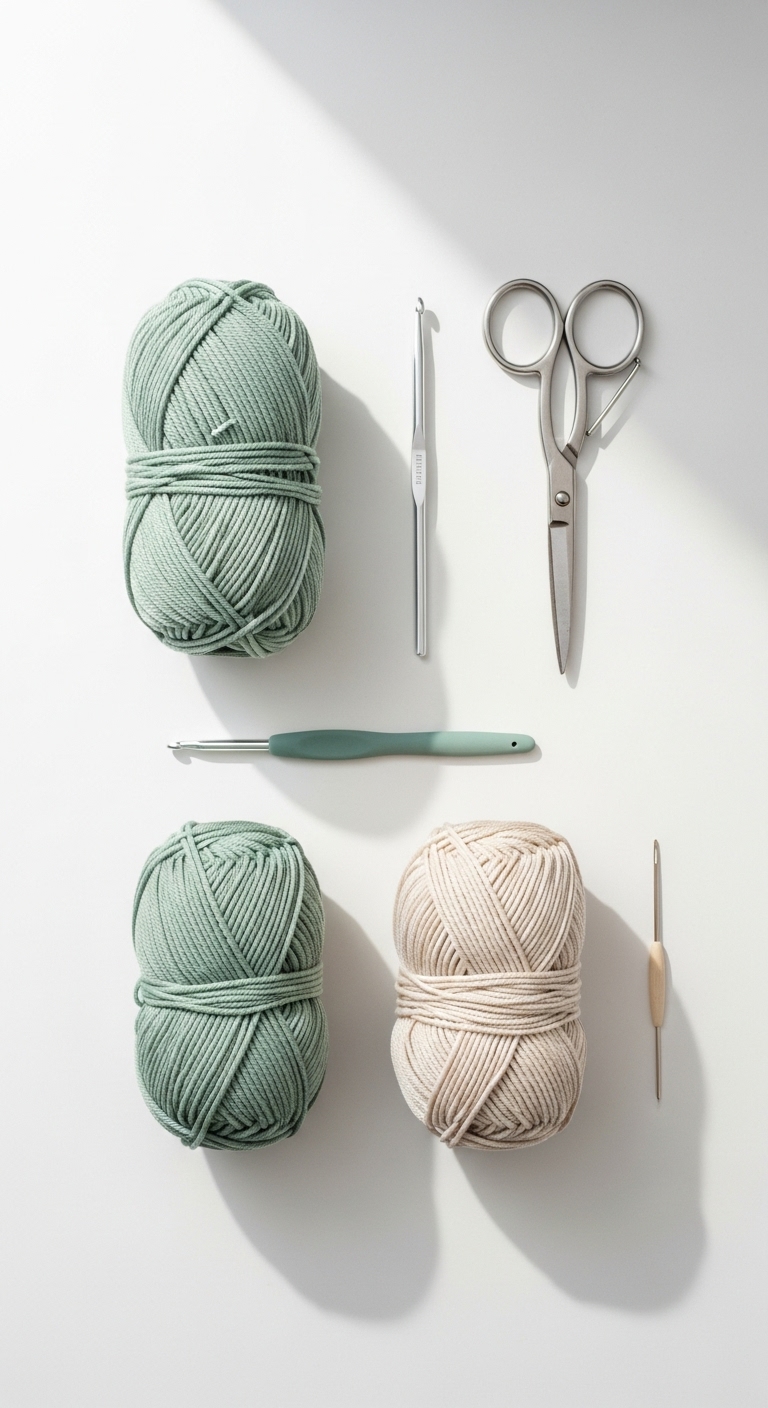
– Yarn: Worsted weight yarn in brown (approx. 80 yards), orange (approx. 30 yards), and green (approx. 30 yards)
– Hook: 3.5mm or 4.0mm crochet hook
– Eyes: 12mm safety eyes
– Stuffing: Polyester fiberfill stuffing
– Needle: Tapestry needle for sewing
– Marker: Stitch marker
– Optional extras: Pipe cleaners for added structure, small buttons for decoration
4. Designer Notes / Tips
– Stitch technique: This pattern combines basic stitches like single crochet (sc) and increases (inc) to create a rounded shape. Don’t worry if your stitches look a bit different at first; practice makes perfect!
– Stuffing density: Aim for a medium density when stuffing; you want your gnome to be plush but not overly firm. A light stuffing will give a softer, more huggable feel, while a firmer one will help maintain the shape.
– Assembly: When joining pieces, use a whip stitch for a seamless finish. Make sure your pieces are securely stitched together before stuffing to avoid any gaps.
– Yarn substitutions: If you can’t find the exact colors, any worsted weight yarn in similar shades will work beautifully. Consider cotton yarn for a more structured look.
– Gauge tips: While gauge is not critical for this project, aiming for a tighter stitch will ensure your stuffing doesn’t show through.
– Safety considerations: If you’re making this gnome for a child, you might want to consider using embroidery thread for the eyes instead of safety eyes to eliminate any choking hazards.
5. Pattern Instructions
For Plushies:
Head:
*Now is a good time to insert the safety eyes. Place them between rounds 6 and 7, about 4 stitches apart. Continue to stuff your head lightly.*
Body:
*Stuff your body as you go. You can use a bit more stuffing than in the head for a sturdy base. After round 12, fasten off.*
Arms:
*Leave a long tail for sewing. Make two arms.*
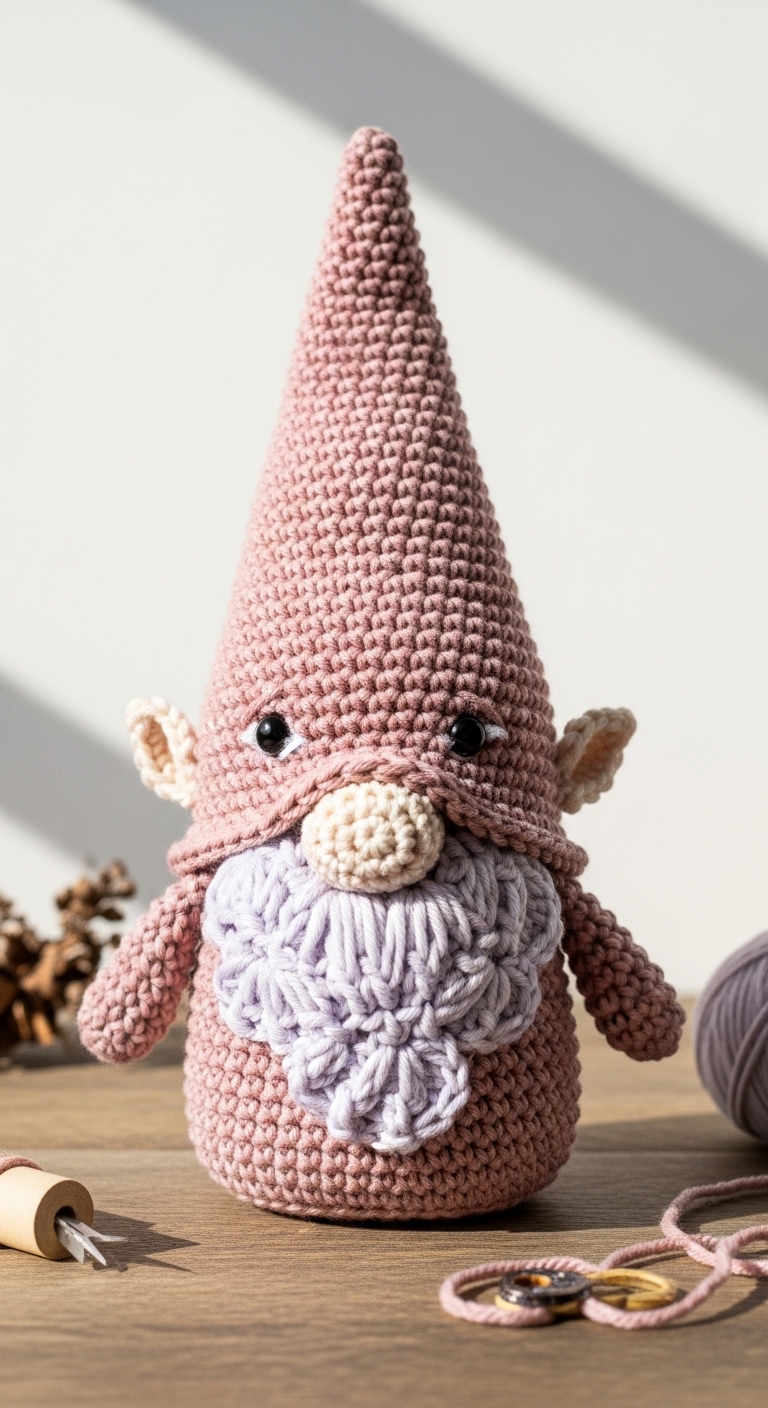
Ears:
*Fasten off, leaving a long tail for sewing. Make two ears.*
Assembly:
– Sew the head to the body securely.
– Attach the arms on either side of the body.
– Position the ears at the top of the head and stitch in place.
– You can use some of the orange yarn to create a small nose by making a small triangle and sewing it onto the face.
– Weave in all ends and give your gnome a gentle squeeze!
6. Closing & Social Engagement
I hope you enjoy making your Crochet Owl Gnome as much as I did! Don’t forget to personalize them with your favorite colors and little embellishments. I’d love to see your version! Leave a comment below sharing your experiences or ask any questions you may have. What color combination will you try? Remember to share your finished gnome on social media with the hashtag #OwlGnomeCrochet!