crochet daisy gnome free pattern
2. Introduction
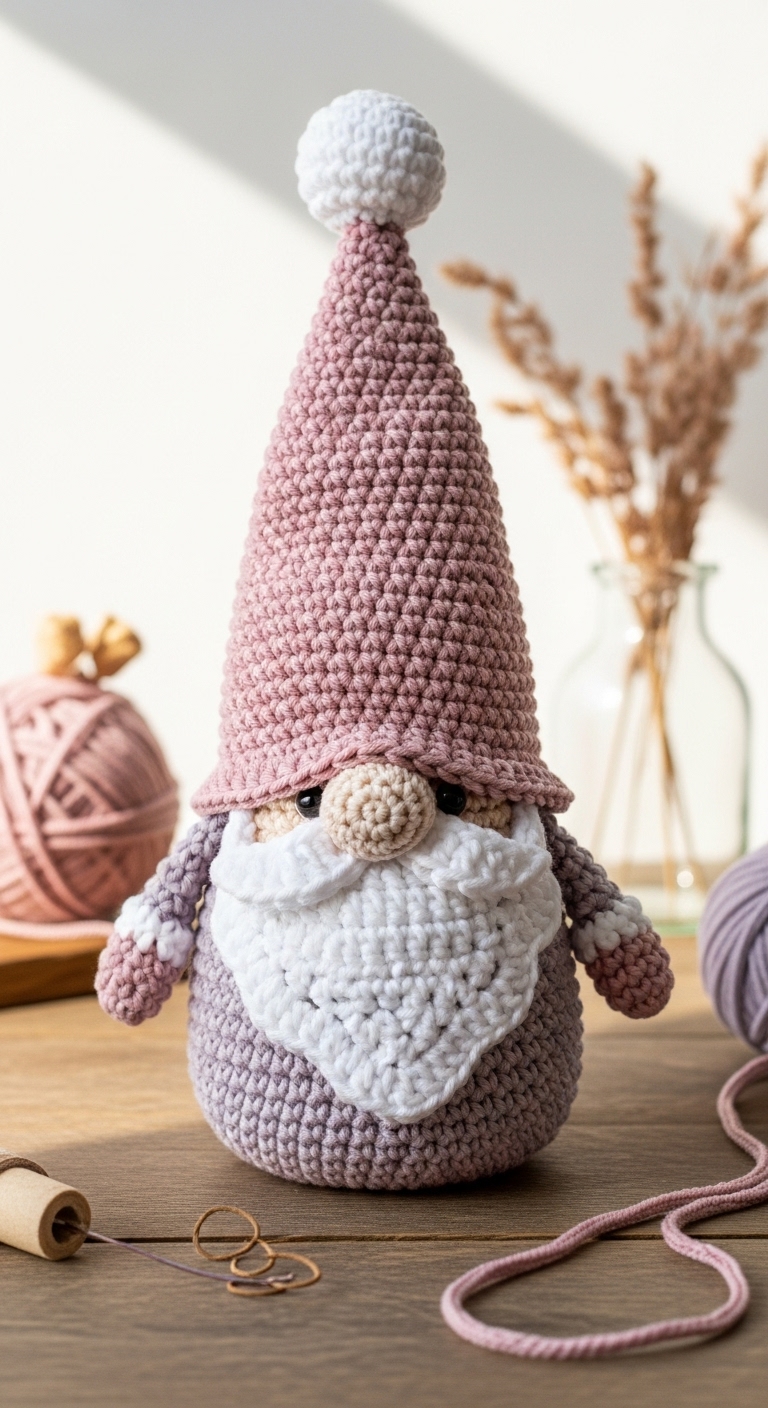
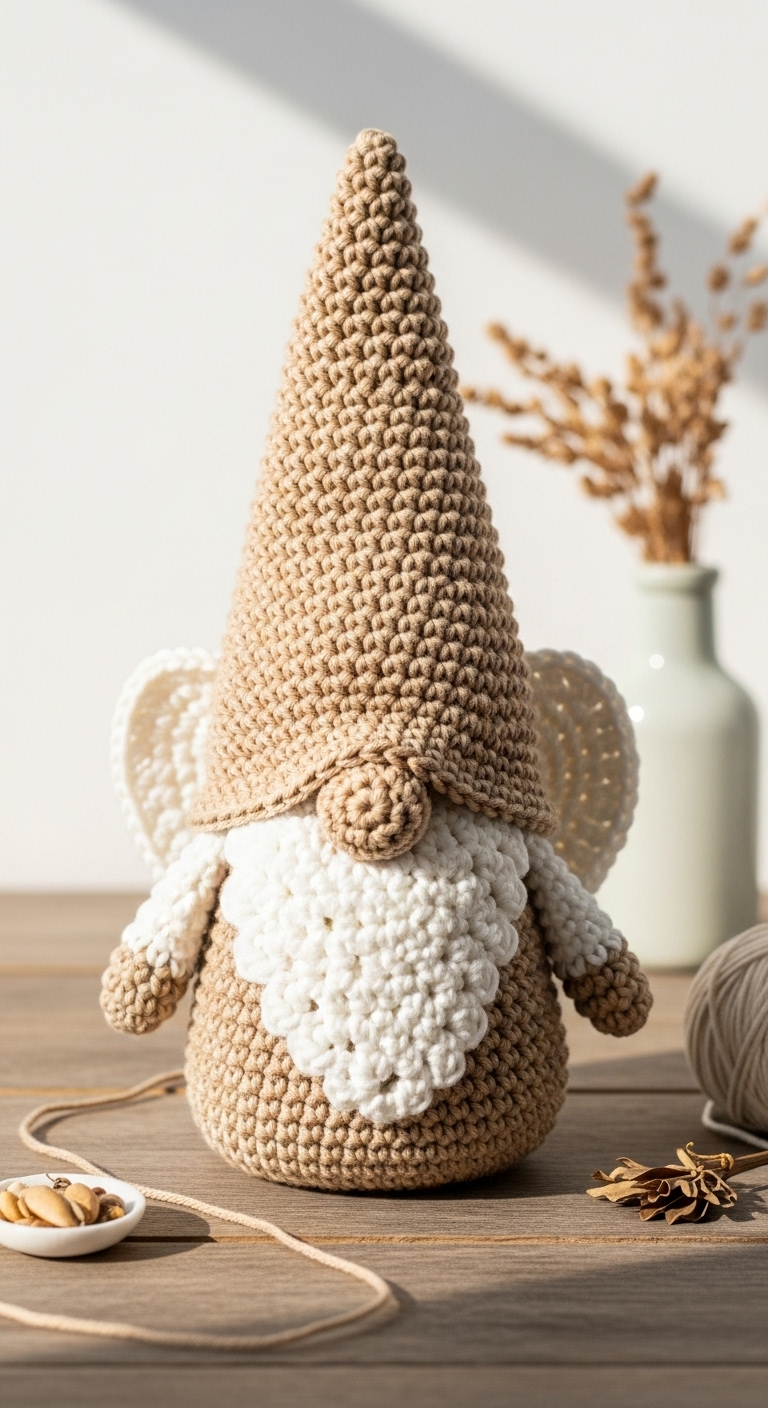
Welcome to the delightful world of crochet with this charming Daisy Gnome pattern! This adorable plushie stands approximately 10 inches tall, making it the perfect addition to your home decor or a whimsical gift for a friend. The combination of soothing pastel colors, like soft pink, gentle yellow, and fresh white, creates a soothing aesthetic that appeals to adults while still being playful and fun.
Crocheting this Daisy Gnome is not only swift but also a joyful process; it’s a project you can complete in just a few evenings! Ideal for both beginners and intermediate crafters, this pattern invites you to explore fundamental crochet techniques while providing a lovely finished piece that can brighten any space. With spring and summer in mind, this gnome is an excellent seasonal decor piece or a heartfelt gift for garden lovers.
3. Materials Needed
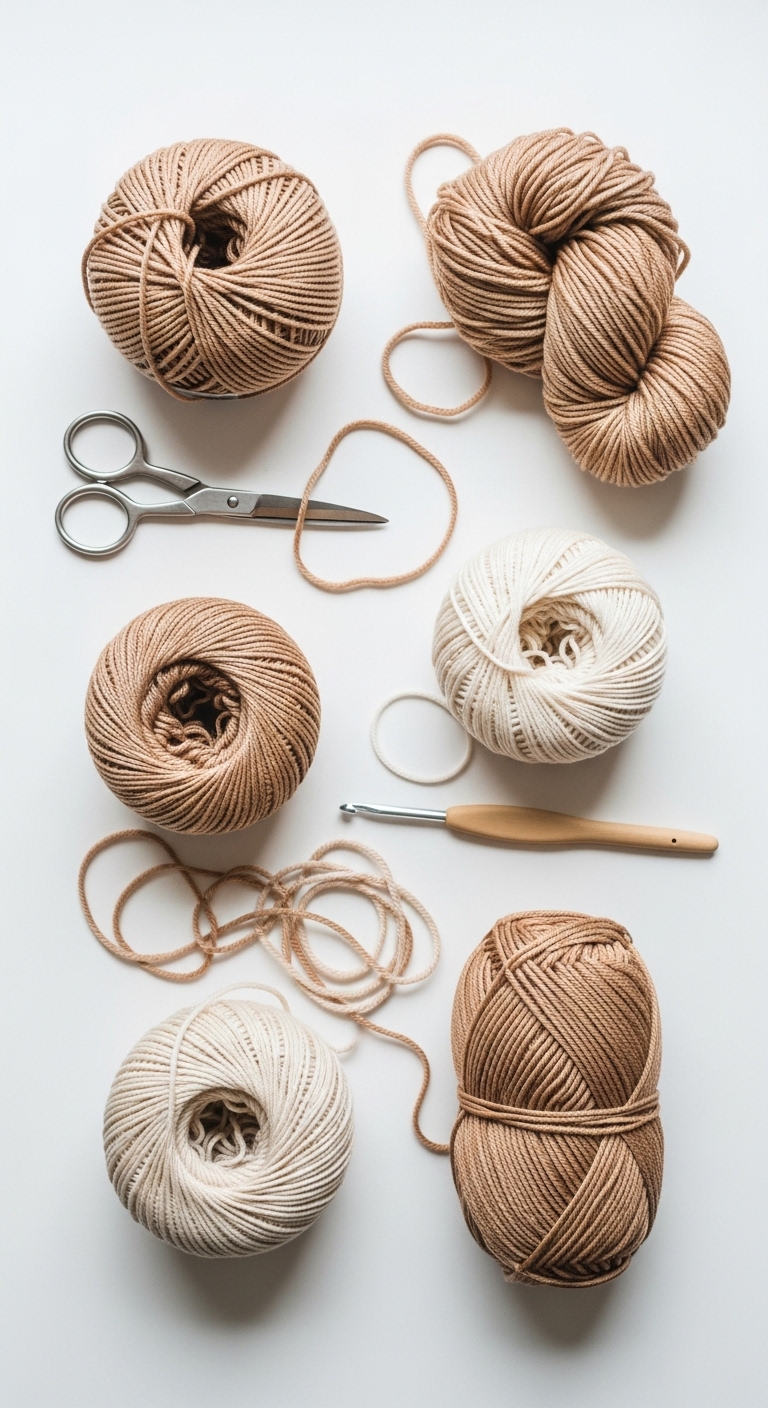
– Yarn: Worsted weight yarn in soft pink (approx. 100 yards), gentle yellow (approx. 50 yards), and fresh white (approx. 50 yards).
– Hook: 3.5mm or 4.0mm crochet hook
– Eyes: 12mm safety eyes
– Stuffing: Polyester fiberfill stuffing
– Needle: Tapestry needle for sewing
– Marker: Stitch marker
– Optional extras: Pipe cleaners for the flower stems, buttons for embellishment
4. Designer Notes / Tips
– Stitch technique: This pattern primarily uses single crochet (sc) stitches, with increases (inc) and decreases (dec) to shape the gnome. If you’re new to these techniques, don’t worry! A quick video tutorial can provide helpful guidance.
– Stuffing density: For this plushie, I recommend a medium density stuffing to maintain its shape while still being cuddly. Avoid overstuffing to keep the gnome from losing its charming proportions.
– Assembly: When joining pieces, use a whip stitch for a seamless finish. This method will help maintain the accuracy of shapes and allow your gnome to look polished.
– Yarn substitutions: If you prefer a lighter or heavier texture, feel free to use a DK or bulky yarn. Just note that this may alter the size of your finished gnome.
– Gauge tips: A gauge swatch is not strictly necessary for this project, but aim for a tight enough tension to prevent stuffing from showing through.
– Safety considerations: If this gnome is intended for a young child, consider using embroidered features instead of safety eyes to eliminate choking hazards.
5. Pattern Instructions
For Plushies:
Head
Body
Arms (Make 2)
Hat
Assembly
1. Attach the arms to the sides of the body using the long tails.
2. Place safety eyes on the head, about 3 rounds down from the top.
3. Position the hat on the head and sew it in place.
4. Gently stuff the body and finish off.
Finishing Touches
– Embroider a smiling mouth if desired.
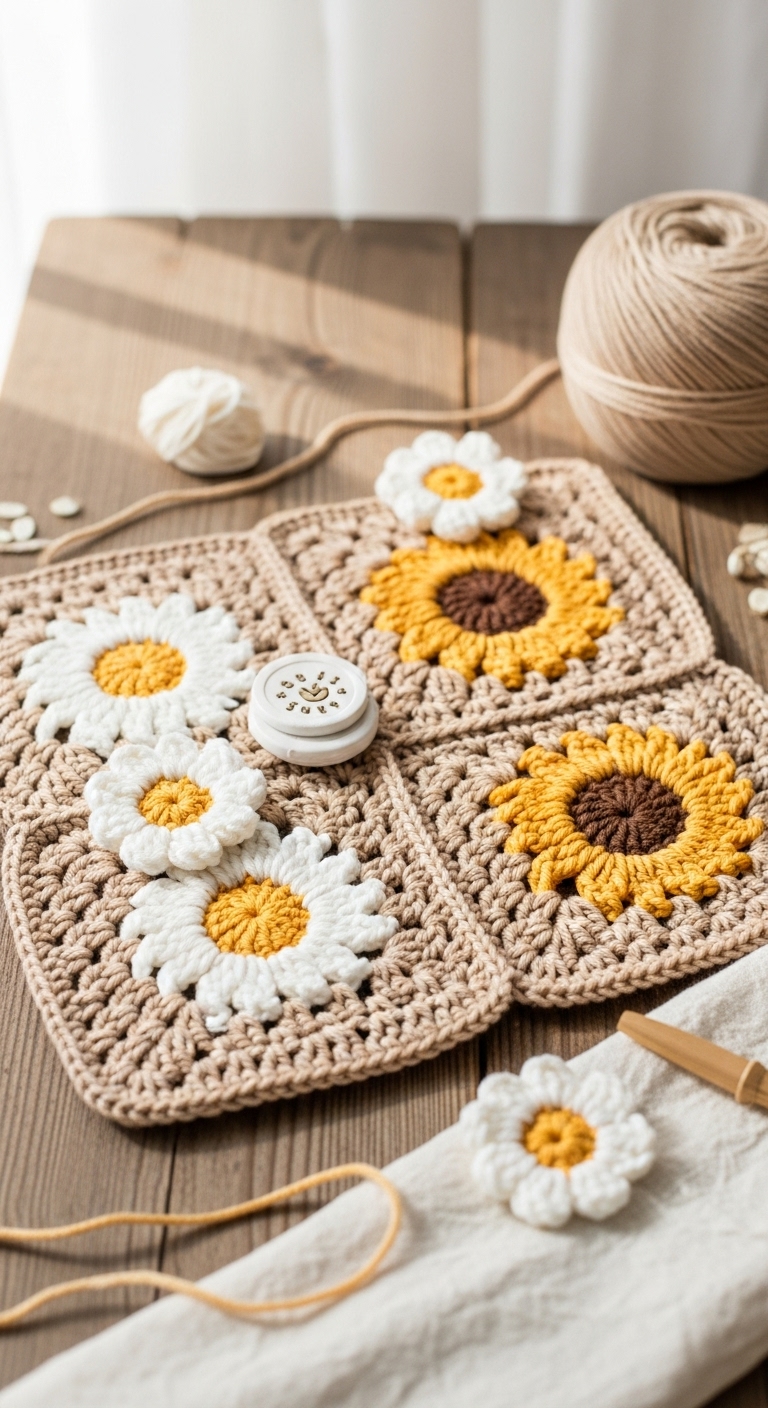
– Craft small daisies using the yellow and white yarn for embellishments on the hat or as a hand-held flower. You can shape the stems with pipe cleaners for extra fun!
6. Closing & Social Engagement
Thank you for joining me in creating this delightful Daisy Gnome! I hope you enjoyed the process and found it easy to follow. Don’t hesitate to share your version with us; I’d love to see what color combinations you choose! Leave a comment below with your thoughts or any questions you might have. Happy crocheting, and may your gnome bring joy to your home or the home of someone special!