crochet daisy backpack free pattern
2. Introduction
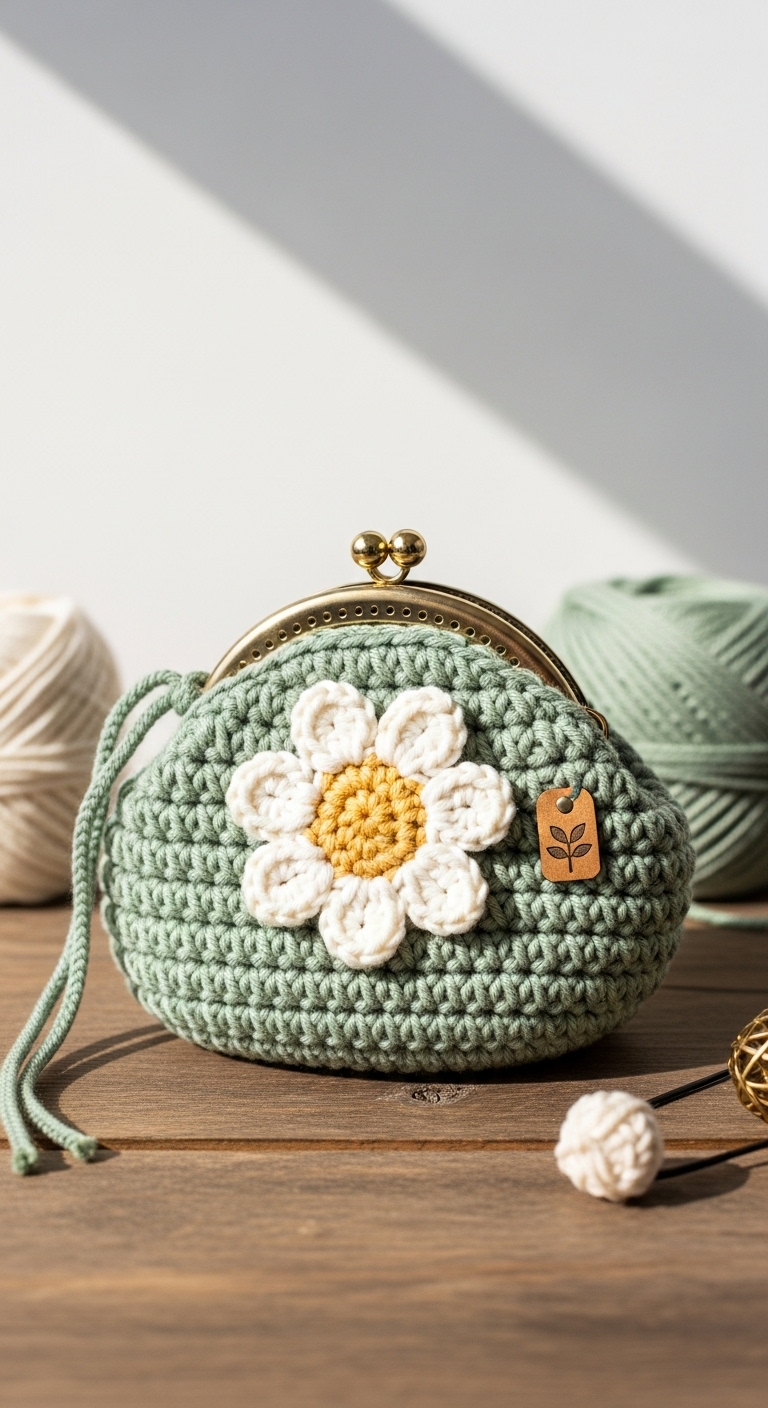
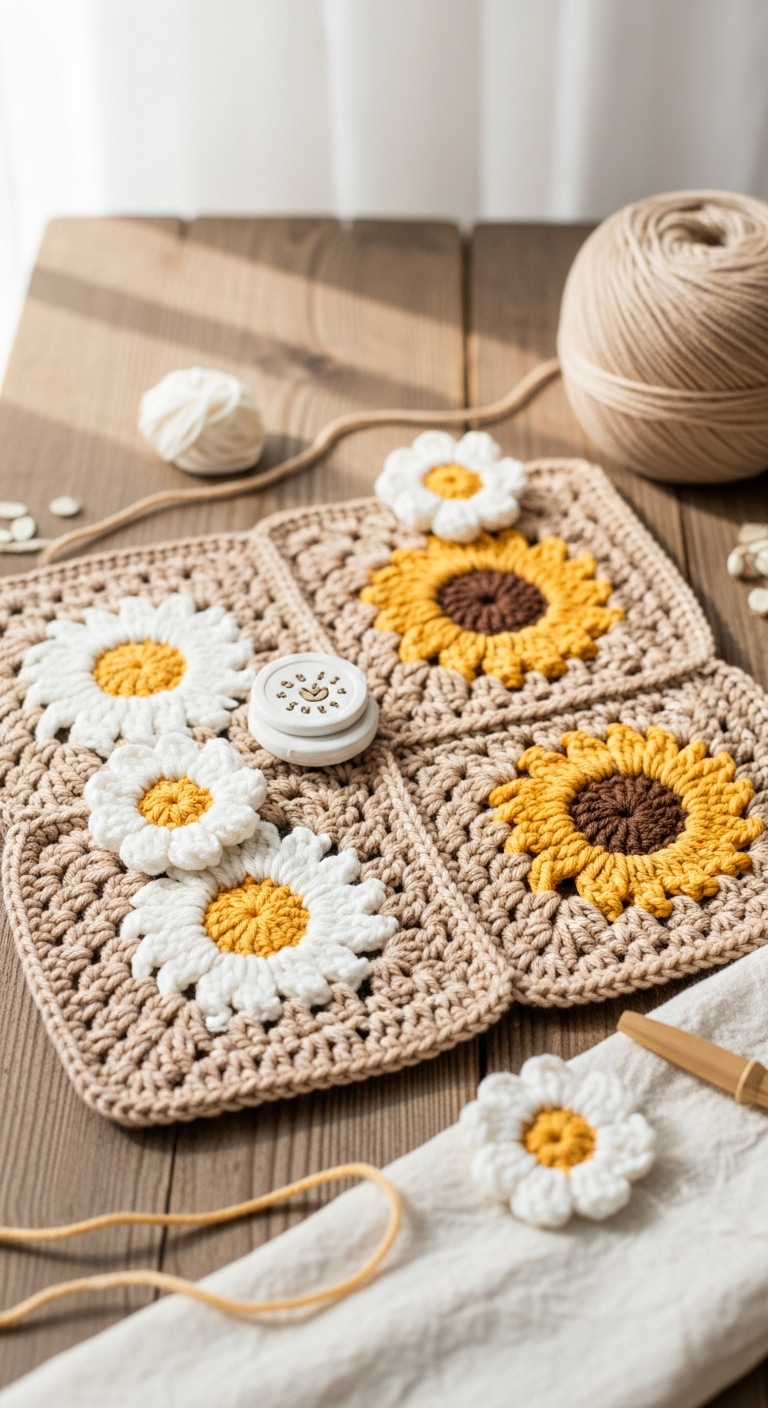
Welcome to the delightful world of crochet! Today, we’re diving into a fun and functional project: the Crochet Daisy Backpack. This charming accessory is not only practical for carrying your essentials but also boasts a playful floral design that brings a touch of whimsy to your daily outings. The finished backpack measures approximately 12 inches tall and 10 inches wide, making it the perfect size for both children and adults alike.
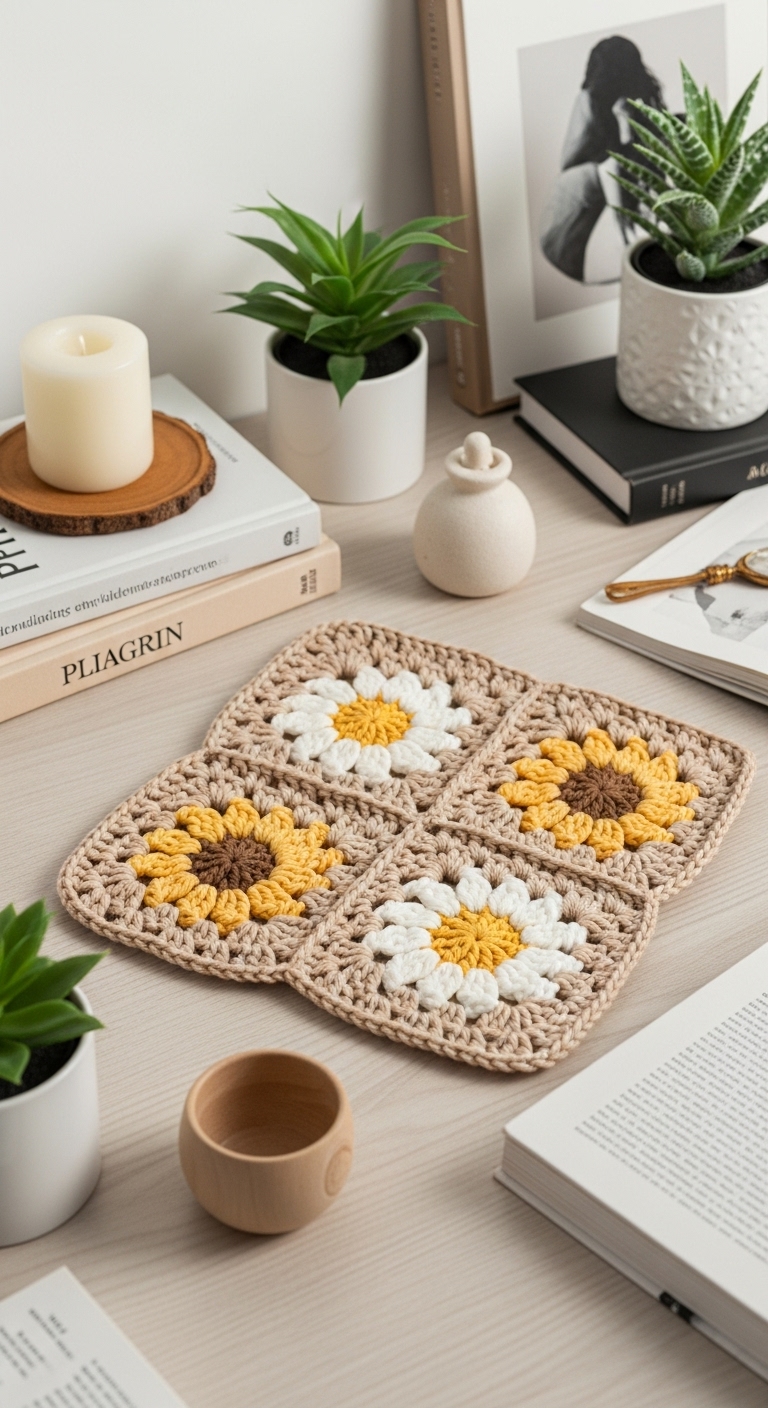
For this project, we’ll be using medium-weight yarn in three complementary colors: a soft sunflower yellow, a fresh leaf green, and a neutral cream. These adult-friendly colors not only add a cheerful vibe but also make this backpack versatile for various outfits and occasions. Crocheting this backpack is a delightful way to hone your skills while creating something special that can be gifted or kept for personal use. It’s perfect for a beginner looking for a fun challenge or for an intermediate crocheter wanting a quick project.
This daisy backpack is especially relevant for spring and summer – a perfect accessory for picnics, outings, or casual days out. Just imagine the smiles you’ll receive when others see your handmade floral creation!

3. Materials Needed
– Yarn: 4 medium-weight yarn in sunflower yellow (approx. 250 yards), leaf green (approx. 100 yards), and cream (approx. 150 yards)
– Hook: 3.5mm or 4.0mm crochet hook
– Eyes: Safety eyes (10mm) OR black embroidery thread for details
– Stuffing: Polyester fiberfill stuffing (optional, for added shape)
– Needle: Tapestry needle for sewing in ends
– Marker: Stitch marker
– Optional extras: A zipper for closure, lining fabric, or decorative buttons
4. Designer Notes / Tips
When working on this daisy backpack, you’ll be using a combination of basic stitches, such as single crochet and slip stitches. For the textured flower, you’ll create a puff stitch that gives the petals a lovely, dimensional feel. Don’t worry if you’re new to this stitch; with a little practice, you’ll be a pro in no time!
In terms of stuffing, feel free to lightly stuff the backpack to give it a bit more structure, but keep it flexible for easy handling. When joining pieces together, take your time to ensure that seams are neat and secure. This project is quite forgiving, but a tidy finish will make your backpack look professional.
If you’re considering yarn substitutions, any medium-weight yarn will work beautifully. Just keep in mind that the gauge may vary slightly, so it’s worth doing a quick check before starting. Aim for a gauge of 4 stitches per inch in single crochet for the best results. If you’re making this backpack for a child, consider omitting any small embellishments that could pose a choking hazard.
5. Pattern Instructions
Main Panel
Straps
Assembly
– Use the tapestry needle to sew the straps to the top sides of the main panel.
– Attach the flower motif to the front of the backpack, either by sewing or using safety eyes for added detail.
– If using a zipper, sew it into the top opening for easy access. Lining can also be added for a polished interior.
– Weave in all loose ends and give the backpack a gentle steam block if needed to smooth out any uneven stitches.
6. Closing & Social Engagement
Congratulations on completing your very own Crochet Daisy Backpack! I’m so excited to see how your projects turn out. Whether you keep it for yourself or gift it to someone special, I hope it brings joy and a splash of color wherever it goes.
I’d love to see your version of this backpack! Leave a comment below to share how it went, or let me know what color combination you tried. If you share your finished backpack on social media, don’t forget to tag me – I can’t wait to see all the wonderful creations you come up with!