how to crochet daisy granny square

2. Introduction
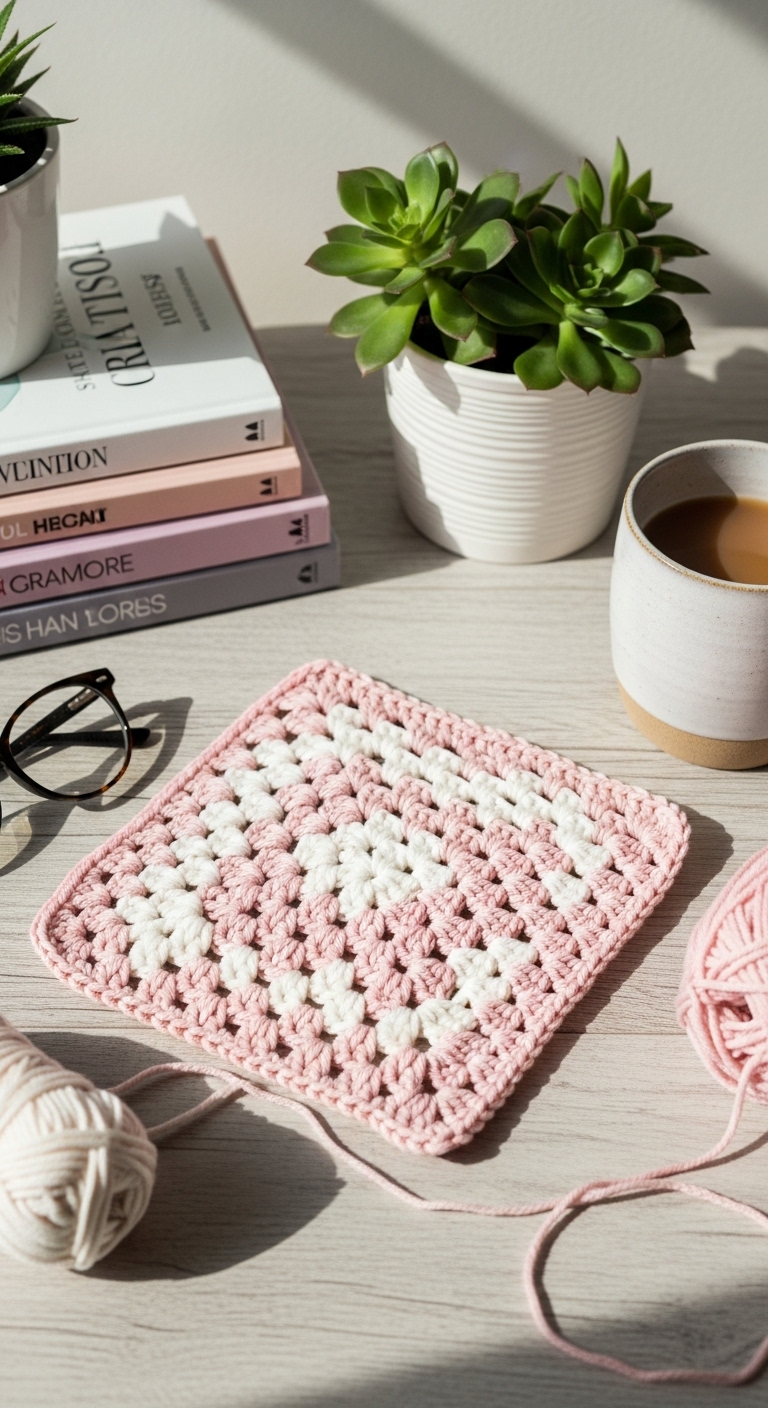
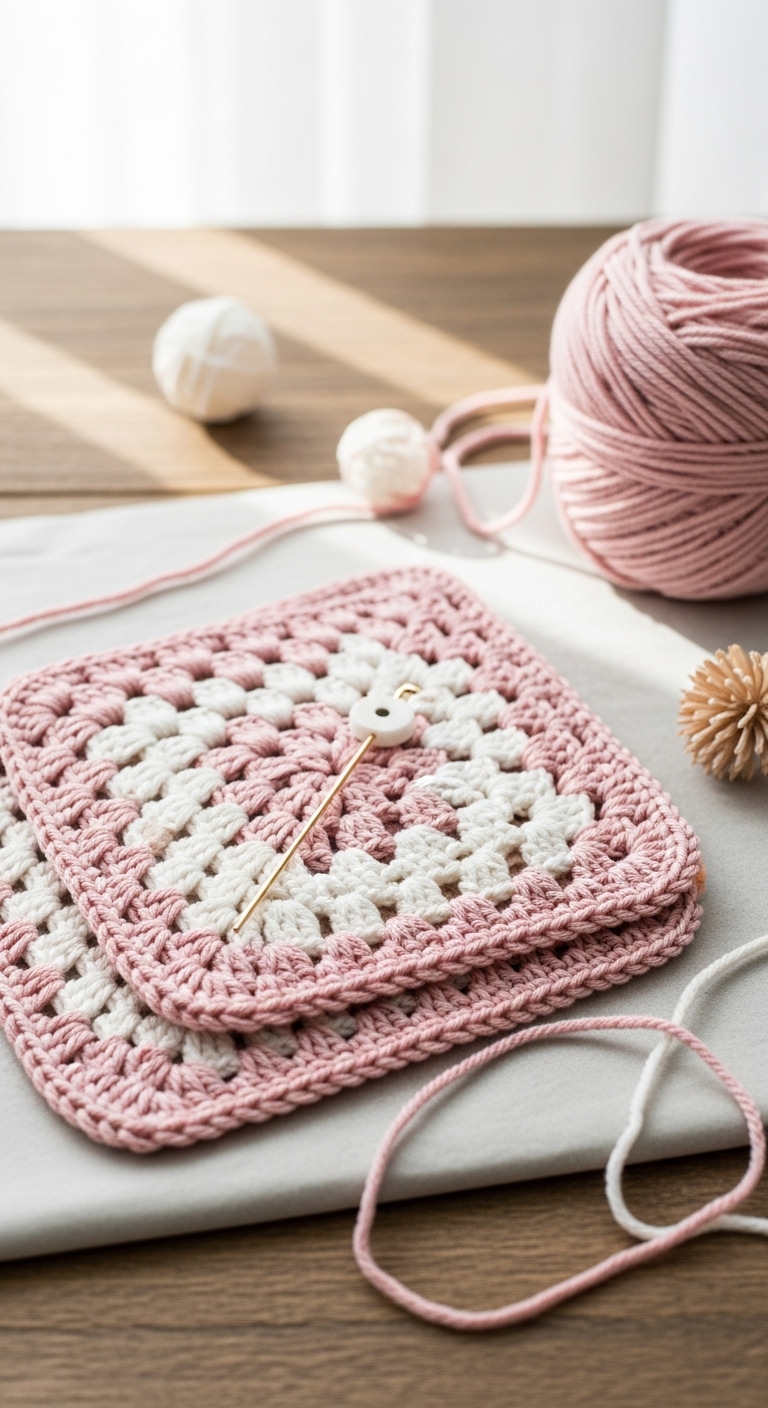
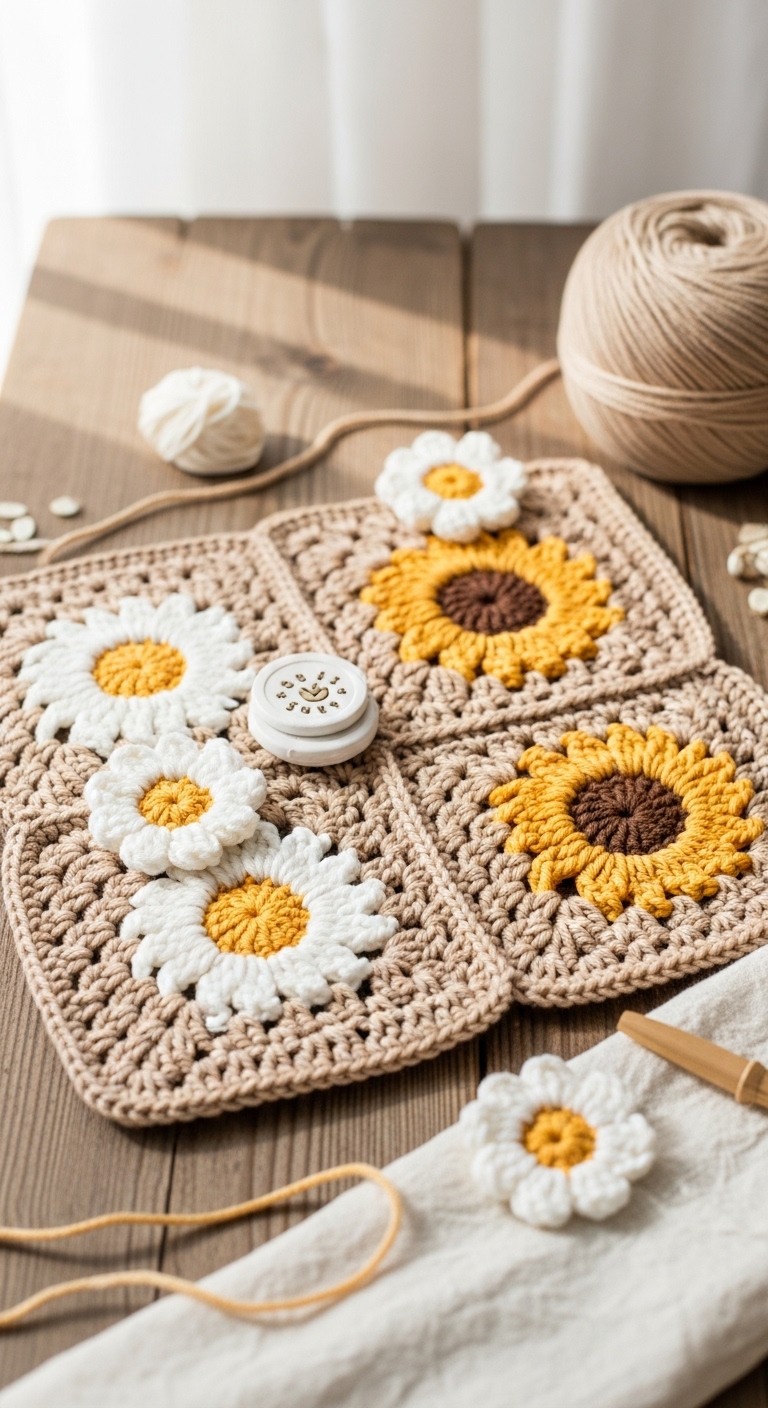
Welcome to the delightful world of crochet! In this article, we’ll be creating a charming Daisy Granny Square, a lovely motif perfect for blankets, bags, or even coasters. Each square measures approximately 6 inches by 6 inches, making it a versatile size for various projects. You can combine these squares to create beautiful larger pieces, or use them individually as decorative accents.
For this project, we’re using soft worsted weight yarn in a harmonious palette of cream, sunny yellow, and a lovely green for the leaves. These colors not only evoke the freshness of spring but also provide a modern and sophisticated look that can easily blend into any décor. The best part? This project is quick to make, allowing you to whip up several squares in an afternoon. It’s perfect for beginners looking to practice their skills while creating something beautiful and functional. Plus, these squares make for thoughtful gifts that add a personal touch to home décor!
3. Materials Needed
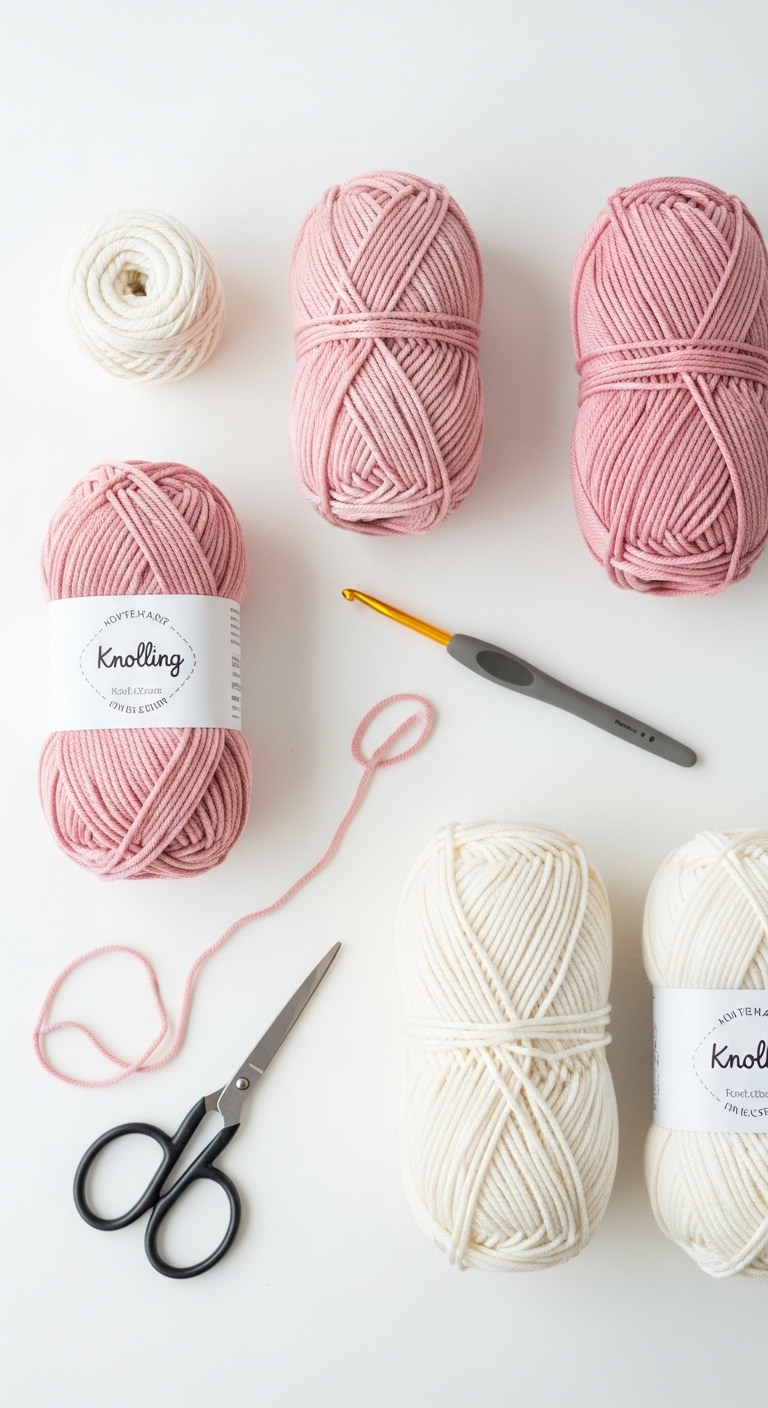
– Yarn: Medium (Worsted) weight yarn in cream (approx. 100 yards), sunny yellow (approx. 50 yards), and green (approx. 50 yards)
– Hook: 4.0mm crochet hook
– Eyes: Not applicable for this project
– Stuffing: Not needed for this project
– Needle: Tapestry needle for weaving in ends
– Marker: Stitch marker
– Optional extras: None for this project
4. Designer Notes / Tips
– Stitch technique: This pattern utilizes basic crochet stitches like chain (ch), slip stitch (sl st), and double crochet (dc). If you are unfamiliar with any of these stitches, there are plenty of tutorials available online to guide you through.
– Assembly: When joining squares, consider using a whip stitch or slip stitch method for a seamless finish. This will keep your project looking neat and tidy.
– Yarn substitutions: You can use any medium weight yarn you have on hand; just be mindful of the color combinations to maintain the flower motif.
– Gauge tips: While gauge isn’t crucial for this project, keep your tension consistent to ensure your squares are uniform in size.
– Safety considerations: Since this project does not involve stuffing or small pieces, it is safe for all ages.
5. Pattern Instructions
Daisy Granny Square
Round 1:
Start with a magic ring.
Round 2:
Change to yellow yarn.
Round 3:
Change to cream yarn.
Round 4:
With green yarn, create the leafy border.
Final Round:
Finish off and weave in all ends using a tapestry needle.
Assembly:
Once you’ve made your squares, you can join them by placing them right sides together and using a slip stitch or whip stitch along the edges. If you’re creating a larger item, consider alternating the squares to create a beautiful pattern.
6. Closing & Social Engagement
I hope you enjoyed making your Daisy Granny Square! Don’t worry if your first few squares don’t turn out perfect; practice makes progress! I’d love to see your version! Leave a comment below sharing your experience and what colors you chose. Share your finished Daisy Granny Squares on social media using #DaisyGrannySquare so we can all be inspired by your creativity!