crochet flamingo gnome free pattern

2. Introduction
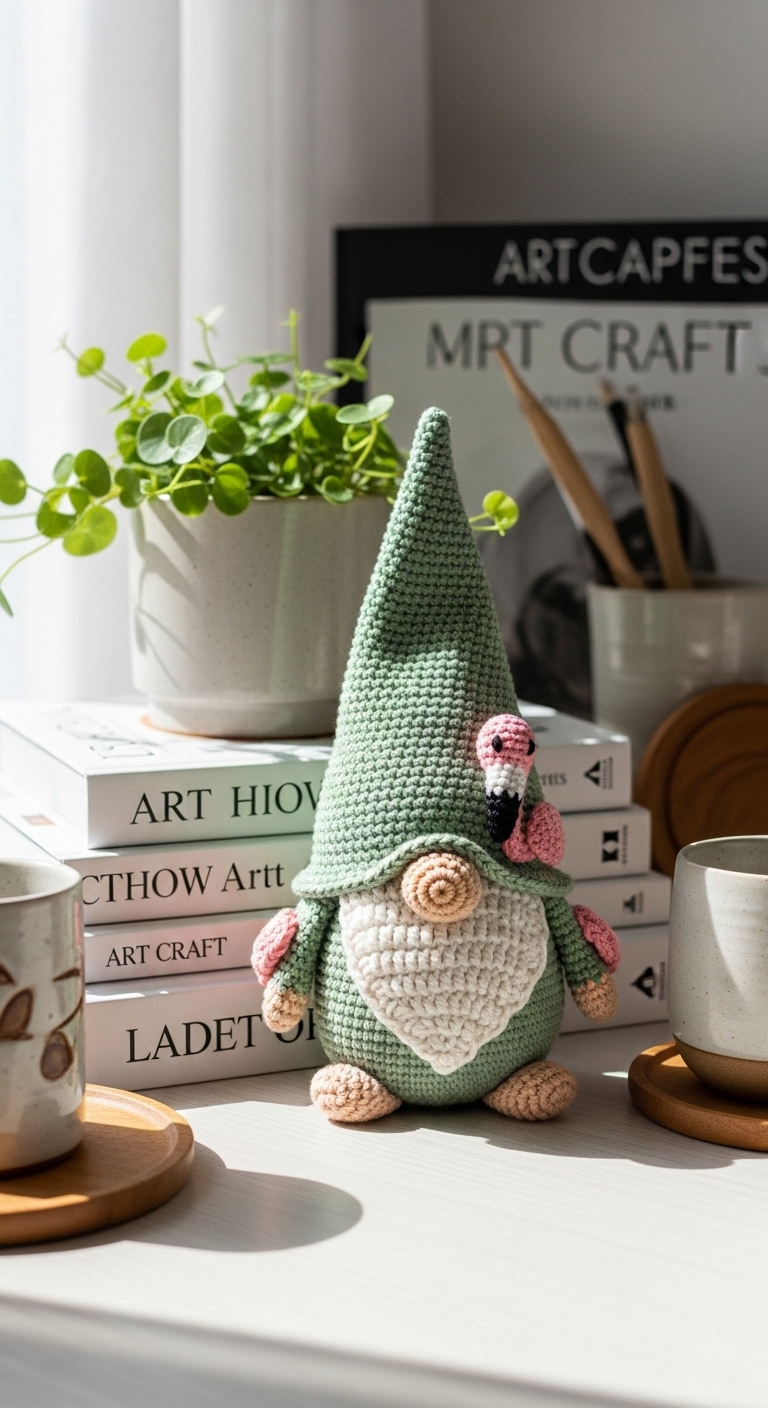
Welcome to the world of whimsical crochet with this delightful Flamingo Gnome pattern! This charming plushie stands approximately 10 inches tall, making it the perfect size to brighten up your home décor or to serve as a fun gift for a friend or loved one. The vibrant colors of this gnome reflect the cheerful spirit of summer, featuring shades of pink, coral, and green, which perfectly complement each other for an adult-friendly palette that’s sure to catch the eye.
Crocheting this Flamingo Gnome is not only a quick project that you can complete in just a few hours, but it’s also a fantastic way to practice your crochet skills while creating something unique and special. This pattern is beginner-friendly, providing clear instructions and helpful tips along the way. Whether you’re making this adorable gnome for yourself or as a seasonal decoration, it’s bound to bring a smile to anyone who sees it!
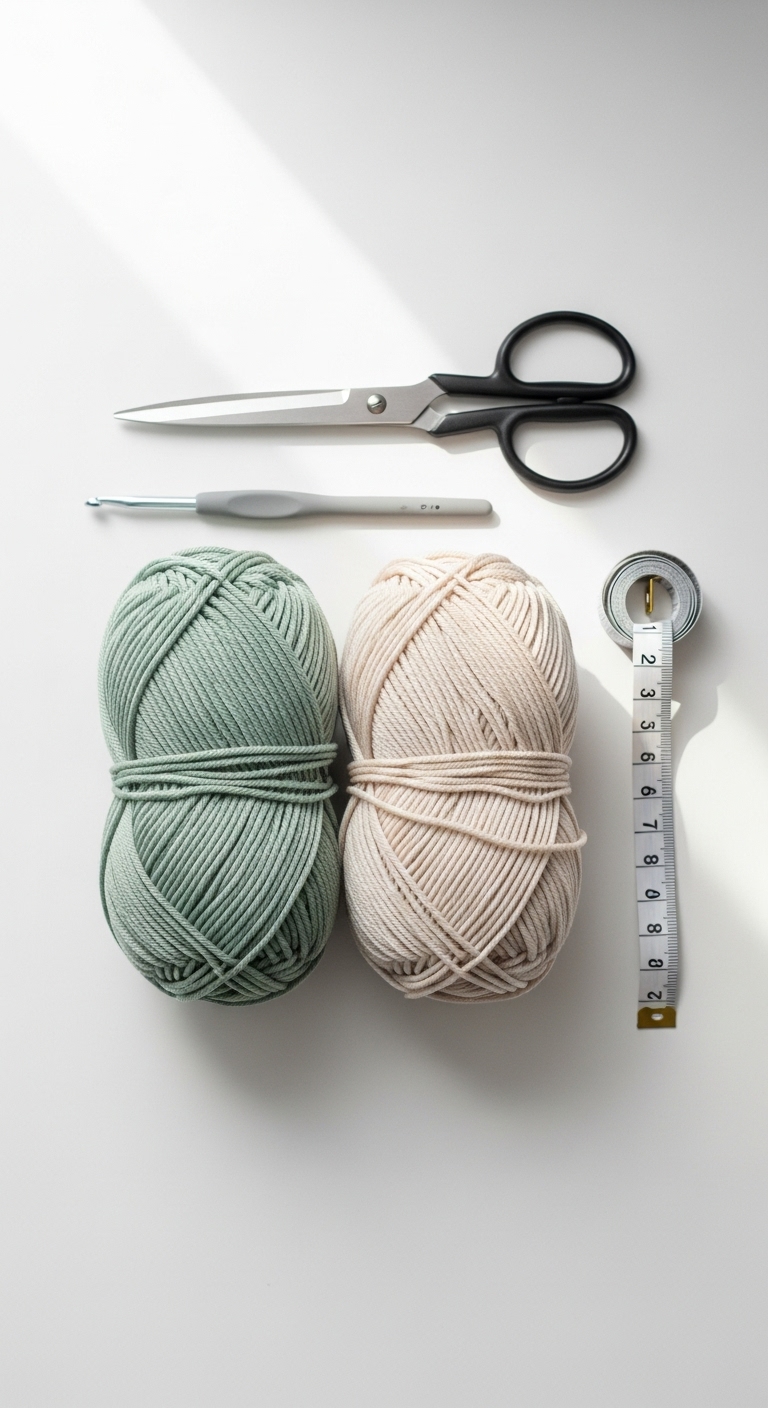
3. Materials Needed
– Yarn: Worsted weight yarn in pink (approx. 150 yards), coral (approx. 100 yards), and green (approx. 50 yards)
– Hook: 3.5mm or 4.0mm crochet hook
– Eyes: 12mm safety eyes
– Stuffing: Polyester fiberfill stuffing
– Needle: Tapestry needle for sewing
– Marker: Stitch marker
– Optional extras: Small piece of felt for the gnome’s nose, additional embellishments (like tiny flowers)
4. Designer Notes / Tips
When working on the Flamingo Gnome, you’ll use basic stitches such as single crochet and increases, making it a great project for beginners. For texture, consider incorporating some slip stitches in certain areas to create a more defined look. As for stuffing, I recommend using a light hand to maintain a nice shape without making the gnome too firm.
Assembly is a crucial step! Be sure to use a tapestry needle to sew pieces together securely, and don’t hesitate to use stitch markers to keep track of your rounds. If you want to substitute yarn, a cotton blend can work nicely for a softer feel. Remember to check your gauge; while this pattern does not require a specific gauge, ensuring your stitches are consistent will help achieve the correct size.
For safety, if you’re crafting this for a child, consider embroidering the eyes instead of using safety eyes to eliminate any choking hazard.
5. Pattern Instructions
For Plushies:
Head:
Body:
Arms:
Legs:
Assembly:
– Attach the head to the body using the tapestry needle.
– Sew the arms to the sides of the body and the legs to the base.
– Place safety eyes on the head between rounds 6 and 7, about 4 stitches apart.
– For the nose, cut a small oval from felt and sew or glue it onto the face.
Finishing Touches:
– You can add little embellishments such as flowers or a tiny hat to personalize your gnome.
– Consider adding a cute collar or scarf using the leftover yarn to give your gnome even more character!
6. Closing & Social Engagement
I hope you enjoy creating your very own Flamingo Gnome! Don’t forget to let your imagination run wild with color combinations and embellishments. I’d love to see your version! Leave a comment below and share your finished gnome on social media. What color combination will you try? Your handmade piece is sure to bring joy to your spaces or to someone special!