crochet snowman amigurumi free pattern
2. Introduction
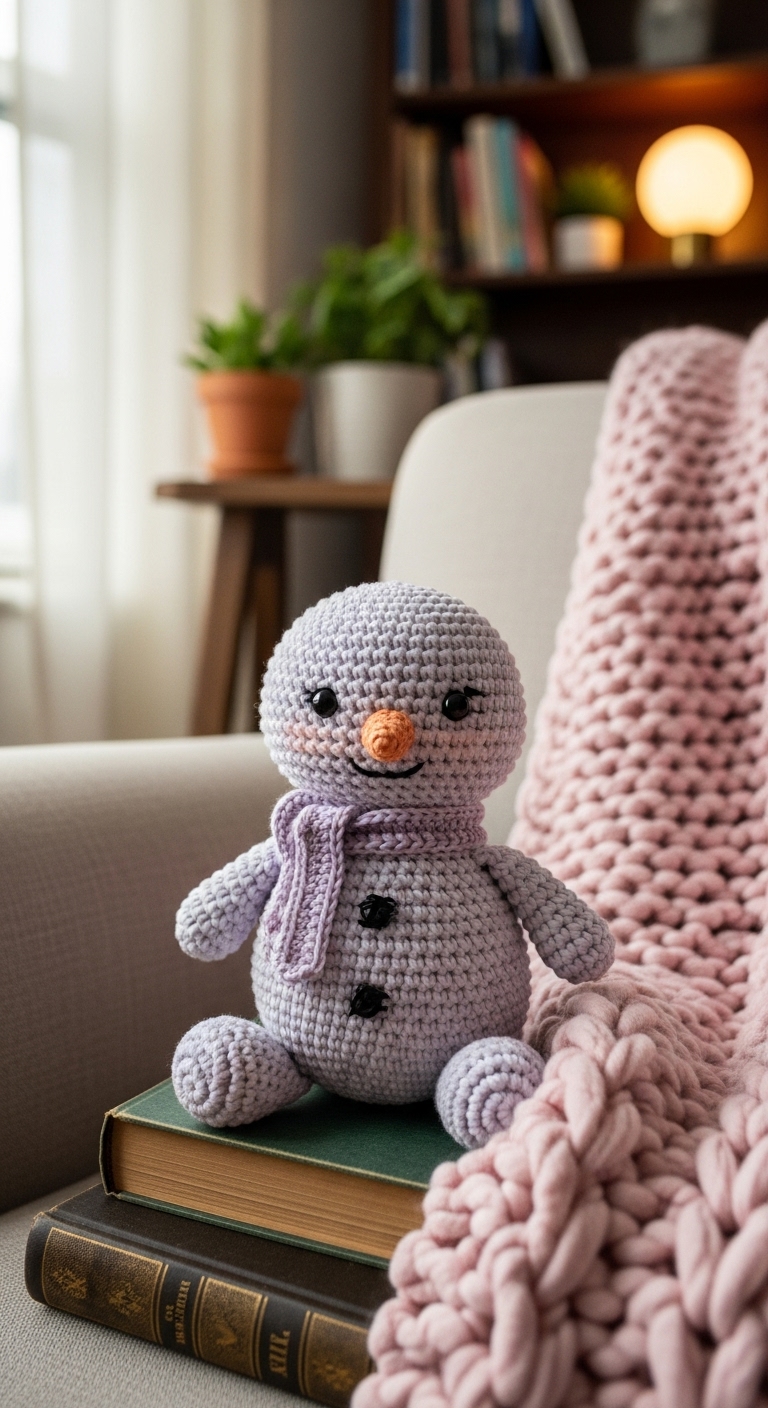
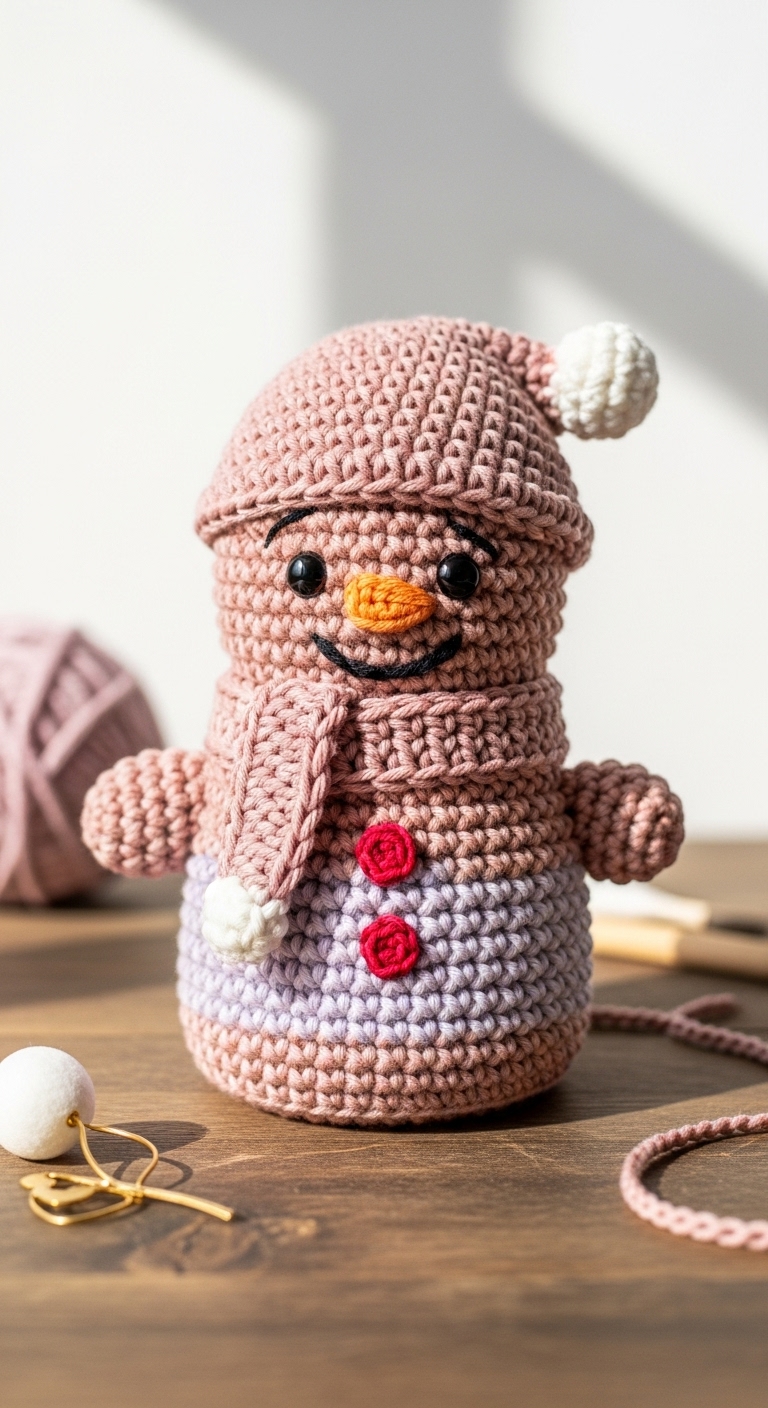
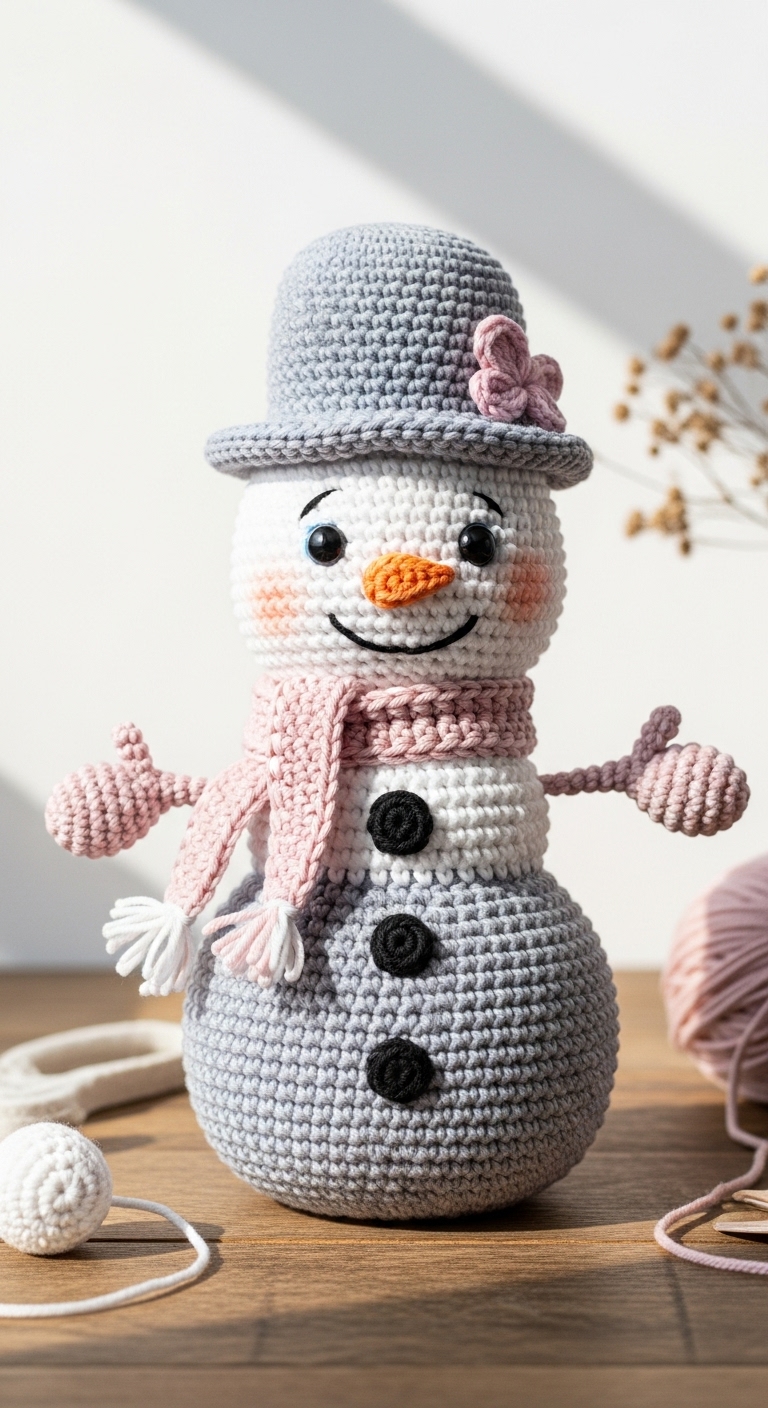
Welcome to this delightful crochet snowman amigurumi pattern! This charming little snowman stands approximately 8 inches tall, making it the perfect addition to your holiday decor or as a cozy winter gift. Created using soft, plush yarn in a classic combination of white, deep blue, and a pop of bright orange, this snowman is not only cute but also sophisticated enough to appeal to adults. His friendly smile and adorable button details are sure to bring joy during the chillier months.
Crocheting this snowman is a fun and quick project, especially with the holidays approaching. It’s beginner-friendly, making it accessible for crafters who may be new to amigurumi. Plus, he’s a fantastic gift idea for friends and family who appreciate handmade treasures, ensuring that your love and creativity shine through with every stitch.
3. Materials Needed
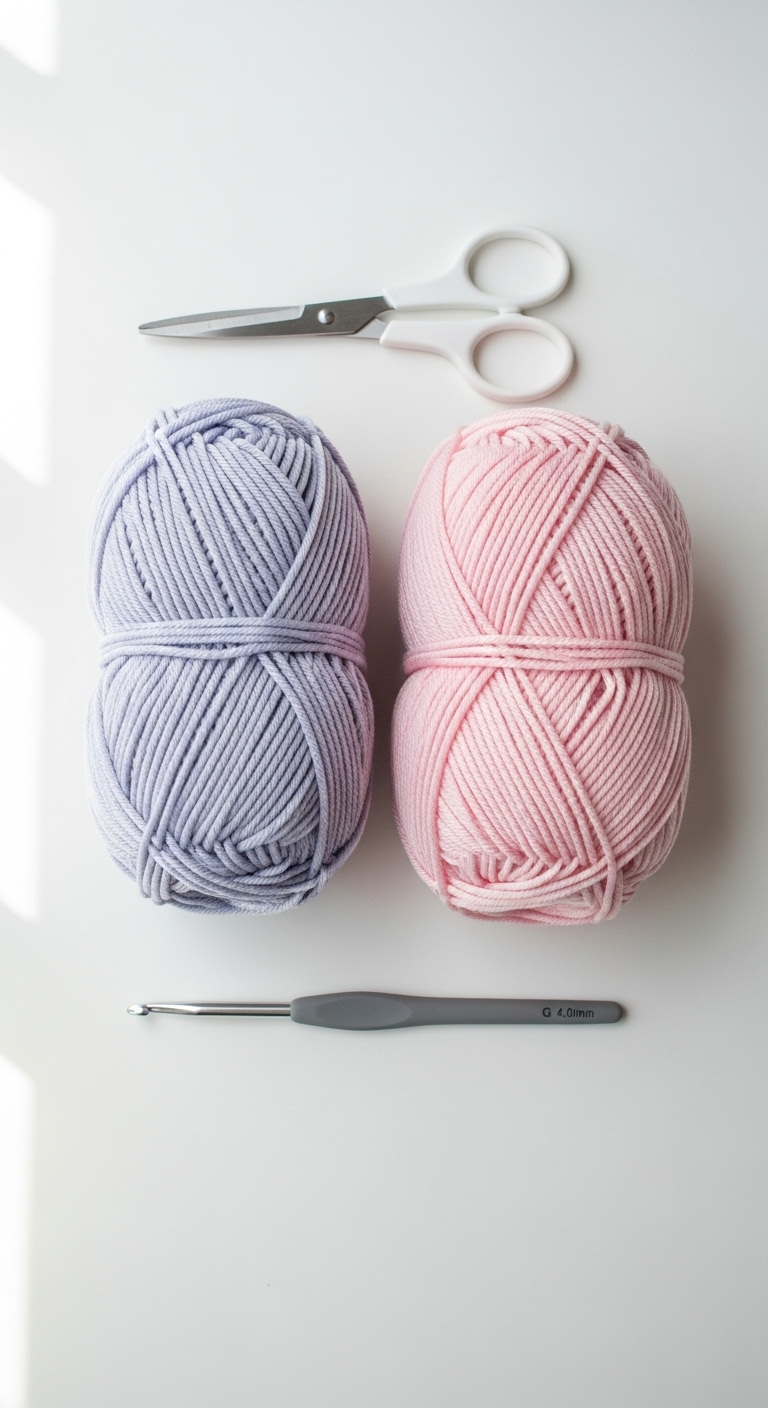
– Yarn: Worsted weight yarn in white (approx. 150 yards), deep blue (approx. 50 yards), and bright orange (approx. 15 yards)
– Hook: 3.5mm or 4.0mm crochet hook
– Eyes: 12mm safety eyes
– Stuffing: Polyester fiberfill stuffing
– Needle: Tapestry needle for sewing
– Marker: Stitch marker
– Optional extras: Mini buttons for decoration, and a pipe cleaner for the snowman’s scarf
4. Designer Notes / Tips
As you embark on this project, remember that the magic ring is a great way to start your amigurumi pieces as it creates a tight and seamless beginning. For the body, using a firm stuffing will help your snowman maintain its shape, but feel free to use light stuffing for a squishier feel if that’s your preference.
When assembling, it’s best to sew the limbs and head onto the body while all parts are unstuffed to ensure a clean finish. You can substitute yarn with similar weight or texture, but keep in mind that color choices can dramatically change the final look of your snowman.
A quick note on gauge: While a specific gauge isn’t critical for this project, maintaining a consistent tension will ensure your stitches are tight enough to hold the stuffing securely. Lastly, if this snowman is intended for young children, consider using embroidered eyes instead of safety eyes for added safety.
5. Pattern Instructions
For Plushies:
Head:
*At this point, stuff the head firmly.*
Body:
*Begin stuffing the body as you go along.*
Arms:
Assembly:
1. Sew the head onto the body.
2. Attach the arms on either side.
3. Position the safety eyes on the head and secure.
4. Use the orange yarn to embroider a small carrot nose.
5. Sew buttons down the front of the body for decoration.
Finishing Touches:
– If you’d like, you can create a scarf with pipe cleaner, wrapping it around the snowman’s neck.
– Add any additional embellishments, like small buttons for charm.
6. Closing & Social Engagement
Congratulations on creating your very own snowman amigurumi! I’d love to see your version! Please leave a comment below sharing your thoughts or any color combinations you experimented with. What color combination will you try? Don’t forget to share your finished snowman on social media – let’s spread some winter cheer together!