crochet gnome the winter slouchy hat gnome

2. Introduction
Welcome to the delightful world of crochet! In this article, we will be creating an adorable Winter Slouchy Hat Gnome. This charming gnome plushie stands approximately 10 inches tall when completed, making it a perfect size for decorating your home during the winter months or gifting to a friend. With its whimsical slouchy hat and cozy design, this gnome captures the spirit of winter in a fun and engaging crochet project.
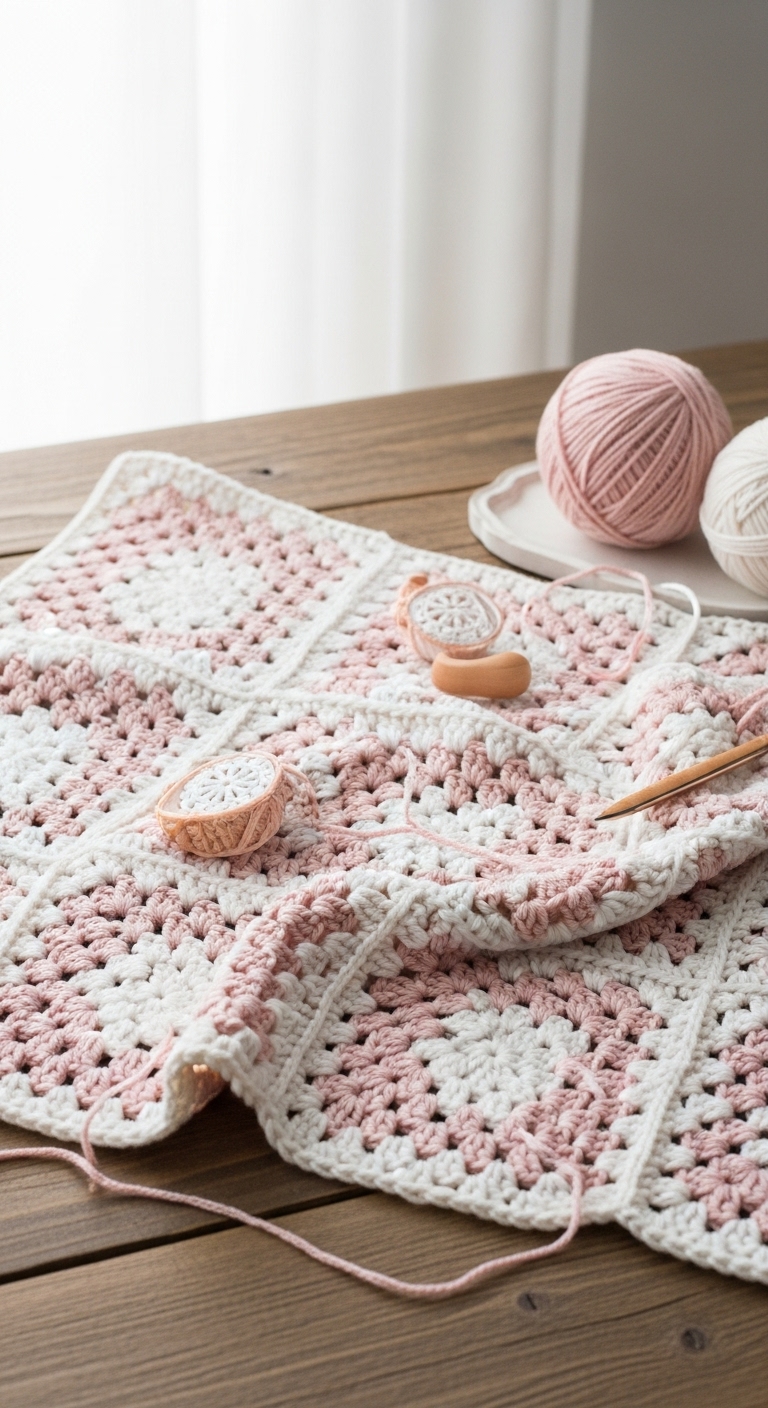
For this project, you will need a cozy blend of yarn in three complementary, adult-friendly colors: a soft cream for the gnome’s beard, a rich gray for the body, and a pop of festive red for the slouchy hat. The combination of these colors not only adds a touch of elegance but also brings warmth to your winter decor. This gnome is quick to crochet, making it a lovely project for a weekend or a crafty evening at home.
This pattern is beginner-friendly, providing simple step-by-step instructions so that even those new to crochet can successfully make their very own gnome. Not only does it serve as a delightful decoration, but it also makes for a heartfelt gift for anyone who appreciates handmade, seasonal decor!

3. Materials Needed
– Yarn: Worsted weight yarn in cream (approx. 100 yards), gray (approx. 150 yards), and red (approx. 50 yards)
– Hook: 3.5mm or 4.0mm crochet hook
– Eyes: Safety eyes (12mm) OR black embroidery thread
– Stuffing: Polyester fiberfill stuffing
– Needle: Tapestry needle for sewing
– Marker: Stitch marker
– Optional extras: Small pom-pom for the hat tip
4. Designer Notes / Tips
Creating your Winter Slouchy Hat Gnome is all about enjoying the process! Here are some helpful tips to keep in mind:
– Stitch Technique: We will primarily use single crochet (sc) stitches and increases (inc) to shape the gnome’s body and hat. Don’t worry if you’re unfamiliar with these stitches; they are straightforward and perfect for beginners!
– Stuffing Density: Aim for a medium firmness when stuffing your gnome. You want it to be plush but not overly squishy, ensuring it holds its shape while still being cuddly.
– Assembly: When attaching the hat, make sure to leave a little bit of the bottom edge unsewn for a slouchy effect. Position the eyes about halfway down the head to give your gnome that charming, whimsical look.
– Yarn Substitutions: If you prefer a different texture, feel free to use a soft acrylic yarn or a cotton blend. Just make sure the yarn weight is similar to worsted weight for consistent sizing.
– Gauge Tips: While gauge is not crucial for this project, try to maintain a consistent tension throughout for the best results. If your stitches are too tight, your gnome may end up smaller than intended.
– Safety Considerations: If you plan to gift this gnome to a child, consider using embroidered eyes instead of safety eyes to eliminate any choking hazards.
5. Pattern Instructions
For Plushies:
Head:
Body:
Hat:
*When you reach the last round of the hat, you can change to red yarn.*
Arms (make 2):
Assembly:
1. Stuff the head firmly before closing the top.
2. Attach safety eyes or embroider eyes in place. Position them about halfway down the head.
3. Stuff the body lightly and close the bottom.
4. Sew the arms to the sides of the body.
5. Attach the hat to the head, leaving a little section unsewn for the slouchy effect.
6. Optionally, sew a small pom-pom to the tip of the hat for an extra festive touch!
6. Closing & Social Engagement
You’ve completed your Winter Slouchy Hat Gnome! What a wonderful addition to your winter decor or a delightful gift for someone special. I’d love to see your version! Leave a comment below to share your experience, and let me know what color combination you decided to try. Don’t forget to share your finished gnome on social media—tag me so we can celebrate your crafty accomplishments together!