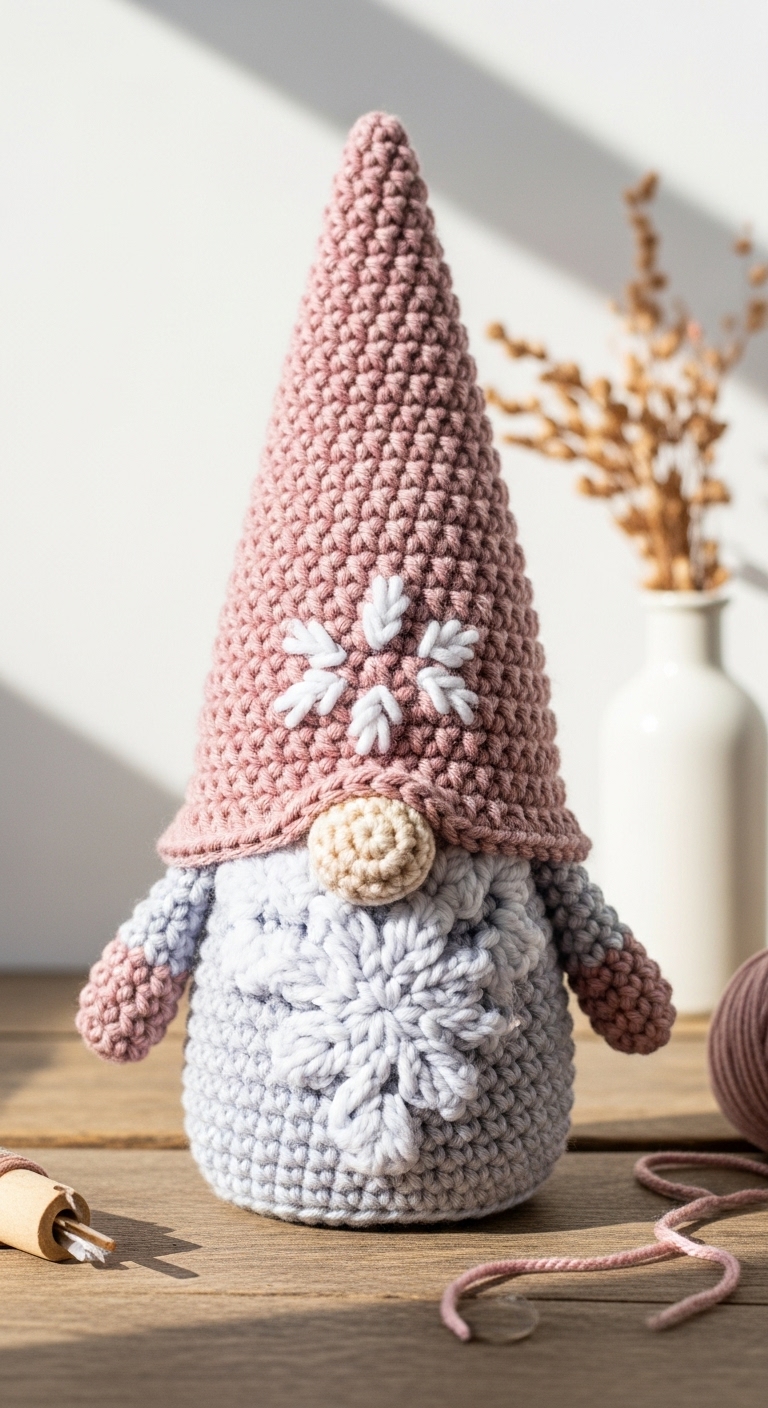
snowfall gnome free crochet pattern
2. Introduction
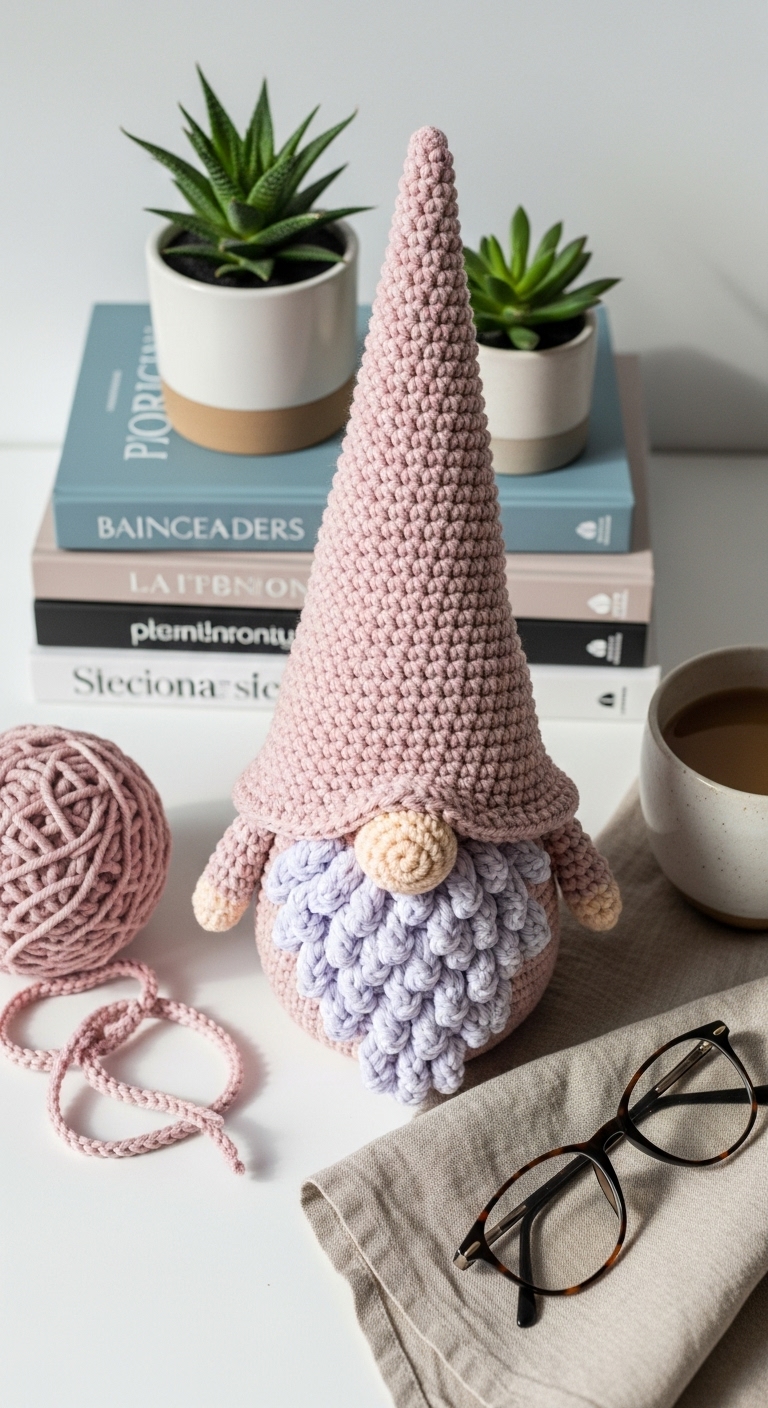
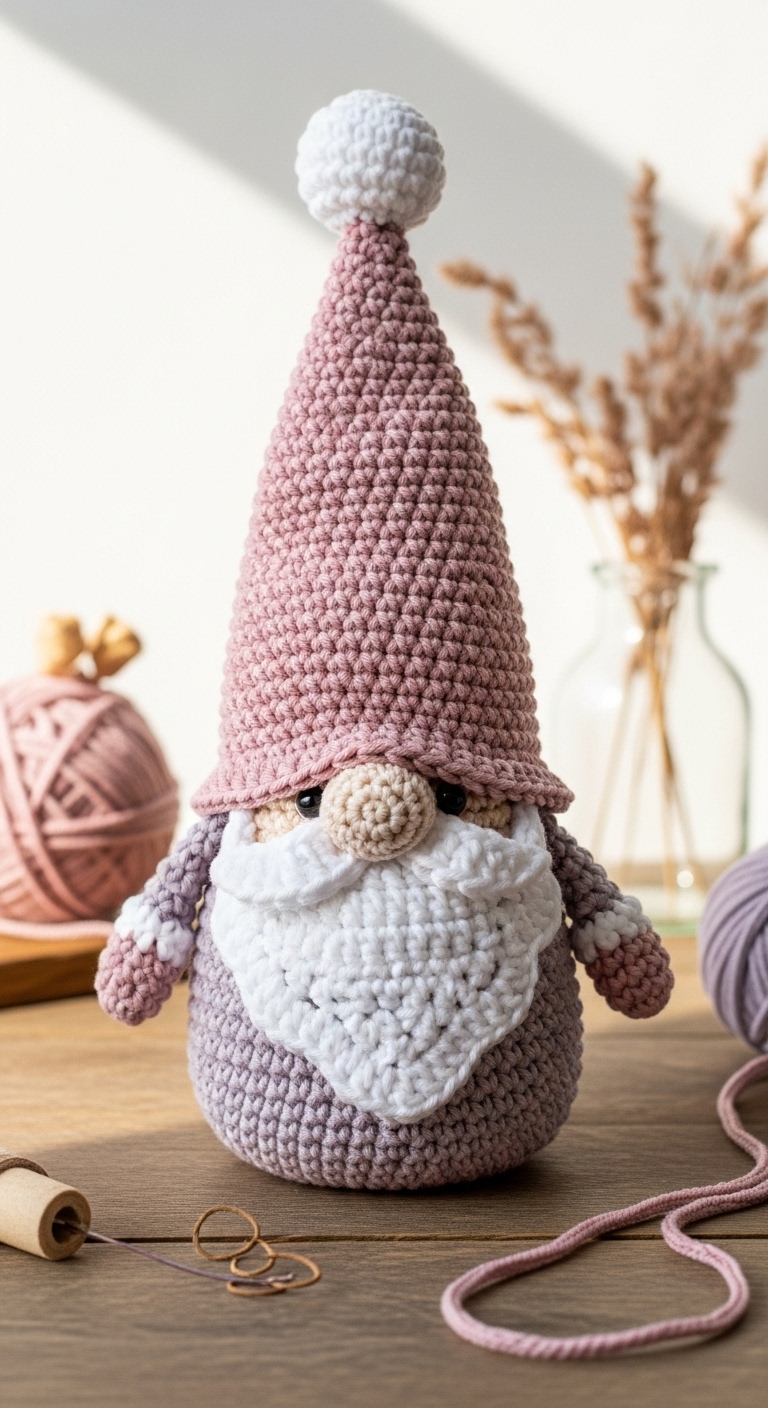
Welcome to the whimsical world of crochet with our delightful Snowfall Gnome pattern! This charming plushie stands approximately 10 inches tall, making it the perfect size to brighten up any mantelpiece or tabletop during the winter months. With its unique blend of cozy colors and a cheerful demeanor, this gnome is sure to become a beloved addition to your holiday decor.
For this project, you’ll be working with soft, acrylic yarns in a palette of cool blues, snowy whites, and warm greys. These adult-friendly colors create a sophisticated nod to the winter season while remaining timeless and stylish. Crocheting this gnome is not only a fun and engaging project; it’s also a quick one—ideal for seasonal gifting or simply for adding a touch of handmade charm to your home. This pattern is beginner-friendly, making it accessible for those who are just starting their crochet journey or for seasoned crafters looking for a delightful, quick project.
3. Materials Needed
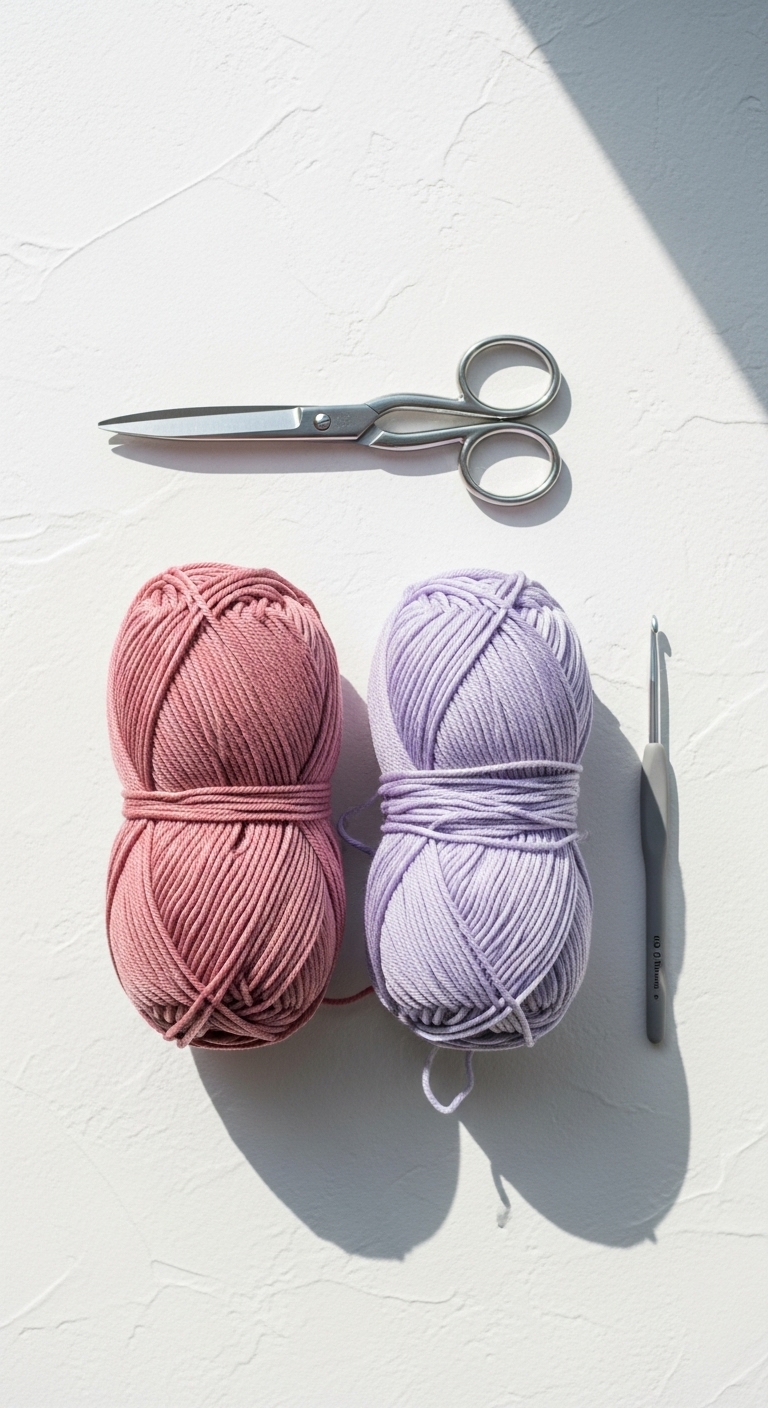
– Yarn: Worsted weight yarn in blue (150 yards), white (50 yards), and grey (50 yards)
– Hook: 3.5mm or 4.0mm crochet hook
– Eyes: 12 mm safety eyes or black embroidery thread for eye details
– Stuffing: Polyester fiberfill stuffing
– Needle: Tapestry needle for sewing ends and assembly
– Marker: Stitch marker to keep track of rounds
– Optional extras: Small pom-pom for the hat tip, beads for embellishment
4. Designer Notes / Tips
When creating the Snowfall Gnome, consider using the half double crochet stitch in the body for a slightly textured appearance that adds depth. For stuffing, aim for a medium density; the gnome should be plush enough to hold its shape but not overly firm.
For assembly, I recommend using the whip stitch method to join the pieces, as it allows for a neat finish and is easy to manipulate. If you decide to substitute yarn, look for any medium worsted weight yarn that has a soft feel to ensure a cozy finish.
When checking gauge, aim for a tension that produces fabric that is not too loose; this will keep stuffing from showing through your stitches. If you are making this gnome for children, consider using embroidered details instead of safety eyes for extra safety.
5. Pattern Instructions
For Plushies:
Head:
*Stuff head firmly and attach safety eyes between rounds 7 and 8, about 6 stitches apart.*
Body:
*Stuff body lightly for a soft appearance. Attach to the head using whip stitch.*
Arms:
*Stuff arms lightly and attach to the body at desired positions.*
Hat:
*Fold the hat down and attach a pom-pom to the tip if desired.*
Assembly:
– Start by attaching the head to the body securely.
– Position the arms on either side of the body and sew in place.
– Finally, ensure everything is securely stitched and tidy any ends with your tapestry needle.
6. Closing & Social Engagement
I hope you enjoy creating your Snowfall Gnome as much as I enjoyed designing it! Don’t forget, I’d love to see your version! Leave a comment below sharing your thoughts or any color combinations you tried. What unique twist will you put on this cheerful gnome?
Share your finished gnome on social media with the hashtag #SnowfallGnome so we can all admire your handiwork!