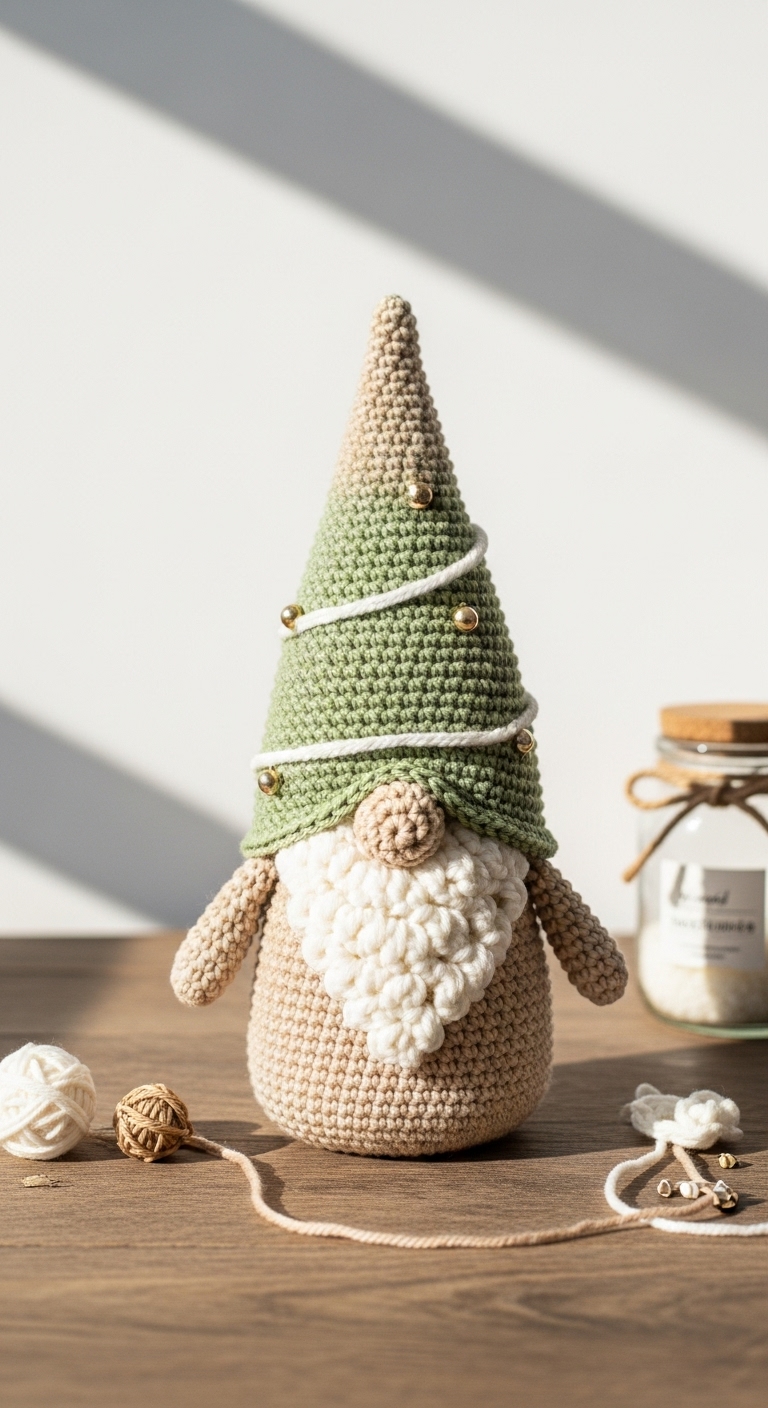
how to crochet a beer mug gnome free pattern
2. Introduction
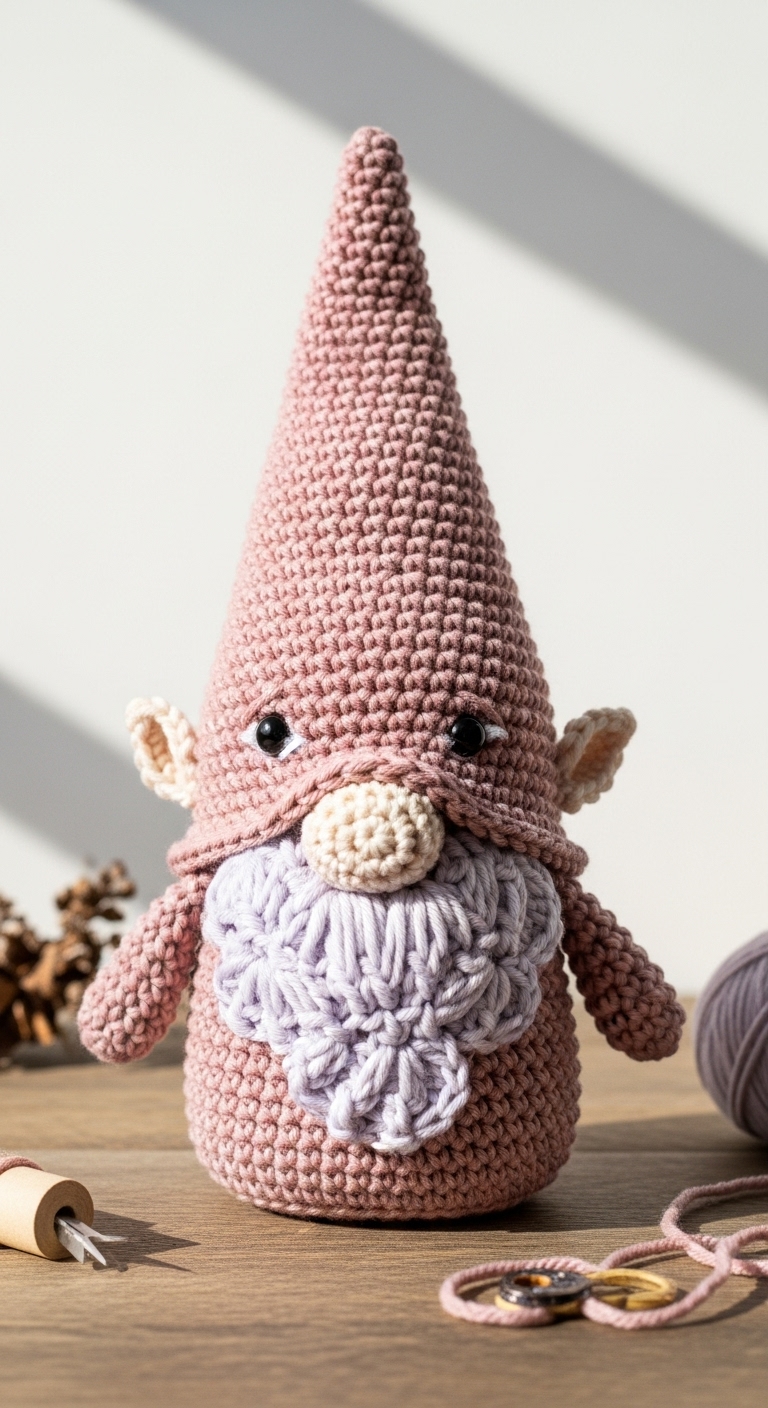
Today, we’re crafting a delightful and whimsical Beer Mug Gnome that’s sure to bring a smile to anyone’s face! Standing approximately 12 inches tall, this cheerful little gnome is a playful addition to your home decor or an eye-catching gift for a friend. With its cute beer mug and friendly expression, this project is perfect for anyone looking to add a touch of fun to their crochet collection.
For this project, you’ll need medium-weight yarn (Category 4) in a few adult-friendly colors: a warm beige for the gnome’s body, a rich brown for the beard, and a vibrant yellow for the beer mug. These colors not only complement each other beautifully but also give your gnome a sophisticated yet playful look. The Beer Mug Gnome is a quick project that can be completed in an afternoon, making it a great choice for both last-minute gifts and seasonal decor.
This pattern is designed to be beginner-friendly, so don’t worry if you’re new to crochet! With clear, step-by-step instructions, you’ll find it easy to follow along. Plus, this project can be a fantastic gift for any beer lover in your life, making it perfect for birthdays, housewarming parties, or just for fun!
3. Materials Needed
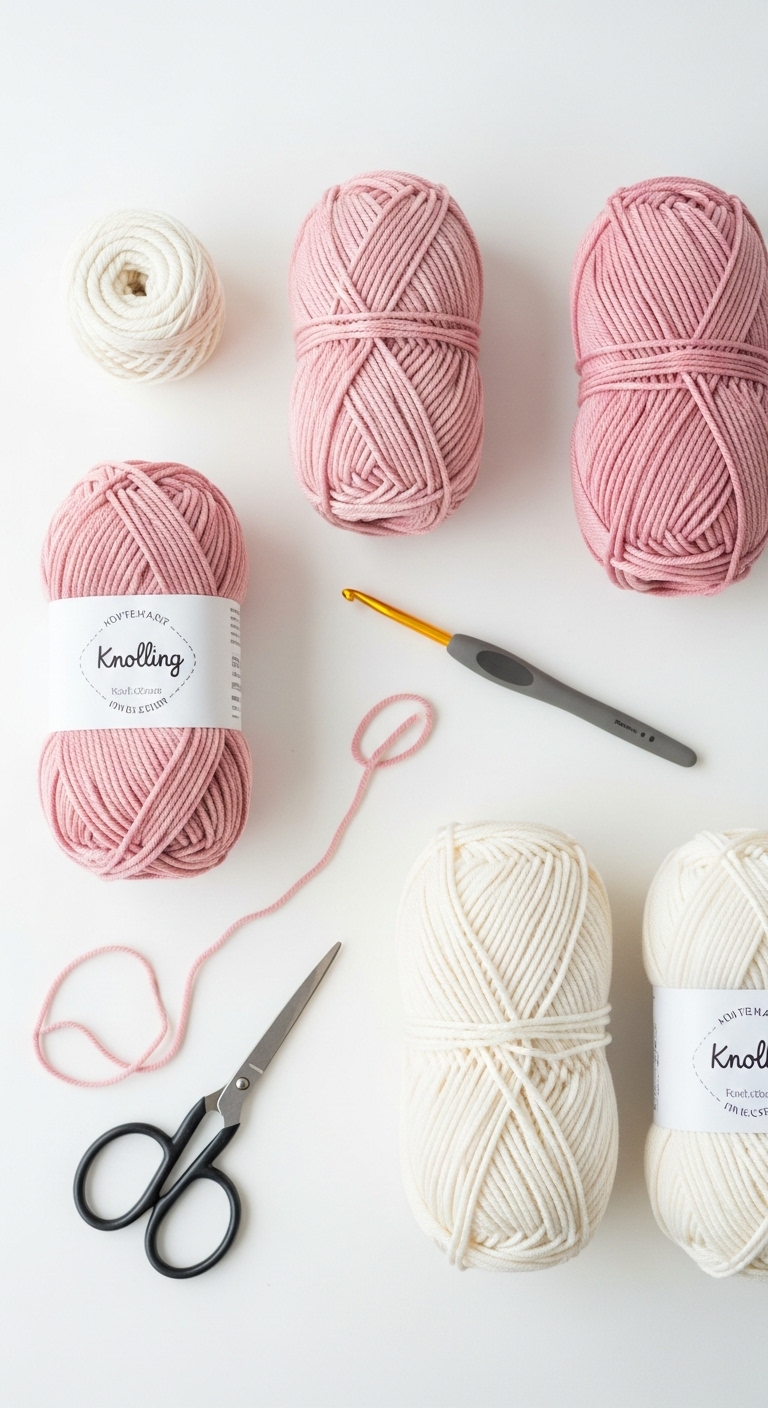
– Yarn: Medium-weight (4) yarn in:
– Warm Beige: approx. 150 yards
– Rich Brown: approx. 50 yards
– Vibrant Yellow: approx. 50 yards
– Hook: 3.5mm or 4.0mm crochet hook
– Eyes: 12mm safety eyes or black embroidery thread
– Stuffing: Polyester fiberfill stuffing
– Needle: Tapestry needle for sewing
– Marker: Stitch marker
– Optional extras: Pipe cleaners (for added stability in the beer mug)
4. Designer Notes / Tips
When crocheting the Beer Mug Gnome, you’ll primarily use basic stitches, but feel free to play with texture! Consider using a half double crochet (hdc) stitch for the body to give it a cozy look. Remember to stuff your pieces firmly but not overly tight; a medium density will keep your gnome upright and looking cute.
For assembly, I recommend using a whip stitch to join parts together, as it provides a clean finish. If you choose to substitute yarns, ensure they are of the same weight for consistency in size. Regarding gauge, aiming for a tension that comfortably allows your hook to glide through stitches will help achieve the desired dimensions. If you’re making this gnome for a child, you might consider using embroidered features instead of safety eyes for added safety.
5. Pattern Instructions
For Plushies:
Head:
Body:
Arms:
Beard:
Beer Mug:
Assembly:
– Attach the head to the body securely.
– Position the arms on either side of the gnome.
– Sew the beard below the eyes.
– Finally, attach the beer mug to one of the gnome’s hands.
6. Closing & Social Engagement
I hope you have fun bringing this Beer Mug Gnome to life! Don’t worry if your first gnome doesn’t turn out perfect; each one has its unique charm. I’d love to see your version! Leave a comment below sharing what color combination you chose or any modifications you made.
What special occasion do you think your gnome will celebrate? Share your finished gnome on social media, and let’s spread the joy of crocheting together! Happy crocheting!

