modern meets textured bobble granny square for a stunning throw

2. Introduction
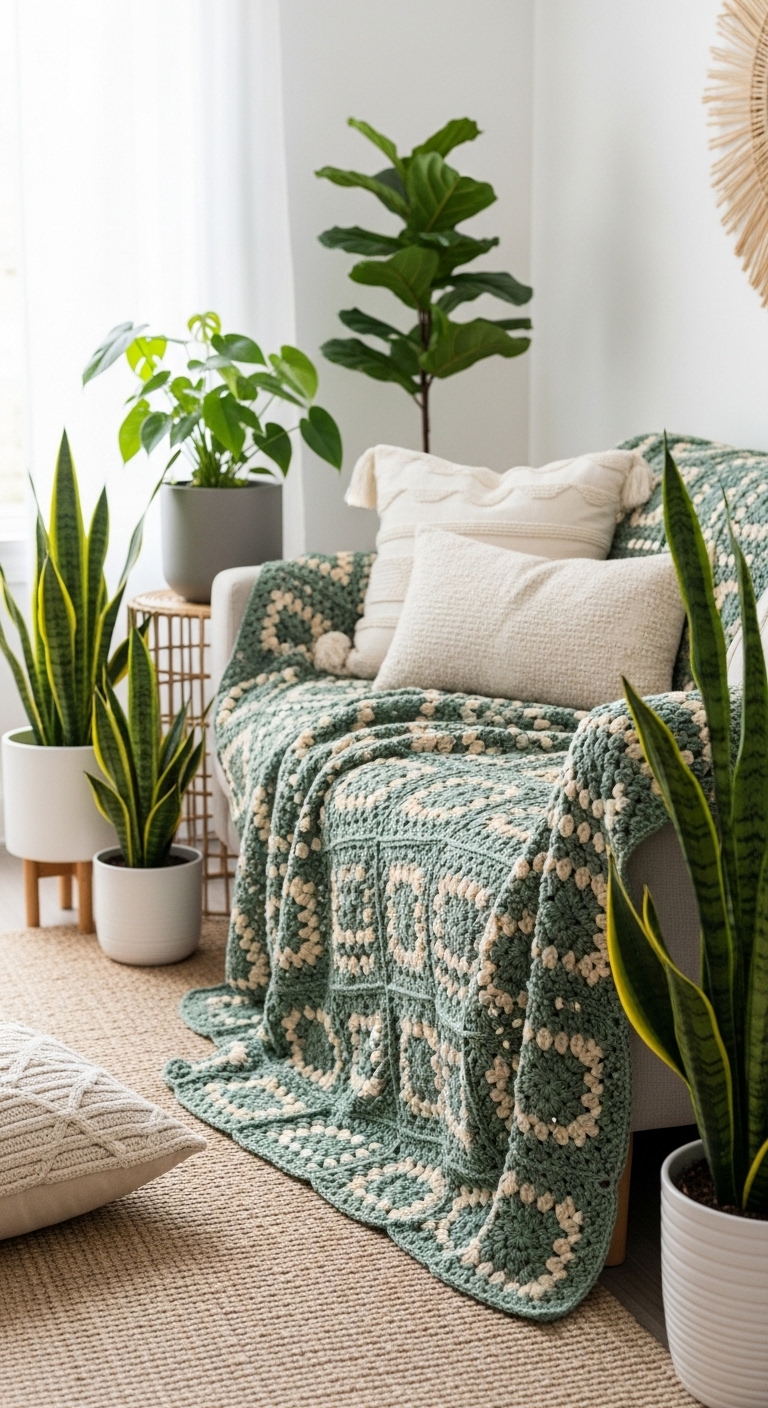
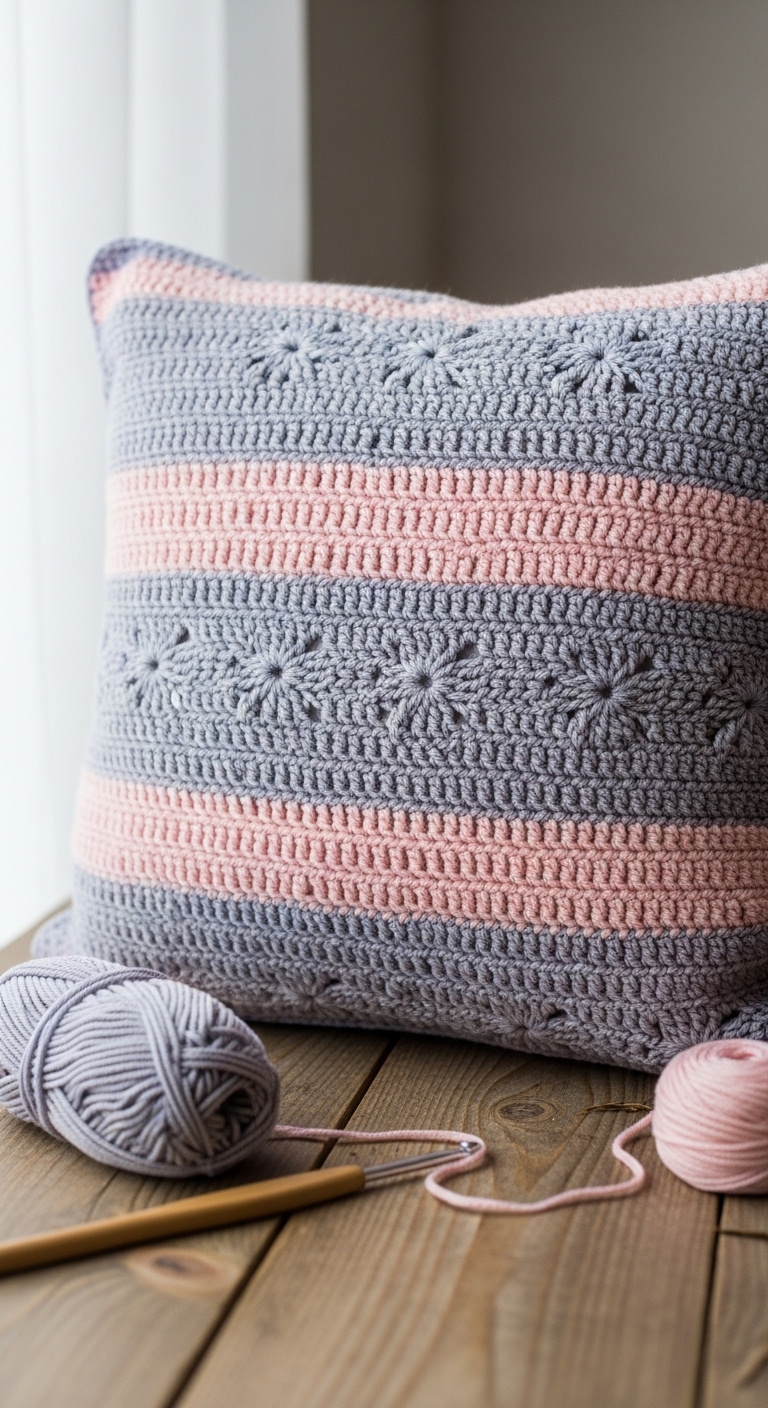
Are you ready to elevate your crochet game with a project that seamlessly blends modern design with delightful texture? This “Modern Meets Textured Bobble Granny Square” pattern is perfect for creating a stunning throw blanket that will add a touch of elegance to any living space. The finished throw measures approximately 50″ x 60″, making it the ideal size for snuggling up on the couch or draping over a chair for a pop of color.
For this project, we’ll be using a soft, worsted weight yarn in three complementary adult-friendly colors: a deep navy blue, a warm mustard yellow, and a crisp white. These colors not only create a beautiful contrast but also ensure that your throw will fit seamlessly into a modern aesthetic. The combination of textures from the bobbles and the traditional granny square design makes this project both fun and special. It’s an excellent choice for beginners who are ready to tackle a little more than basic stitches!
This pattern is beginner-friendly, with a few simple new stitches that will expand your crochet repertoire. It’s also a fantastic gift idea for housewarming parties or as a cozy present for loved ones during the chilly seasons. Whether you’re a seasoned crocheter or just starting, this throw is sure to inspire you to create something beautiful.
3. Materials Needed
– Yarn: Worsted weight yarn in navy blue (approx. 800 yards), mustard yellow (approx. 400 yards), and white (approx. 400 yards)
– Hook: 3.5mm or 4.0mm crochet hook
– Marker: Stitch marker to mark the beginning of each round
– Needle: Tapestry needle for weaving in ends
– Optional extras: None needed for this throw, but feel free to add your personal touches like tassels!
4. Designer Notes / Tips
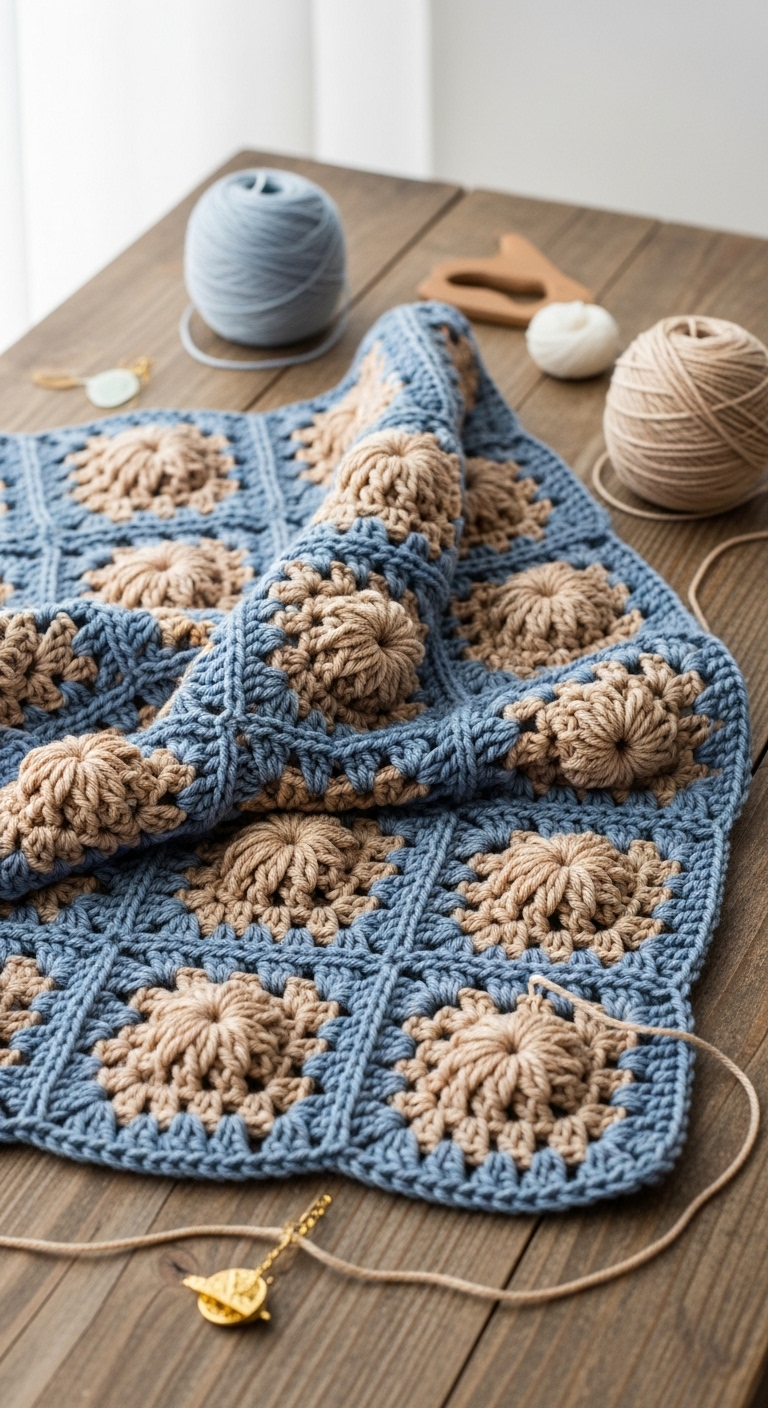
To achieve the textured bobble stitch, you will need to practice the bobble technique, which adds a delightful three-dimensional pop to your granny squares. Don’t worry if it seems tricky at first; just take your time and follow the instructions closely. The density of the bobbles can vary depending on how tightly or loosely you crochet, so it’s essential to maintain a consistent tension throughout your work.
When assembling your squares, make sure to use a whip stitch for a clean finish. This might be a great time to use your tapestry needle to weave in any loose yarn ends as you go along, making the finishing process much smoother. If you’d like to substitute yarn, any worsted weight option will work, but be mindful of the fiber content—acrylic or cotton blends are excellent choices for durability and ease of care.
A 4″ x 4″ gauge swatch using double crochet stitches will help ensure your squares turn out the correct size, allowing for a neat and tidy finish. If you’re making this throw as a gift for a child, consider replacing the bobbles with a simple double crochet stitch to avoid any choking hazards.
5. Pattern Instructions
For the Throw:
Granny Square (make 12 total):
*Round 1:*
Ch 4, join with a slip stitch to form a ring.
Ch 3 (counts as first dc), 2 dc into ring, ch 2, *3 dc into ring, ch 2* 3 times. Join with a slip stitch to top of ch 3. (12 dc, 4 ch-2 spaces)
*Round 2:*
Slip stitch into first ch-2 space. Ch 3 (counts as first dc), 2 dc, ch 2, 3 dc into the same space. *In the next ch-2 space, 3 dc, ch 2, 3 dc.* Repeat around. Join with a slip stitch. (24 dc, 4 ch-2 spaces)
*Round 3:*
Slip stitch into first ch-2 space. Ch 3 (counts as first dc), 2 dc, ch 2, 3 dc in the same space. *In the next ch-2 space, 3 dc, ch 2, 3 dc. In next ch-space, [bobble stitch, ch 2].* Repeat around. Join with a slip stitch. (36 dc, 4 bobble stitches, 4 ch-2 spaces)
*Round 4:*
Slip stitch into first ch-2 space. Ch 3 (counts as first dc), 2 dc, ch 2, 3 dc in the same space. *In the next ch-2 space, 3 dc, ch 2, 3 dc. In next bobble stitch, [bobble stitch, ch 2].* Repeat around. Join with a slip stitch. (48 dc, 4 bobbles, 4 ch-2 spaces)
Finish off, and weave in the ends.
Assembly:
Once all squares are complete, lay them out in your desired arrangement. Using the whip stitch, sew the squares together, joining by the edges. Ensure the stitches are not too tight to allow for some flexibility in the finished throw.
6. Closing & Social Engagement
I hope you’re excited to create your own “Modern Meets Textured Bobble Granny Square” throw! These squares come together beautifully and are sure to bring a cozy vibe into your home. I’d love to see your version! Leave a comment below sharing your favorite color combinations or any tips you discovered while making your throw. Don’t forget to share your finished project on social media with fellow crochet lovers!