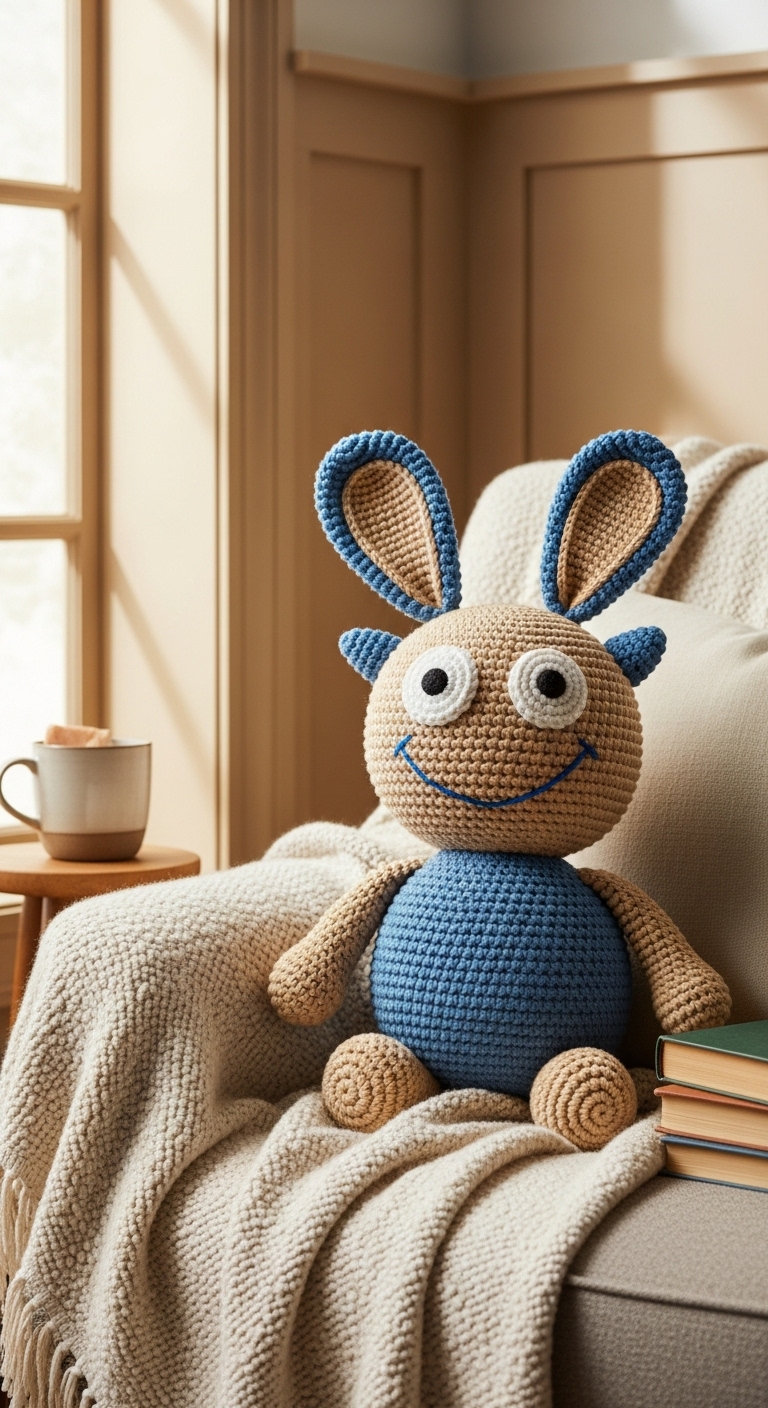
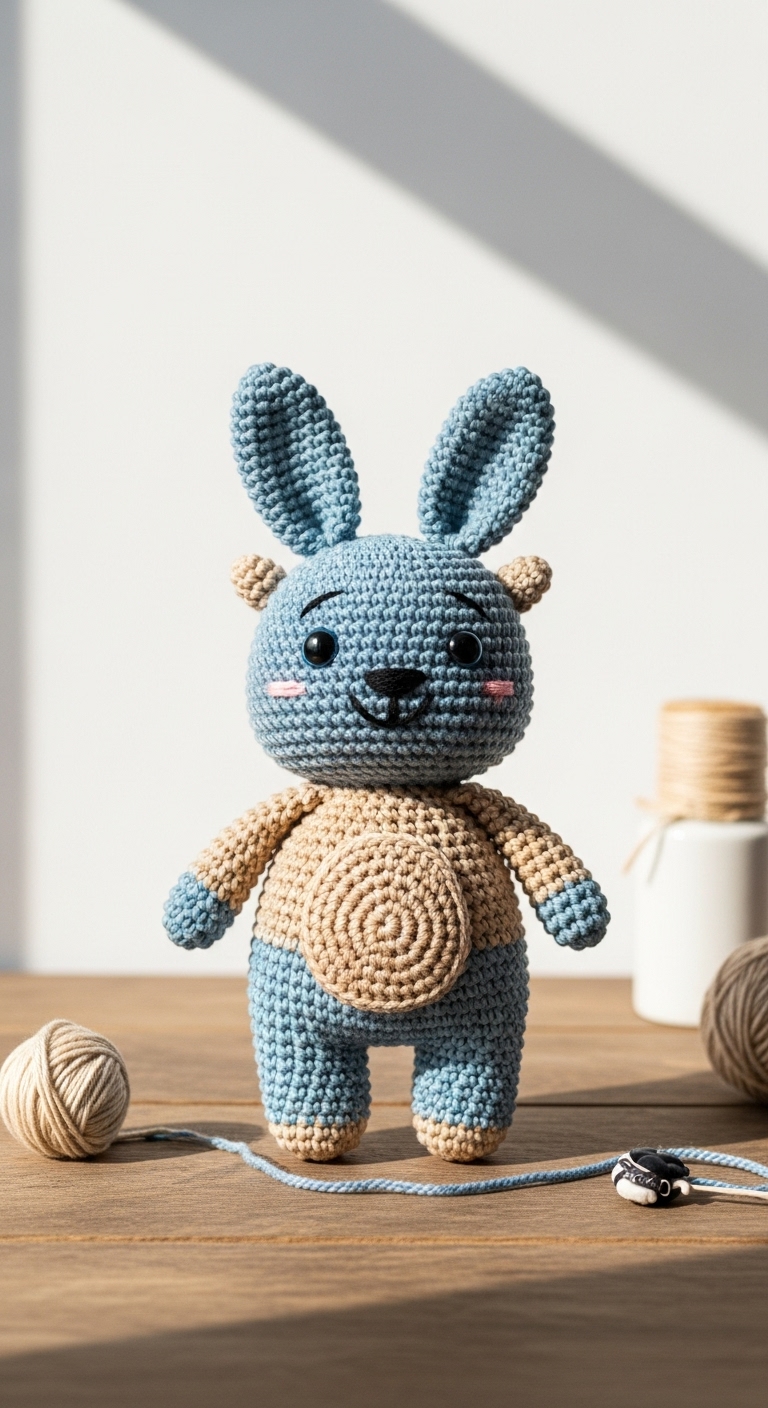
smiling bunny monster amigurumi free pattern
2. Introduction
Welcome to the delightful world of crochet with our Smiling Bunny Monster Amigurumi pattern! This charming plushie stands at approximately 10 inches tall, making it the perfect size for snuggling or displaying as a whimsical piece in your home. The combination of soft yarn and a friendly smile creates a captivating character that will surely bring joy to anyone lucky enough to receive it.
For this project, we recommend using a soft worsted weight yarn in complementary adult-friendly colors such as a gentle lavender, a muted mint green, and a classic cream. These colors not only provide a sophisticated aesthetic but also make the bunny monster feel inviting and warm. Whether you’re celebrating a special occasion, creating a unique gift, or adding to your personal collection, this pattern is fun, quick to stitch up, and sure to bring smiles all around!
This pattern is categorized as beginner-friendly, perfect for those who are just starting their crochet journey or experienced crafters looking for a relaxing project. With its straightforward instructions and minimal sewing required, you can complete this lovely bunny monster in just a few hours. It’s also an excellent gift idea for birthdays, holidays, or simply to brighten someone’s day!

3. Materials Needed
– Yarn: Worsted weight yarn in lavender (approximately 150 yards), mint green (approximately 100 yards), and cream (approximately 50 yards)
– Hook: 3.5mm or 4.0mm crochet hook
– Eyes: Safety eyes (12mm) OR black embroidery thread for stitching eyes
– Stuffing: Polyester fiberfill stuffing
– Needle: Tapestry needle for sewing pieces together
– Marker: Stitch marker
– Optional extras: Pipe cleaners (for added stability in ears)
4. Designer Notes / Tips
– Stitch technique: This pattern primarily uses single crochet (sc) stitches, which are great for beginners. If you’re feeling adventurous, try incorporating a half double crochet (hdc) into the body to give it a bit more texture!
– Stuffing density: For a plushie like this, a light stuffing gives it a squishy feel, while firmer stuffing will help it maintain shape. Choose based on your preference!
– Assembly: As you join the limbs and head to the body, make sure to use a whip stitch for a seamless look. You might also want to pin pieces together first to ensure proper alignment before sewing.
– Yarn substitutions: If you prefer a more vibrant look, consider using cotton yarn for a slight sheen or a fluffy yarn for a super cuddly finish. Just keep in mind that gauge may vary.
– Gauge tips: For this project, the gauge is not critical; however, if you want a more structured look, work a gauge swatch to ensure your stitches are consistent.
– Safety considerations: If making this bunny monster for a young child, consider using embroidered eyes instead of safety eyes to ensure it is child-safe.
5. Pattern Instructions
For Plushies:
Head:
Body:
Arms:
Legs:
Ears:
Assembly:
– Attach the head to the body securely with the long tail.
– Position the arms and legs on the body at your desired angle, sewing them on.
– Attach the ears to the top of the head, ensuring they are positioned evenly.
– Sew on the safety eyes or embroider the eyes if preferred.
– Embroider a smiling mouth, and your bunny monster is ready for hugs!
6. Closing & Social Engagement
Congratulations on creating your very own Smiling Bunny Monster! I can’t wait to see how your version turns out. Don’t forget to leave a comment below sharing your thoughts or any color combinations you tried. What colors will you choose for your bunny monster? Share your finished plushie on social media, and let the world see your wonderful handiwork!