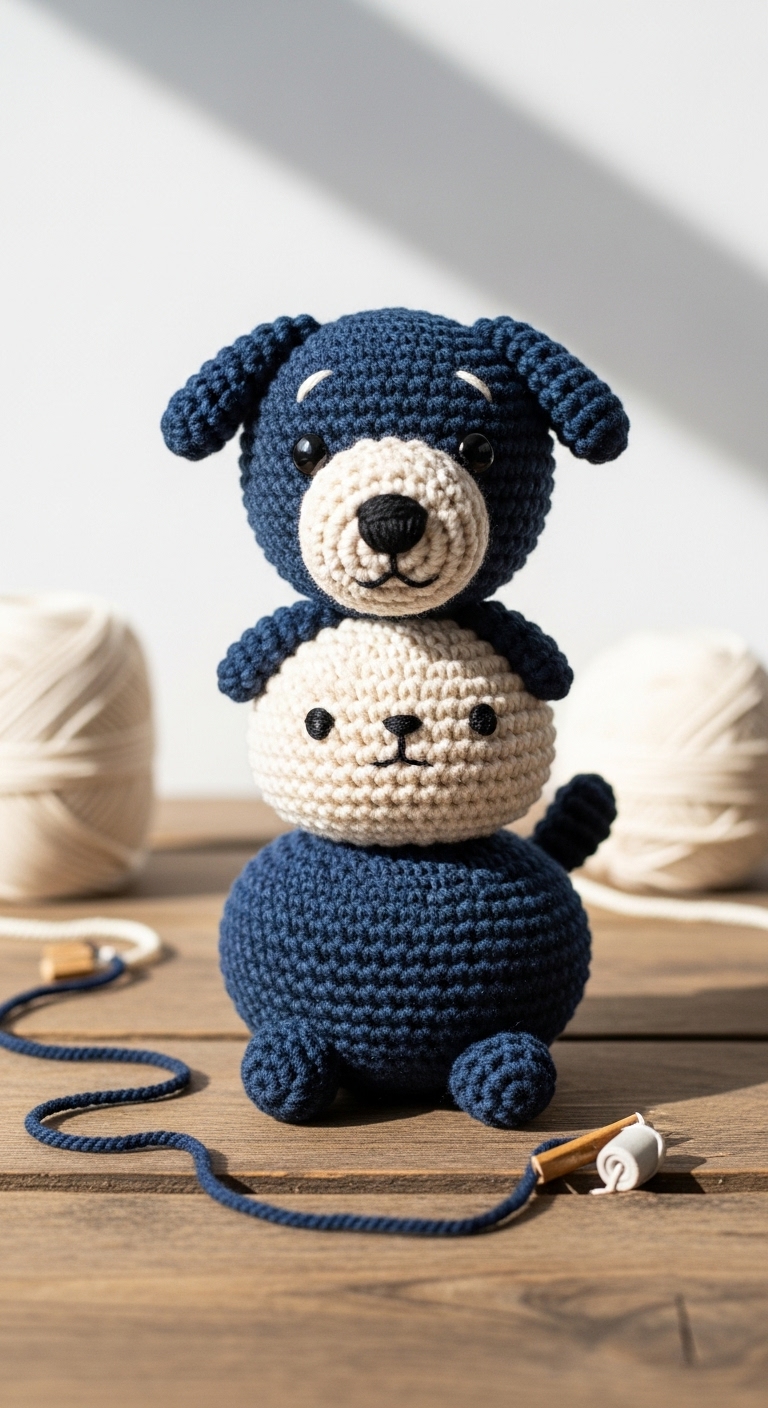
crochet stackable dog amigurumi free pattern
2. Introduction
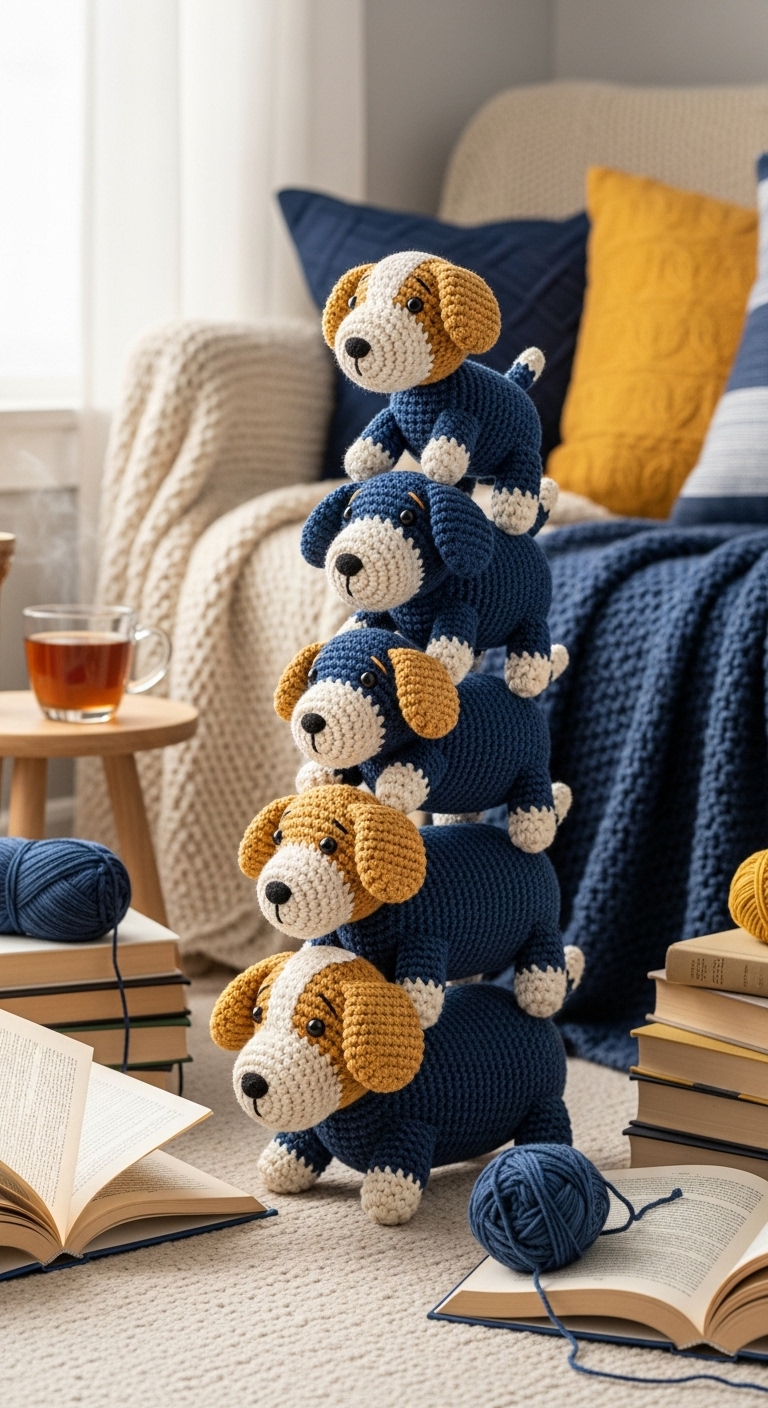
Welcome to your next crochet adventure! In this article, we’ll be diving into the delightful world of amigurumi with a free pattern for an adorable stackable dog plushie. Measuring approximately 6 inches tall when completed, this charming canine is designed to be stacked with its friends, making it a fun and interactive addition to any crochet collection.
For this project, we’ll use soft, worsted weight yarn in complementary adult-friendly colors such as a rich caramel brown, a soft cream, and a warm gray. These hues not only add a modern touch but also ensure that your stackable dog will fit beautifully into any home decor. The best part? This pattern is quick to whip up and perfect for those looking to create a thoughtful gift or a seasonal treat for dog lovers.
This pattern is beginner-friendly, making it an excellent choice for crafters of all skill levels. Whether you’re creating a playful gift for a child or a trendy piece for your living space, this stackable dog is sure to bring joy and a sense of accomplishment.
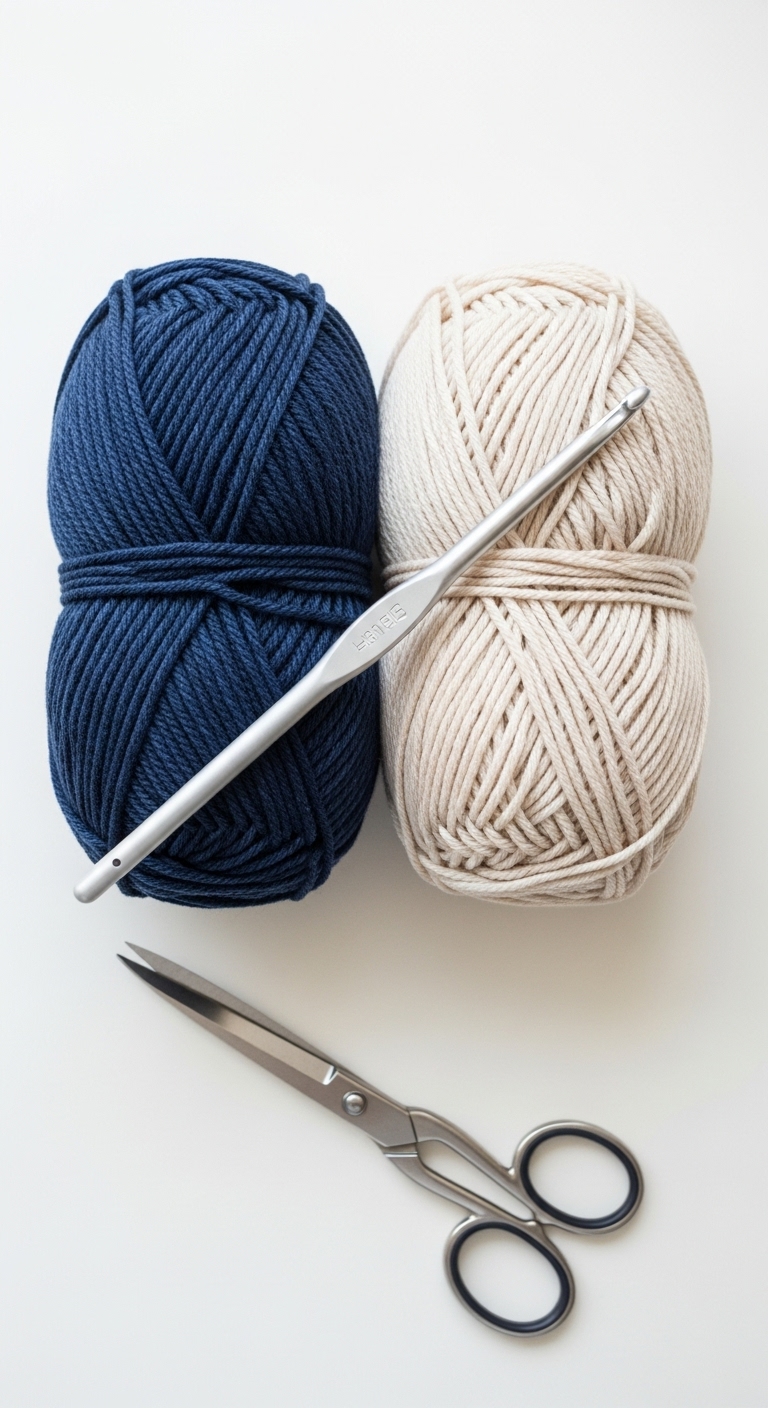
3. Materials Needed
To get started on your crochet stackable dog, gather the following materials:
– Yarn: Worsted weight yarn in caramel brown (approx. 150 yards), cream (approx. 50 yards), and gray (approx. 50 yards)
– Hook: 3.5mm or 4.0mm crochet hook
– Eyes: 12mm safety eyes OR black embroidery thread
– Stuffing: Polyester fiberfill stuffing
– Needle: Tapestry needle for sewing
– Marker: Stitch marker
– Optional extras: Small piece of felt for the nose, pipe cleaners for added stability in the ears
4. Designer Notes / Tips
Here are some helpful notes to ensure your stackable dog turns out perfectly:
– Stitch technique: This pattern primarily uses single crochet (sc) and increases. If you’re unfamiliar with working in the round, use a stitch marker to help keep track of your rounds.
– Stuffing density: Lightly stuff the body and head to maintain a soft, squishable feel while ensuring it holds its shape. A firm stuffing is recommended for the legs to provide stability.
– Assembly: Pay attention to the placement of limbs and ears during assembly. Use pins to hold pieces in place before sewing to ensure everything aligns well.
– Yarn substitutions: If you prefer a different texture, consider using a cotton or bamboo blend yarn for a unique finish.
– Gauge tips: Exact gauge isn’t critical for this project, but keep your tension consistent to ensure your pieces fit together snugly.
– Safety considerations: If you’re making this for a young child, consider using embroidered features instead of safety eyes to avoid choking hazards.
5. Pattern Instructions
Let’s get started on your stackable dog! Follow the round-by-round instructions below.
For Plushies:
Head:
Body:
Arms/Legs (make 4):
Ears (make 2):
Tail:
Assembly:
1. Attach the safety eyes between rounds 7 and 8 of the head.
2. Sew the head onto the body using the long tail from the head.
3. Sew the arms and legs onto the body, ensuring they are evenly spaced.
4. Attach the ears to the top of the head and the tail to the back.
5. Optionally, sew a small piece of felt for the nose.
6. Closing & Social Engagement
Congratulations on creating your very own stackable dog amigurumi! I’d love to see your version of this delightful pattern – leave a comment below with your thoughts and experiences. What color combination will you try? Share your finished plushie on social media with #StackableDogAmigurumi, and inspire your fellow crafters!