Boba Plush – Crochet Pattern
2. Introduction
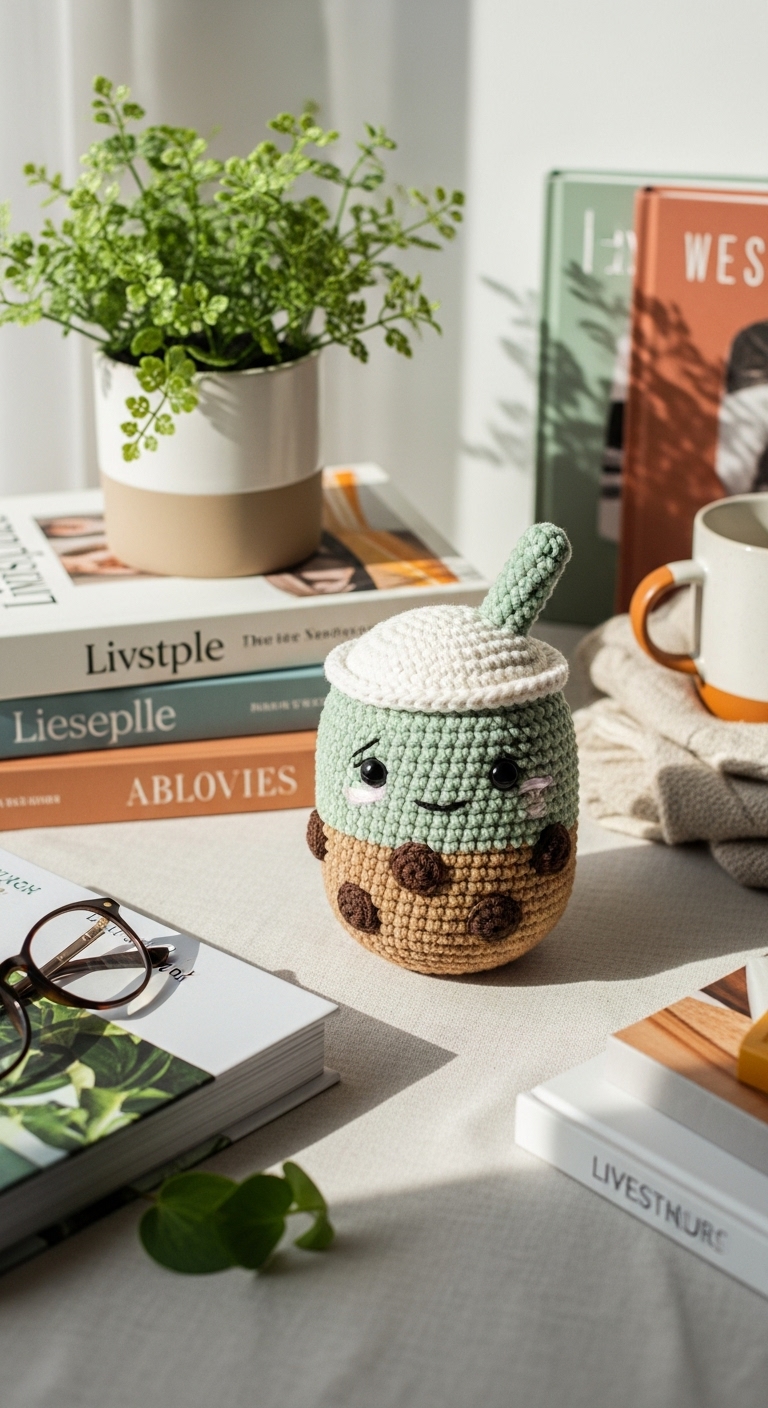
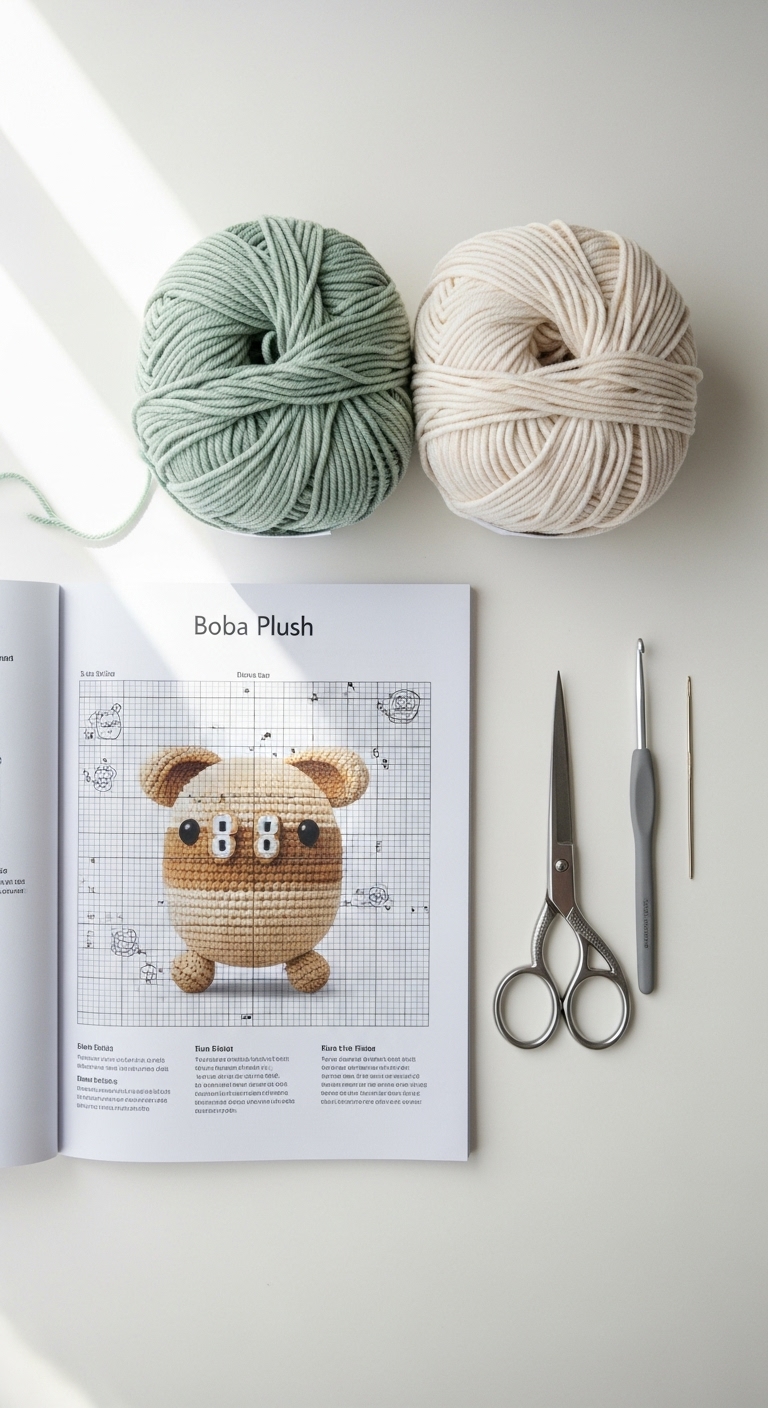
Welcome to the delightful world of crochet with the Boba Plush – Crochet Pattern! This charming plushie, inspired by the beloved boba tea, stands approximately 8 inches tall and is perfect for cuddling or displaying on your shelf. The project uses soft, squishy yarn that gives your boba plush a cozy feel, making it a lovely addition to any home décor or a wonderful gift for a tea-loving friend.
For this project, we’ll be using a combination of soft pastel colors, such as cream for the tea, rich brown for the boba pearls, and a light pink for the cup outline. These adult-friendly colors add a modern touch while ensuring your plushie maintains a whimsical charm. This project is not only enjoyable to crochet but also quick to complete, making it ideal for a weekend craft session or a last-minute gift. Designed with beginners in mind, this pattern is approachable and fun, allowing you to build your confidence in crochet as you create something truly special.
The Boba Plush makes for an excellent gift for birthdays, holidays, or just because! Its unique design and delightful colors are sure to bring a smile to anyone’s face, reminding them of their favorite drink while being fully customizable to suit personal tastes.
3. Materials Needed
– Yarn: Worsted weight yarn in cream (about 150 yards), brown (about 30 yards), and light pink (about 30 yards)
– Hook: 3.5mm or 4.0mm crochet hook
– Eyes: 12mm safety eyes
– Stuffing: Polyester fiberfill stuffing
– Needle: Tapestry needle for sewing
– Marker: Stitch marker
– Optional extras: None needed for this project
4. Designer Notes / Tips
When crocheting the Boba Plush, you’ll want to focus on maintaining consistent tension to create smooth rounds. Use stitch markers to indicate the start of each round, which will help you keep track of your progress. The plushie uses basic stitches, including single crochet (sc) and increase (inc), making it accessible for beginners.
As for stuffing, aim for a light to medium density. You don’t want to overstuff, as it can lose its plushy feel, but you also want it to hold its shape nicely. For assembly, I recommend sewing the eyes on before stuffing the head to ensure they are securely placed and to avoid any mishaps with positioning. If you want to customize the colors further, consider using different shades for the boba and cup outline, providing a unique flair to your plushie.
Make sure to check your gauge as you go along, though the plushie’s size allows for some flexibility without compromising the overall look. Lastly, if you’re making this for a child, be sure to securely attach all pieces to ensure safety.
5. Pattern Instructions
For Plushies:
Head:
Body:
Arms:
Assembly:
1. Attach the head to the body using the long tail from the head.
2. Position the arms on either side of the body and sew in place.
3. Attach the safety eyes to the head, placing them before fully stuffing the head.
4. Optionally, use black embroidery thread to sew a cute smile on the face.
Finishing:
Once all pieces are securely attached, give your plushie a gentle shake and make any final adjustments to stuffing as necessary. Your adorable Boba Plush is now complete!
6. Closing & Social Engagement
I can’t wait to see your finished Boba Plush! Don’t hesitate to leave a comment below sharing your experiences or any questions you have. What color combination will you try? Remember, each boba plush is a unique creation, and I encourage you to let your creativity flourish. Share your finished plushie on social media, and let’s inspire each other in our crochet journeys!