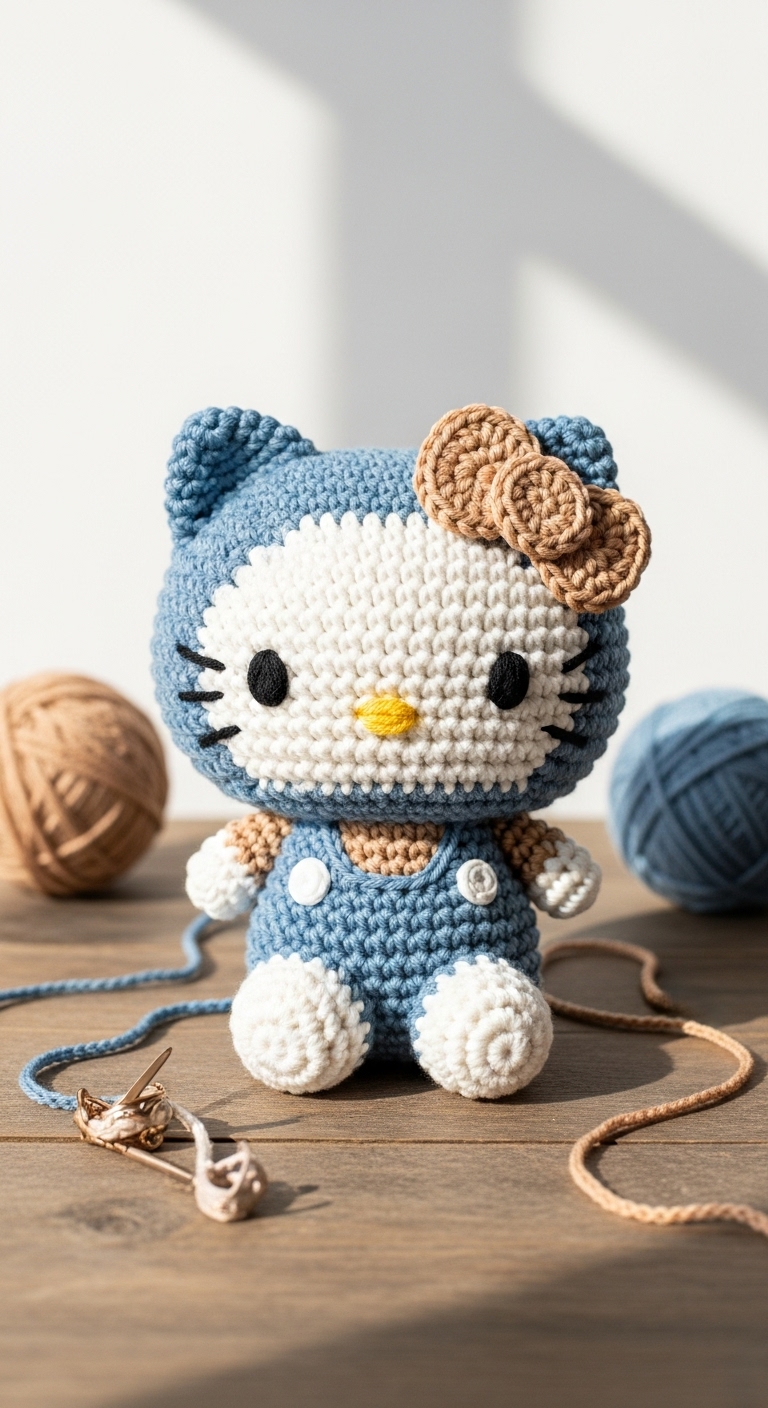
Hello Kitty – Crochet Pattern
2. Introduction
Welcome to the whimsical world of crochet with this delightful Hello Kitty plushie pattern! This adorable amigurumi character stands approximately 10 inches tall, making it the perfect size for cuddling or display. The friendly face and iconic bow of Hello Kitty add a cheerful touch to any room, and it makes a charming gift for both children and adults alike.
For this project, you’ll need worsted weight yarn in a palette of soft white, a gentle pink for the bow, and a splash of yellow for the nose. These colors not only evoke the classic Hello Kitty aesthetic but also suit a range of adult-friendly styles. This pattern is designed to be beginner-friendly, allowing crocheters of all skill levels to create a joyful piece that can be completed in a weekend. Whether you’re making it as a birthday gift, a holiday surprise, or just a treat for yourself, this project is sure to bring a smile!
3. Materials Needed
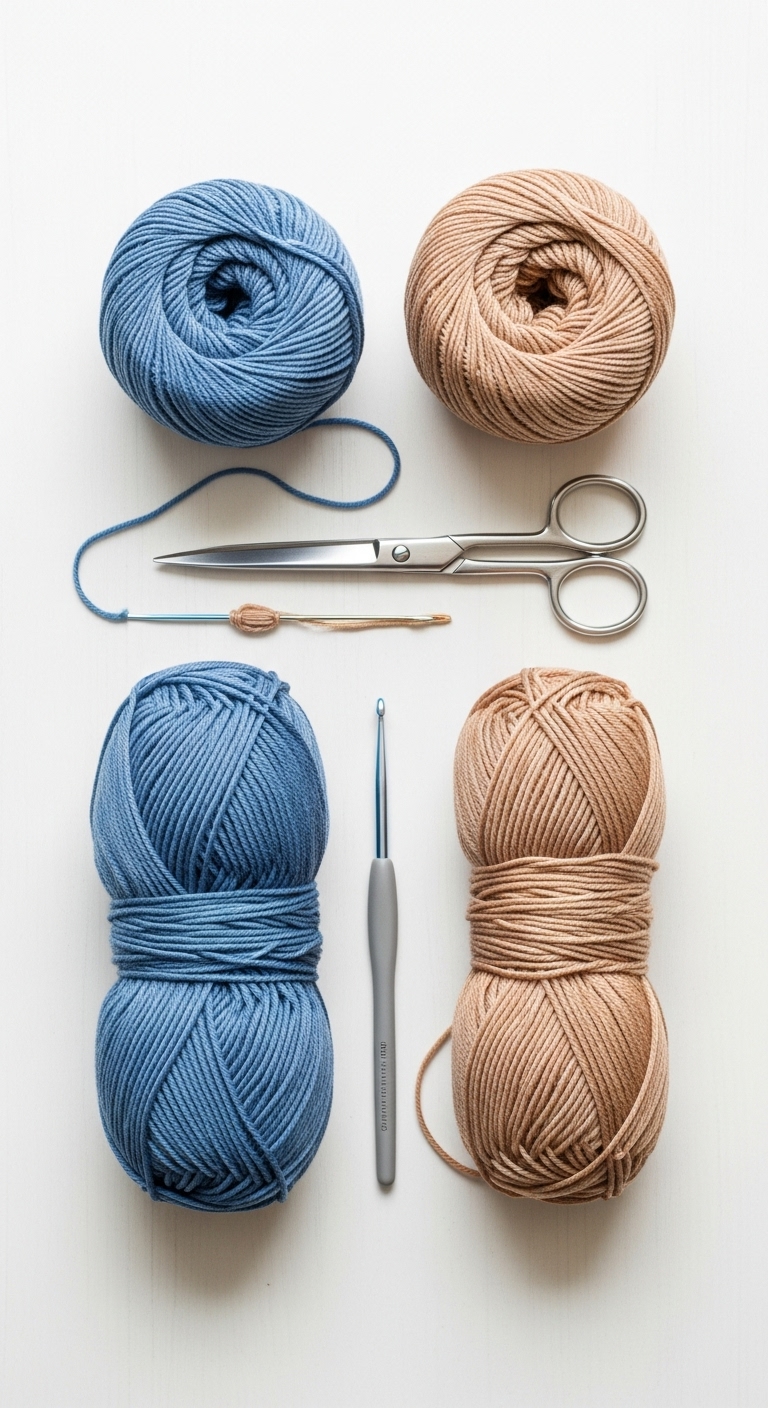
– Yarn: Worsted weight yarn in white (approximately 150 yards), pink (approximately 20 yards), and yellow (approximately 10 yards)
– Hook: 3.5mm or 4.0mm crochet hook
– Eyes: 12mm safety eyes
– Stuffing: Polyester fiberfill stuffing
– Needle: Tapestry needle for sewing
– Marker: Stitch marker
– Optional extras: Pipe cleaners (for whiskers), felt (for additional facial features)
4. Designer Notes / Tips
To create the fabulous texture of Hello Kitty, this pattern utilizes basic stitches like single crochet (sc) and increases (inc). Don’t worry if you’re new to these stitches; they’re simple and you’ll get the hang of them quickly! For stuffing, I recommend using a light density to keep the plushie soft and huggable, but feel free to adjust according to your preference.
When assembling the pieces, take your time to ensure everything is securely attached. It’s best to join the head to the body before adding the ears and bow, allowing for better positioning. If you’re considering yarn substitutions, any soft worsted weight yarn will work beautifully. For those who want to adjust the size, simply change your hook size or yarn weight, keeping in mind that this may affect the overall look of Hello Kitty. For safety, make sure to securely attach safety eyes if gifting to young children.
5. Pattern Instructions
For Plushies:
Head:
Body:
Arms:
Ears:
Bow:
Assembly:
– Attach the head to the body using the long tail.
– Position the ears on the top of the head, and sew securely.
– Attach the arms to the sides of the body.
– Use the safety eyes and place them securely on the head before final assembly.
– Optionally, use pipe cleaners for whiskers by sewing them into the head.
6. Closing & Social Engagement
I can’t wait to see your interpretations of this lovely Hello Kitty plushie! Don’t hesitate to leave a comment below with your thoughts or any questions you may have. I’d love to hear what color combinations you decide to use and how your finished creation turns out! Remember to share your finished Hello Kitty on social media using the hashtag #CrochetHelloKitty and let’s spread the joy of crochet together!