Christmas Tree Pillow – Free Crochet Pattern
2. Introduction
The Christmas Tree Pillow is a delightful and festive addition to your holiday decor, measuring approximately 16 inches tall and 12 inches wide. This charming pillow is designed to resemble a beautifully adorned Christmas tree, complete with colorful ornaments and a star on top, creating a cozy and cheerful atmosphere in your home. The use of adult-friendly yarn colors such as deep evergreen, rich burgundy, and warm gold, or perhaps a classic red, white, and green palette, makes this project not only stylish but also sophisticated.
This pillow is a joy to create, as it works up quickly and is perfect for crochet enthusiasts of all skill levels, particularly beginners. It’s a lovely project to get you in the holiday spirit, and it also makes a thoughtful gift for friends and family. Imagine presenting this unique handmade piece during holiday gatherings or as a special gift to a loved one – it’s sure to spread joy and warmth!
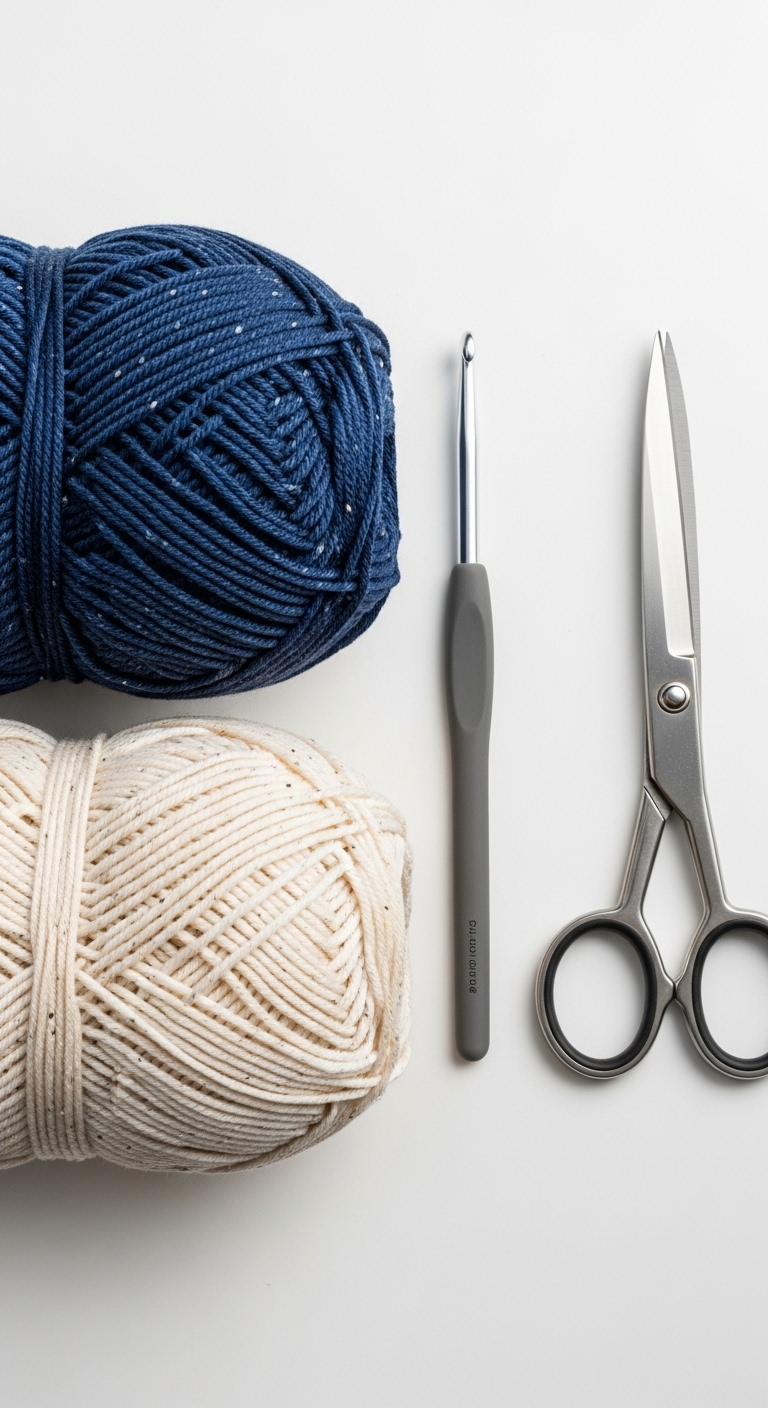
3. Materials Needed
– Yarn: Worsted weight yarn in deep evergreen (approximately 200 yards), burgundy (approximately 100 yards), and warm gold (approximately 50 yards)
– Hook: 3.5mm or 4.0mm crochet hook
– Eyes: Safety eyes (10mm) or black embroidery thread for stitching
– Stuffing: Polyester fiberfill stuffing
– Needle: Tapestry needle for sewing
– Marker: Stitch marker
– Optional extras: Small buttons for ornaments or embellishments
4. Designer Notes / Tips
– Stitch technique: This pattern primarily uses single crochet (sc) and slip stitches (sl st) to create a smooth finish. If you’re new to these stitches, practice them on a small swatch before starting the pillow.
– Stuffing density: For the pillow, a medium density of stuffing is recommended to allow it to hold its shape while remaining soft and huggable.
– Assembly: When joining the front and back panels, make sure to leave a small opening to add stuffing, then sew it securely closed once stuffed.
– Yarn substitutions: If you prefer a chunky look, consider using bulky yarn. Just be sure to adjust your hook size accordingly.
– Gauge tips: A gauge of 4 sc = 1 inch is ideal for this project, but don’t worry too much if your pillow is slightly larger or smaller. It will still be adorable!
– Safety considerations: If you’re gifting this pillow to a young child, consider using embroidery thread for the eyes or securely sewing on any embellishments to avoid choking hazards.
5. Pattern Instructions
For Plushies:
Main Panel (Tree Front):
Back Panel: (same as front but without any decorations)
For Assembly:
1. Join the panels: Place the front and back panels together, with the right sides facing each other. Using the tapestry needle, whip stitch around the edges, leaving a 6-inch gap on one side.
2. Stuff the pillow: Begin stuffing the pillow with polyester fiberfill until it reaches your desired density. Ensure to fill the corners well for a plush shape.
3. Close the gap: Once stuffed, continue to sew the opening closed securely.
4. Decorate: Attach any additional decorations such as safety eyes, buttons for ornaments, or a star to the top of the pillow as desired.
6. Closing & Social Engagement
I hope you enjoy creating your very own Christmas Tree Pillow! Don’t hesitate to make it your own with different colors or embellishments. I’d love to see your version! Leave a comment below with your thoughts or any questions you might have. What color combination will you try? Share your finished Christmas Tree Pillow on social media using the hashtag #ChristmasTreePillow so we can all admire your beautiful work!
