Mini Troll Doll Plush – Free Crochet Pattern
2. Introduction
Welcome to the delightful world of crochet with this charming Mini Troll Doll Plush pattern! Standing at approximately 8 inches tall, this adorable troll doll is perfect for brightening up your space or making a special gift for a friend. With its whimsical features and vibrant colors, it’s hard not to fall in love with this little character.
For this project, I recommend using a medium-weight yarn in complementary adult-friendly colors such as soft lavender, mint green, and a warm cream. These shades not only work well together, but they also bring a modern twist to the classic troll aesthetic. Crocheting this plushie is not only quick and fun, but it also offers an opportunity to explore your creativity through color choices and personal touches.
This pattern is beginner-friendly, making it accessible for crafters who are new to the art of crochet or anyone looking to enjoy a straightforward yet rewarding project. Whether you’re crafting for a birthday, a holiday, or just because, this Mini Troll Doll is sure to bring smiles all around!
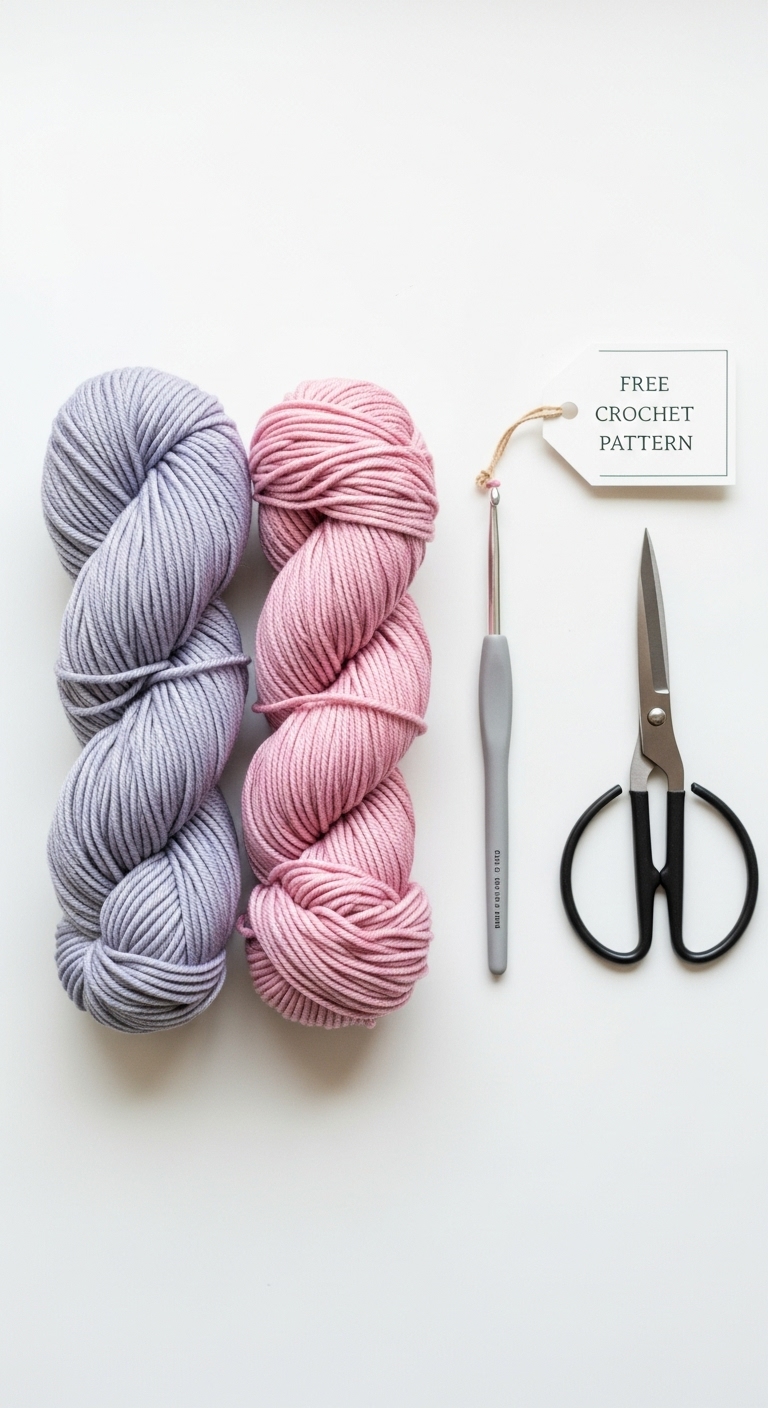
3. Materials Needed
– Yarn: Medium (worsted) weight yarn in soft lavender, mint green, and warm cream – approximately 100 yards total
– Hook: 3.5mm or 4.0mm crochet hook
– Eyes: Safety eyes (12mm) OR black embroidery thread for embroidered eyes
– Stuffing: Polyester fiberfill stuffing
– Needle: Tapestry needle for sewing
– Marker: Stitch marker
– Optional extras: Small pieces of felt for embellishments (like a nose or flower)
4. Designer Notes / Tips
Before you start, here are some helpful tips to ensure your Mini Troll Doll turns out just right. For the stitches, I recommend using the single crochet (sc) technique throughout the pattern. This will create a tight, neat fabric that holds its shape well. If you’re new to the magic ring technique, don’t worry if it feels tricky at first—practice makes perfect!
When stuffing your plushie, aim for a light and fluffy fill; this keeps your troll doll cuddly rather than overly firm. As for assembly, I find it easiest to attach the limbs and other features before stuffing them fully, allowing for easier placement and adjustments. If you want to switch yarns, opt for a medium-weight yarn that matches the texture, ensuring the proportions remain consistent.
Lastly, if you’re making this plush for a child, consider securing the safety eyes with additional stitches or using embroidery thread to create eyes, ensuring safety during play.
5. Pattern Instructions
For Plushies:
Head:
Body:
Arms (Make 2):
Legs (Make 2):
Assembly:
– Begin by stuffing the head firmly, but not overly so. Attach safety eyes between rounds 5 and 6, spaced about 4 stitches apart.
– Stuff the body and attach it to the head securely.
– For the arms and legs, stuff lightly and sew them to the body.
– If you’re using felt for embellishments, cut small shapes and sew them onto the body or face for added charm.
6. Closing & Social Engagement
I can’t wait to see your version of the Mini Troll Doll Plush! Let your creativity shine through your color combinations and personal touches. Leave a comment below to share your thoughts, or let me know what color combination you’re excited to try.
Once you’re done, please share your finished troll on social media! Join the crochet community and inspire others with your beautiful work. Happy crocheting!