Pumpkin Roll Plush – Free Crochet Pattern
2. Introduction
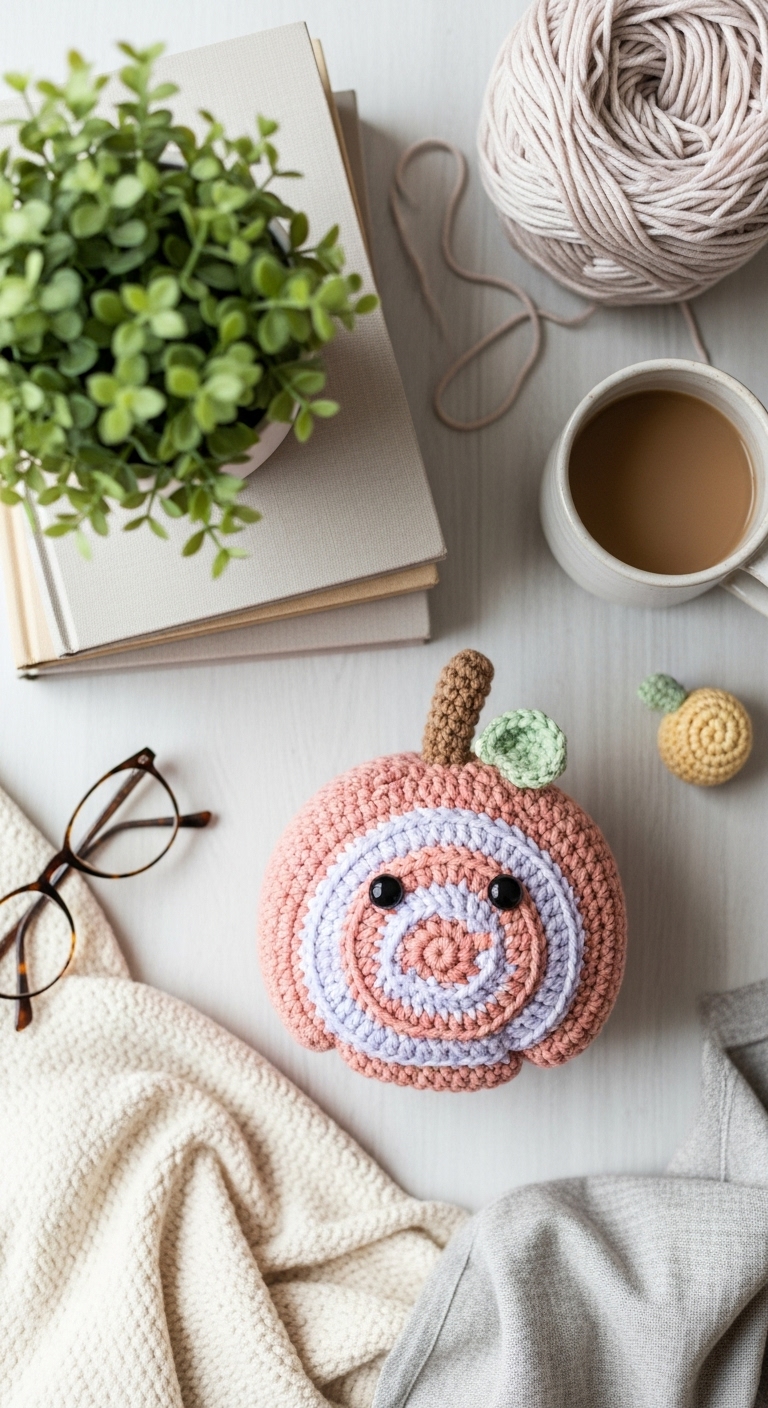
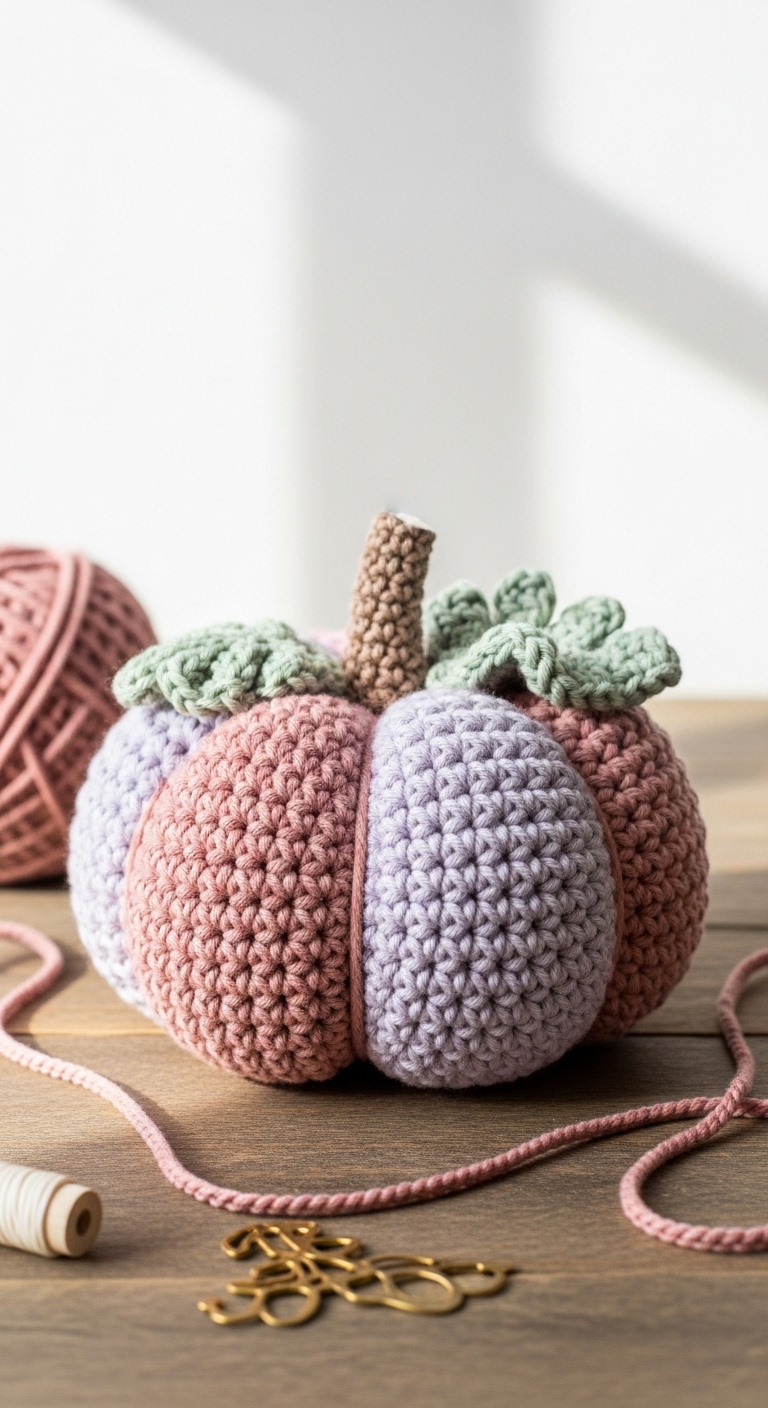
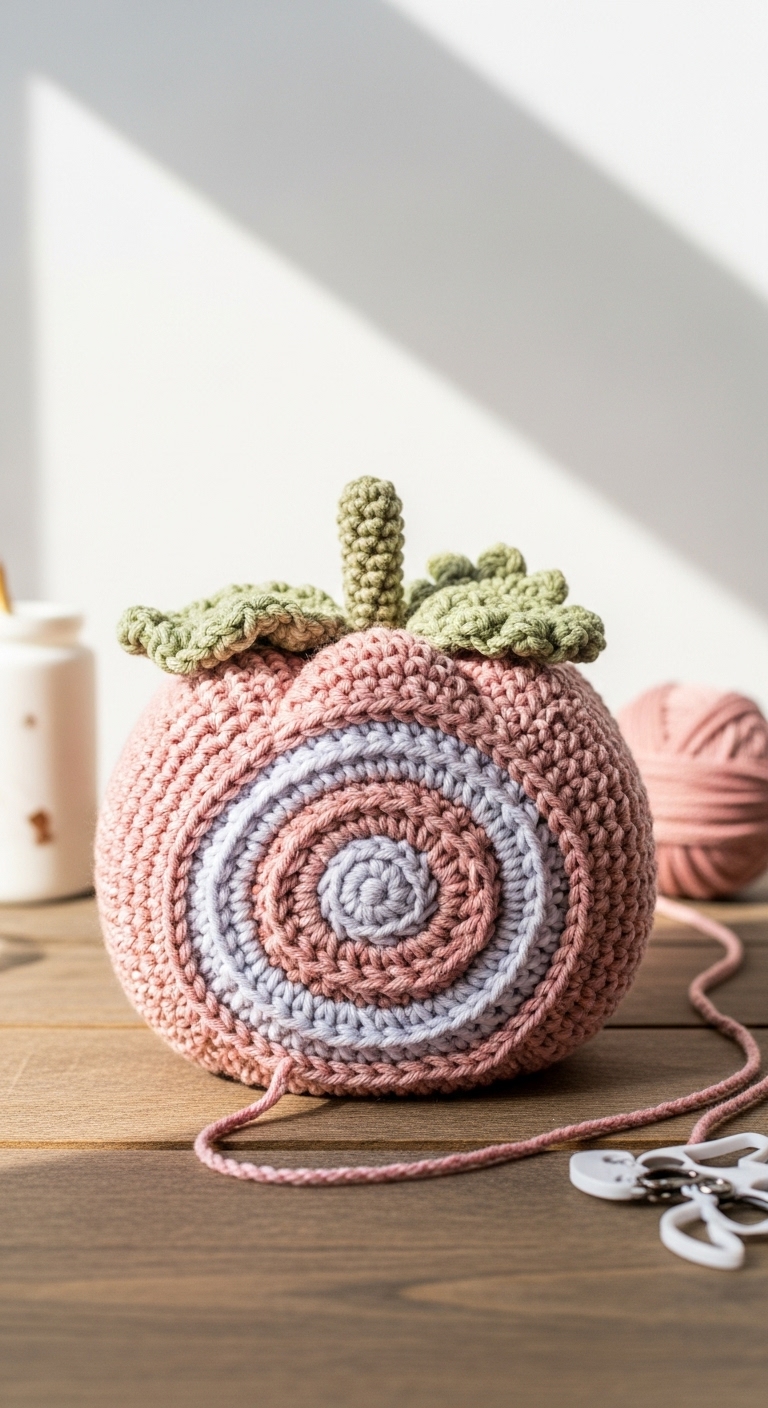
Welcome to the delightful world of crochet, where creativity blossoms with every stitch! Today, we’re diving into the charming Pumpkin Roll Plush – a cozy, round plushie that measures approximately 8 inches in diameter. This whimsical design is perfect for fall and makes for a delightful decoration or a cuddly companion.
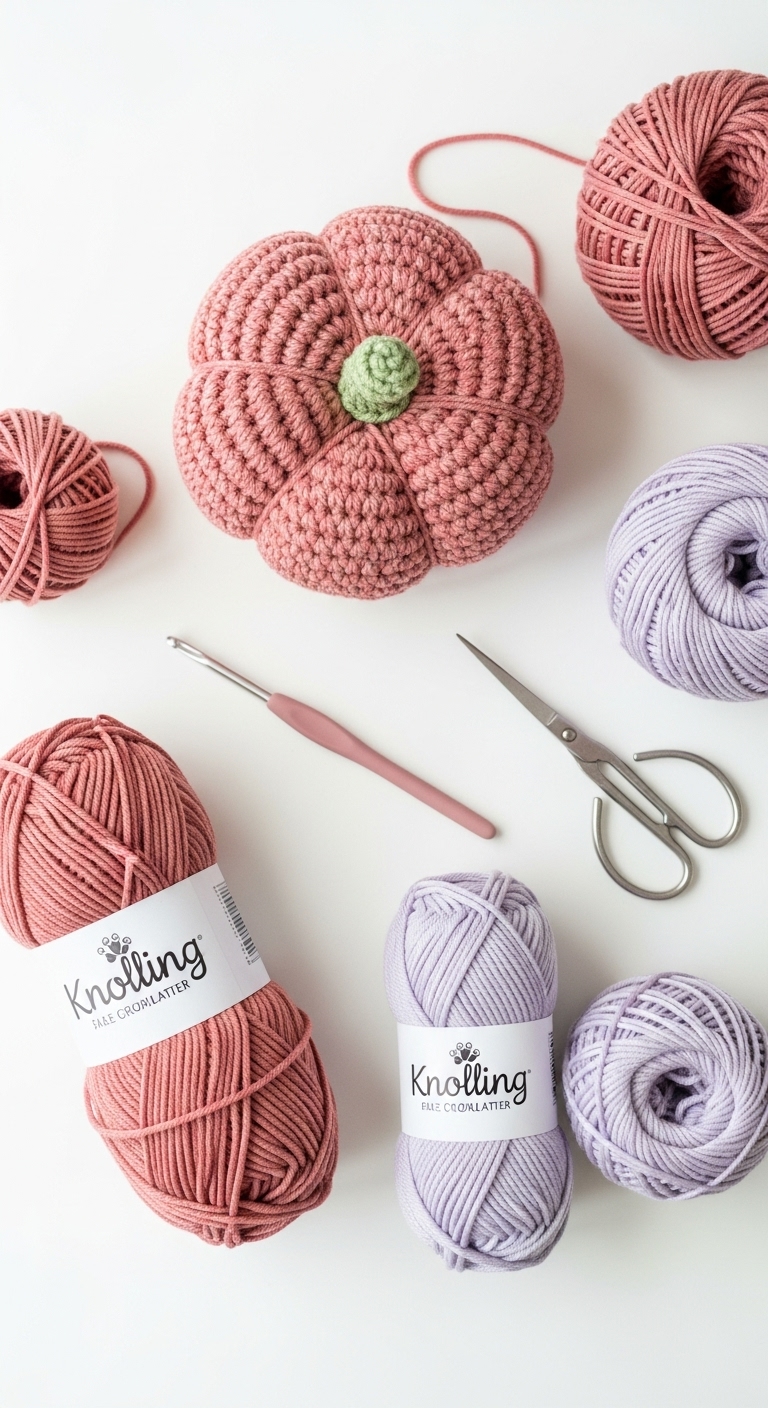
For this project, we’ll be using a soft, worsted weight yarn in three complementary colors: a vibrant pumpkin orange, a warm cream, and a deep forest green. These adult-friendly shades not only celebrate the season but also add a sophisticated touch to your plushie. Crocheting the Pumpkin Roll Plush is a fun and quick project, ideal for both beginner and intermediate crocheters alike. Its festive spirit makes it a wonderful gift for friends or family during the autumn months, or a charming accent for your home décor.
3. Materials Needed
– Yarn: Worsted weight yarn in pumpkin orange (approximately 150 yards), cream (approximately 50 yards), and forest green (approximately 20 yards)
– Hook: 3.5mm or 4.0mm crochet hook
– Eyes: 12mm safety eyes or black embroidery thread for stitching
– Stuffing: Polyester fiberfill stuffing
– Needle: Tapestry needle for sewing
– Marker: Stitch marker
– Optional extras: Pipe cleaners for the stem (if desired)
4. Designer Notes / Tips
As you embark on this crochet adventure, remember to take your time and enjoy the process! The stitches used in this pattern are basic, primarily single crochet (sc) and increases (inc), making it accessible for beginners. If you’re looking to add some texture, consider using a front post double crochet for the pumpkin ridges.
When stuffing your Pumpkin Roll Plush, aim for a light and fluffy texture. Overstuffing can lead to a misshapen plushie, so keep it soft and cuddly! For assembly, a tapestry needle will be your best friend – take care to secure your pieces well, especially the eyes if you’re using safety eyes.
If you wish to modify the yarn, consider using cotton or bamboo blends for a more luxurious feel. Always check your gauge to ensure the size of your plushie matches the intended dimensions. For child-safe modifications, consider embroidering the eyes instead of using safety eyes.
5. Pattern Instructions
For Plushies:
Head:
*(Stuff the head lightly before finishing)*
Body:
*(Stuff the body as you go)*
Arms:
*(Make 2 arms)*
Stem:
*(Make 1 stem)*
Assembly:
1. Securely attach the head to the top of the body using your tapestry needle.
2. Position the arms on either side of the body and sew in place.
3. Attach the stem to the top of the head, ensuring it is centered.
4. Place safety eyes between rounds 7 and 8 of the head, about 5 stitches apart.
5. Weave in all ends and ensure all pieces are firmly attached.
6. Closing & Social Engagement
You’ve made it to the end of the Pumpkin Roll Plush pattern! I’d love to see your version! Leave a comment below sharing your thoughts and any color combinations you’ve tried. What creative touches will you add to your plushie? Don’t forget to share your finished Pumpkin Roll Plush on social media, and let’s celebrate your wonderful crafting journey together!